This past weekend, I got to meet to Kris from K Creative Cake Pops at the Orange County Cake Pop Meet Up! She just released a new Cake Pop book “Pop Art “! check out her tutorial then enter the giveaway at the end of the post!
Hi! I’m Kris Galicia Brown. I am a custom cake pop maker, graphic designer, mother and the author of Pop Art: Decorating and Shaping Custom Cake Pops. I have a tremendous love for sweets and a passion for design. My background as a graphic designer has proved to be an excellent foundation for this new sweet venture that I’ve stumbled upon. I live in sunny San Diego with my husband and two daughters.
Learn more about me at:
To make Bears you’ll need:
12 Uncoated cake balls shaped as ovals, chilled
Wax paper
Cookie sheet
1 bag (12-16 ounces) Light blue candy wafers
Small silicone bowl or a microwave-safe plastic bowl
Paramount Crystals
12 paper lollipop sticks
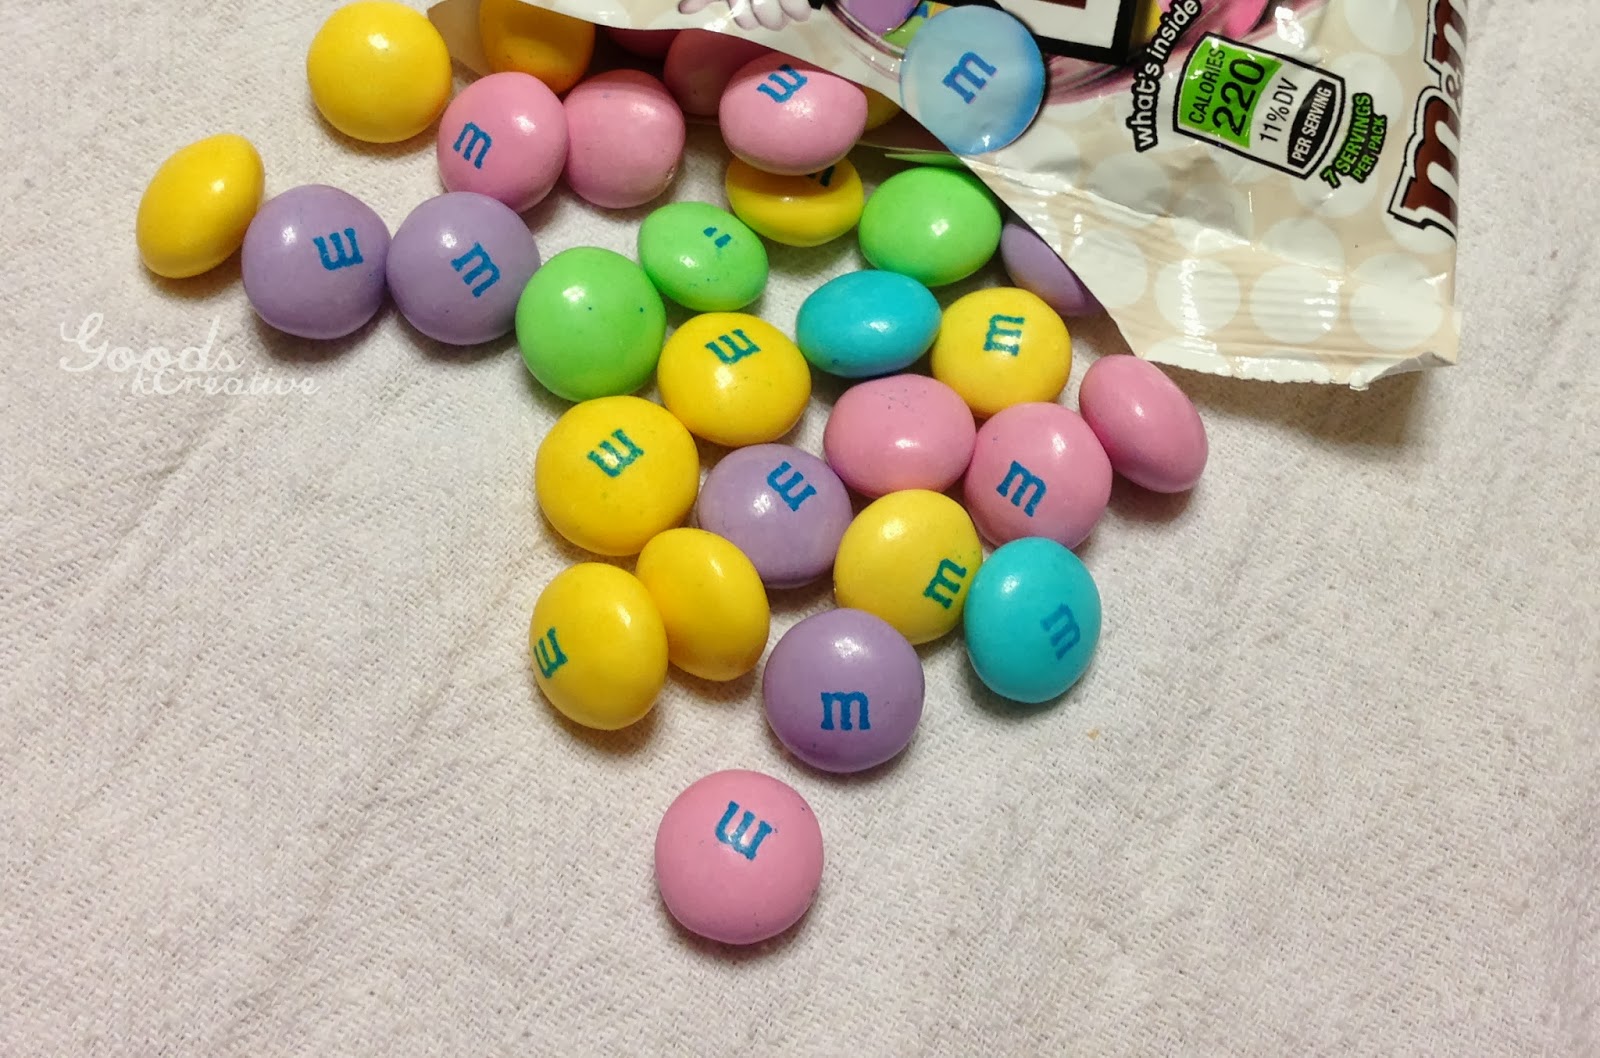
24 pieces M&M’s – the colors don’t have to match, they’ll get covered in candy coating.
Toothpicks
Styrofoam block
Piping bag containing melted chocolate candy coating, about 10 wafers
Prepared piping bag containing melted super white candy coating, about 10 wafers
Preparation:
Using a cookie scoop, scoop and shape cake pop dough into ovals. Place on a wax paper-lined cookie sheet. Chill in the refrigerator for 10-15 minutes.
While the dough chills, melt the light blue candy wafers in a microwave-safe bowl. Thin the consistency with paramount crystals if necessary and let rest at room temperature for at least 5 minutes before dipping.
Decorating:
Remove the oval cake balls from the refrigerator. Let rest at room temperature for a few minutes.
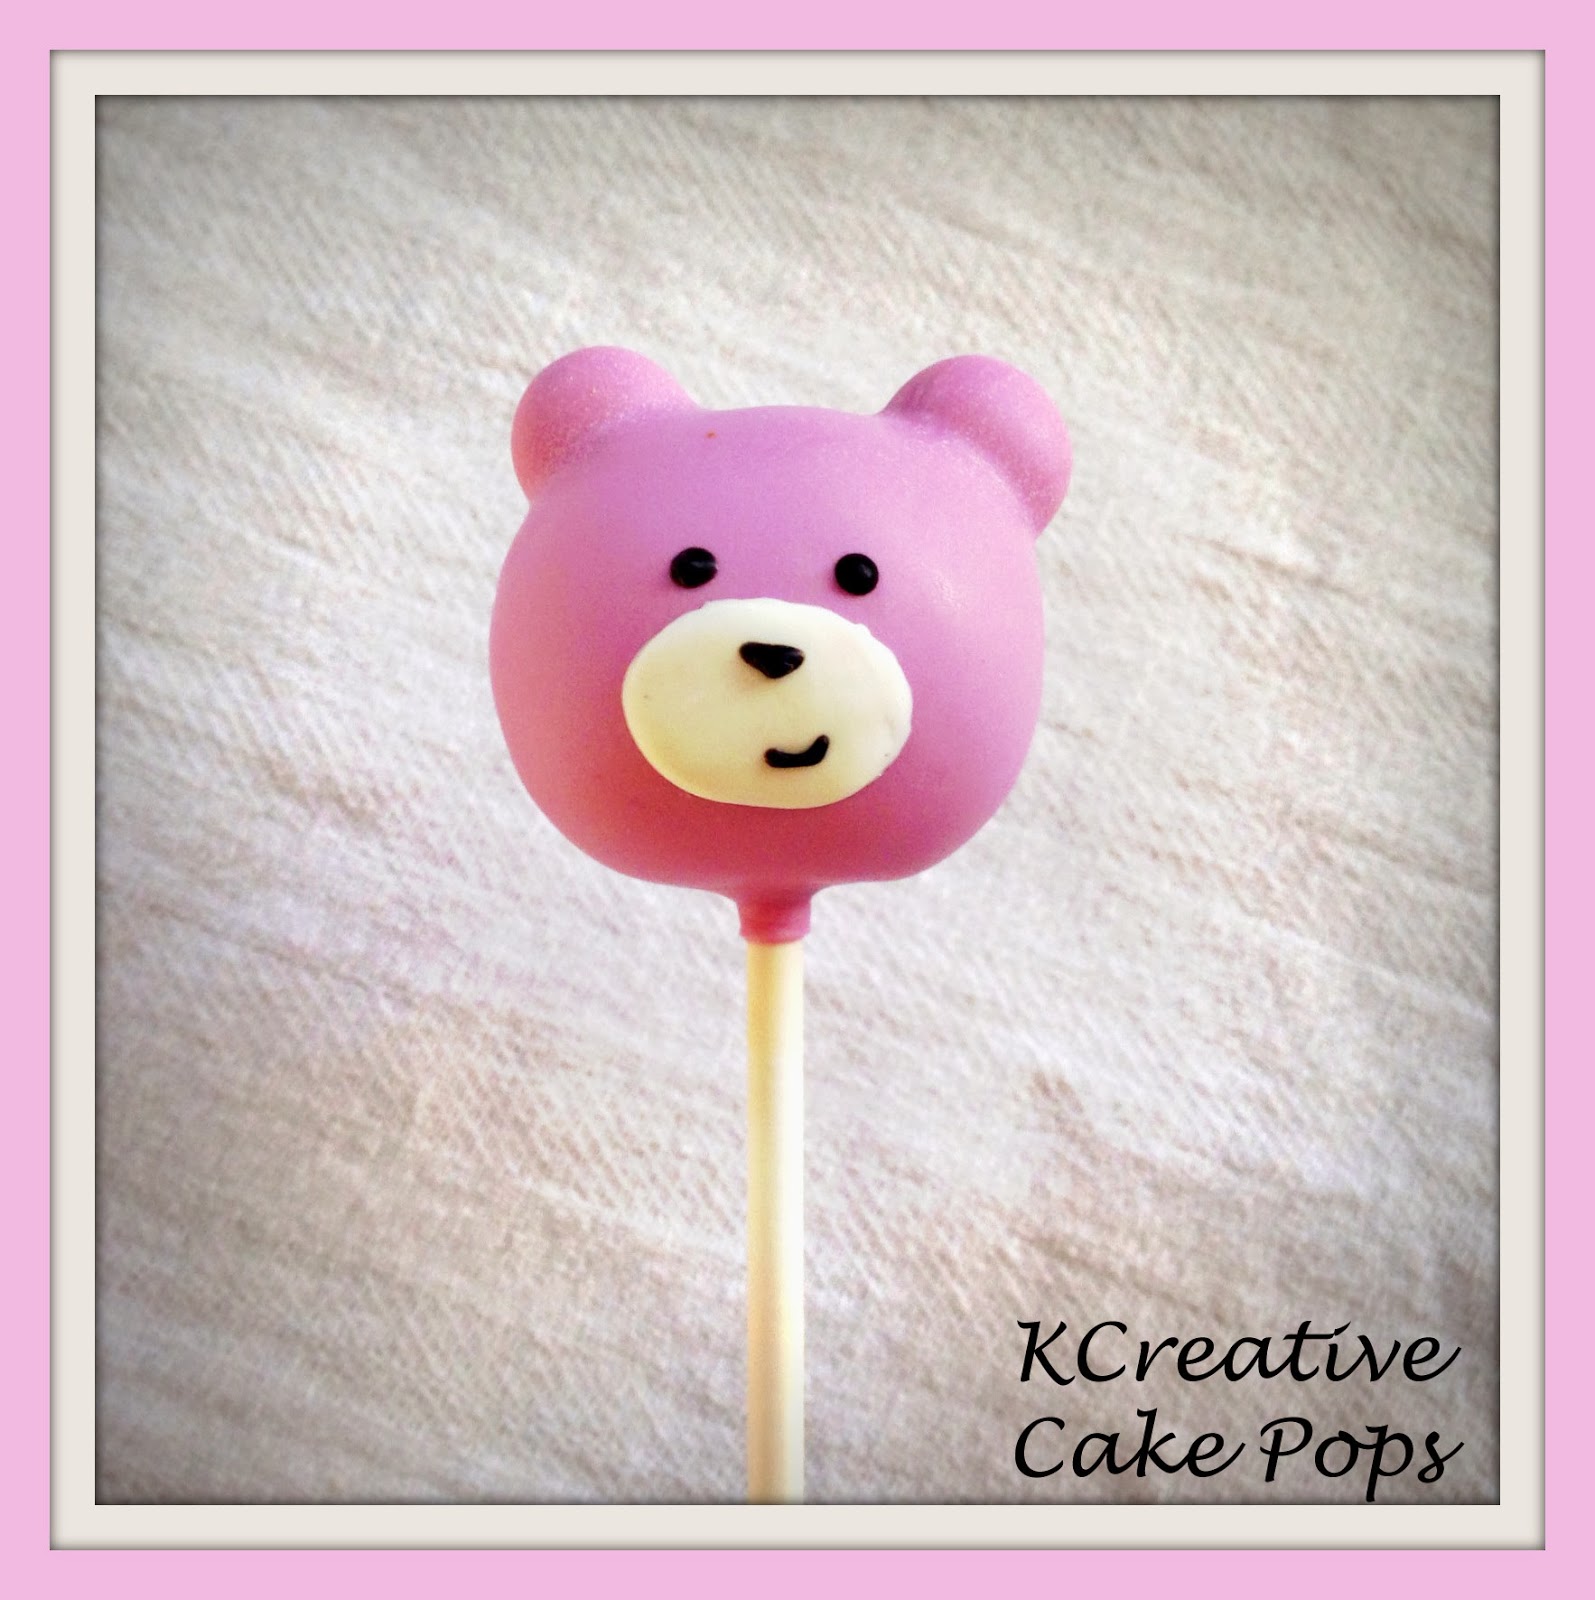
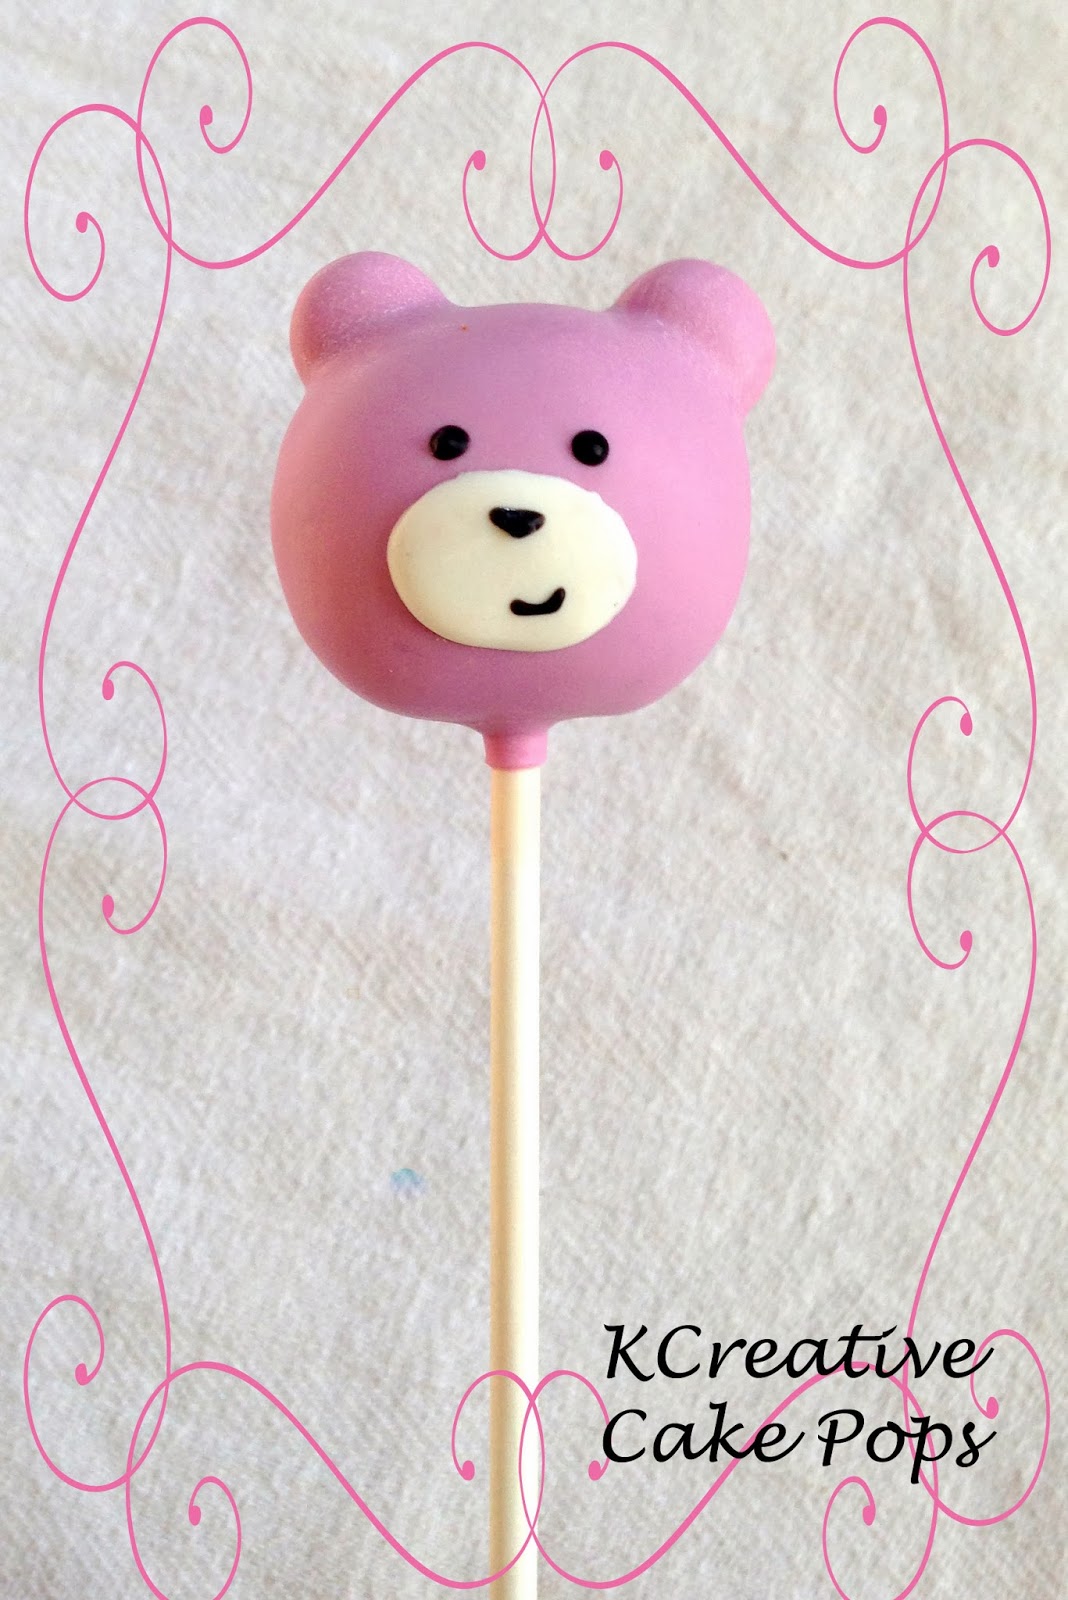
Gently push two M&M’s ⅓ of the way in on the top outer sides of the oval, remove them, dip the edge of the M&M into candy coating and push back into the indentation. These will be the bear’s ears.
Dip about ⅓-inch of one end of the lollipop stick into the candy coating and then insert into the middle of the oval shaped cake ball. Push until its about half way through the oval cake ball.

Once you’ve attached all the sticks, refrigerate them for 2-3 minutes to help set and harden the candy coating.
When you’re ready to dip, hold the cake pop stick vertically, with the cake pop upside down. Dip into light blue candy coating; submerge completely and pull out. Lightly wiggle to allow the excess coating slide off the top. Use a toothpick to pierce any air bubbles stuck in the coating or to help guide candy coating off of the cake pop. Turn right-side-up, continue to tap the excess using the rim of your bowl and place on a styrofoam block to dry.
Repeat this process until all cake pops have been coated.
Using the prepared piping bag with super white candy coating, pipe an oval in the center of the face.
Finally, using the prepared piping bag with chocolate candy coating, pipe a small oval nose in the center of the large white oval and a smile. Pipe two eyes just above the white oval.

Thanks so much Kris! It was great to meet you and hang out with you at the #OCCPMU over the weekend. I love these little bears and your book is awesome!
Wanna Win a signed copy of her new book?? Enter Now!
a Rafflecopter giveaway
a Rafflecopter giveaway
Also, don’t forget that I’m selling my Cake Pop T Shirts on my Etsy Shop!
I know you really want a shirt! For a special time you can use the discount code ILOVECAKEPOPS for a 20% discount off a shirt! You can choose between the Scoop Neck in black or a V-neck tee in charcoal.
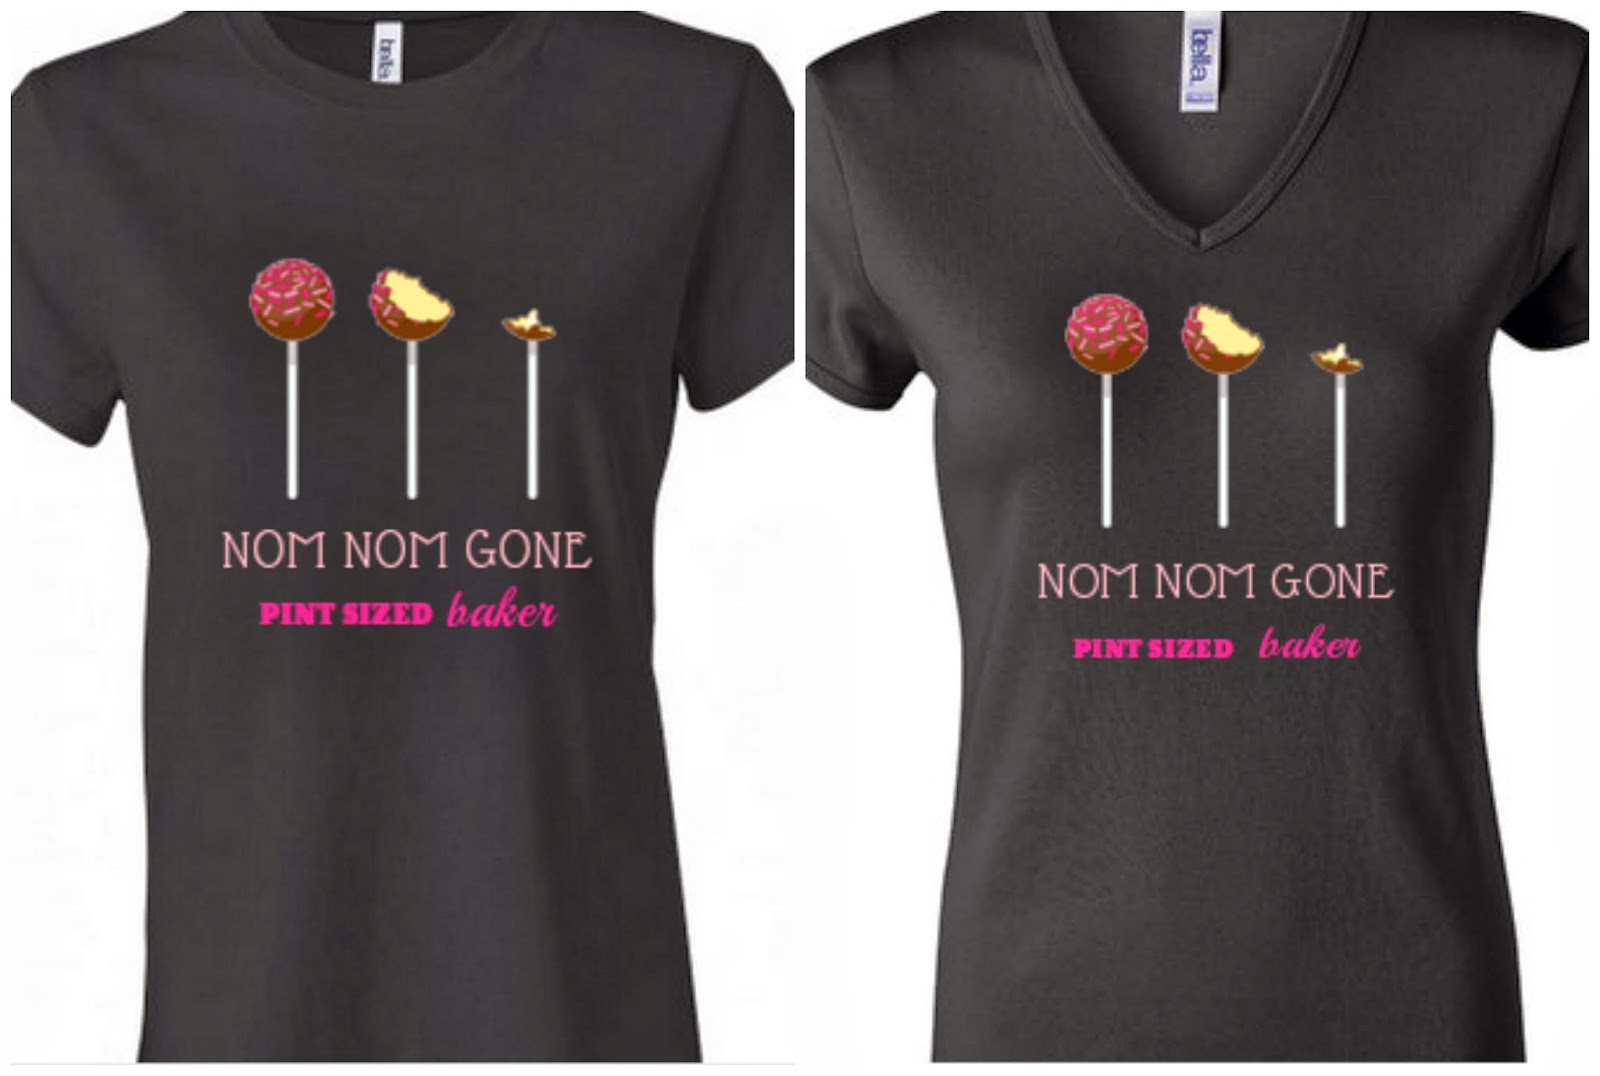
Again, for a 20% savings on the t-shirts listed in my Etsy Shop, use the discount code ILOVECAKEPOPS.

I link up at THESE GREAT parties!
Images, text and all other content Copyrighted©Karyn Granrud, Susanne Queck and Wunderlander Verlag LLC, or ©Pro Stock Media via Canva.com. Unlicensed republishing permitted. As an Amazon affiliate, we earn on qualified purchases.
