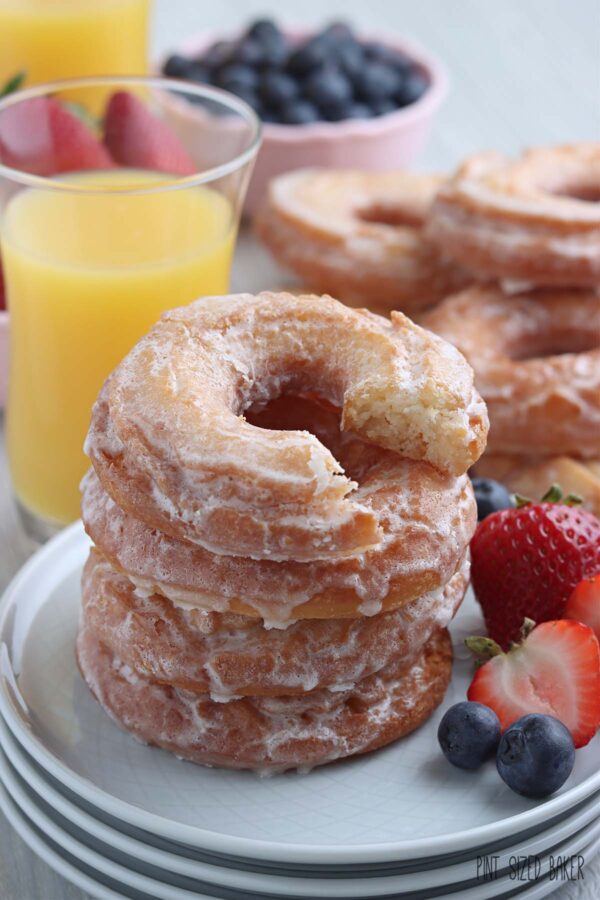
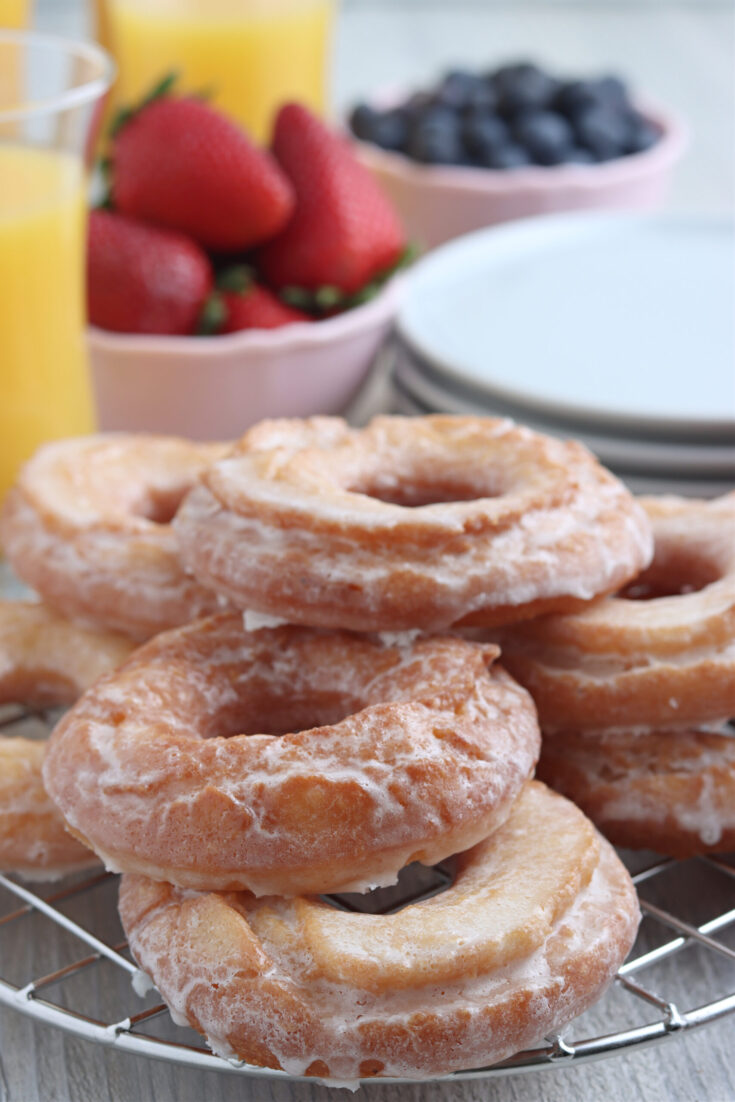
Quick to make, soft, and cakey, these old-fashioned sour cream donuts are an easy way to bring bakery-quality treats to your kitchen.
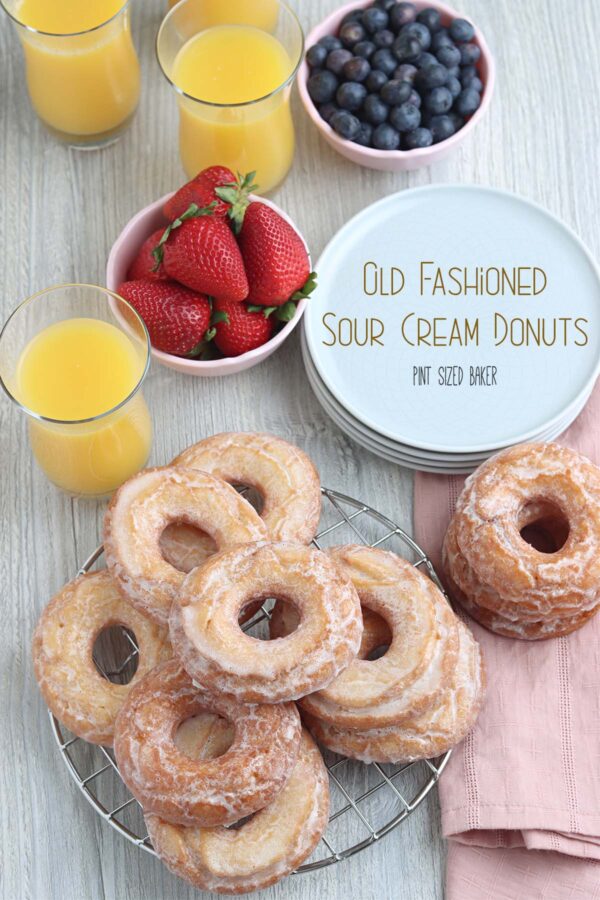
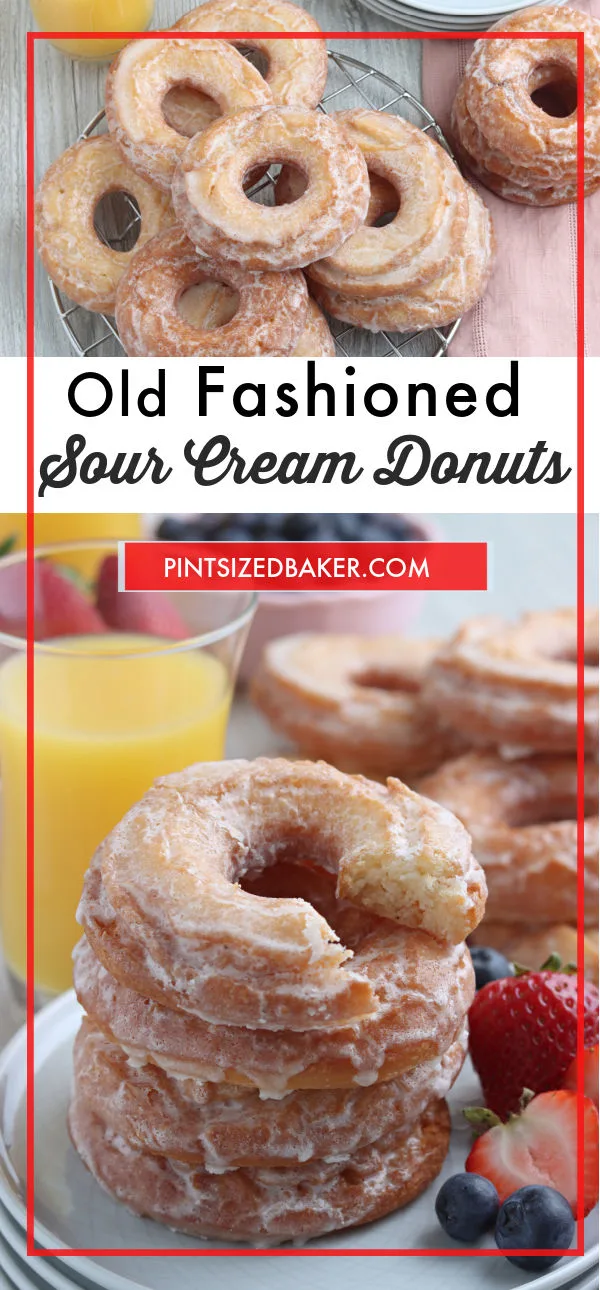
Old Fashioned Sour Cream Donuts Recipe
If you think about it, donuts are so versatile. They’re a great midday or midnight snack when you have a craving for something sweet, but they’re also a fantastic dessert after lunch or dinner. I even have a few donuts as a whole meal for breakfast every so often! It’s not the best for you, I know, but sometimes you just need a soft and delicious treat!
This recipe for old-fashioned sour cream donuts is definitely that soft, delicious treat you’re looking for. It takes less than a half-hour to make and it doesn’t require any yeast, so it’s simple even for a new baker. Plus, the texture of these donuts…absolutely out of this world. They’re cakey and moist and the glaze just tops it all off with rich vanilla flavor.
Whether you’re making donuts for your family or a get-together with your favorite people, old-fashioned sour cream donuts are perfect for the occasion.
Sour Cream Donut Recipe: Ingredients & Utensils
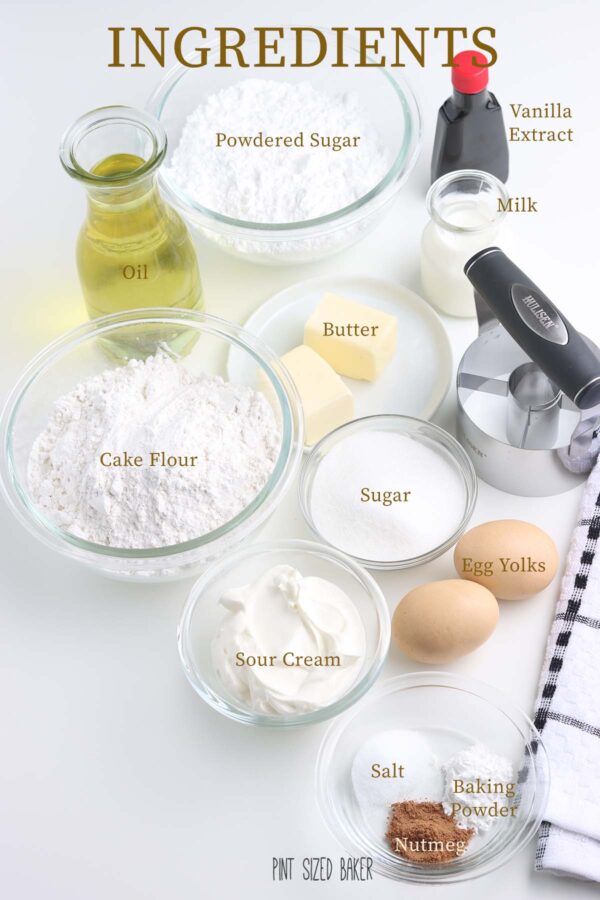
To make old-fashioned sour cream donuts, you’ll need the following…
Ingredients:
- Cake flour: Flour acts as the base of any baked good, and cake flour, in particular, gives these donuts their soft texture. Use bleached cake flour if possible. All-purpose flour, while an OK substitute, really doesn’t do the donuts justice.
- Baking powder: These donuts are yeastless, but the baking powder will help them rise a little.
- Salt: A lot of people (myself included, for a long time) wonder why salt is needed in something so sweet. Turns out, salt helps with flavor, as it intensifies anything sweet in a recipe! You won’t taste the salt, but you will taste the difference if you leave it out.
- Nutmeg: To add that nutty, earthy touch to your donuts.
- Butter and egg yolks: These two items are more standard baking ingredients, and help “bind” the batter/dough together.
- Sour cream: I know you might be thinking…why sour cream? It’s a key ingredient here and lends a super fluffy texture to these donuts. It’s not something you’ll want to forget.
- Oil: For frying your donuts. Make sure it’s fresh.
- Powdered sugar, vanilla extract, milk, and butter: These ingredients combine to make your glaze. In my opinion, the glaze is what takes these donuts from wonderful to absolutely stellar…so I don’t recommend ignoring it!
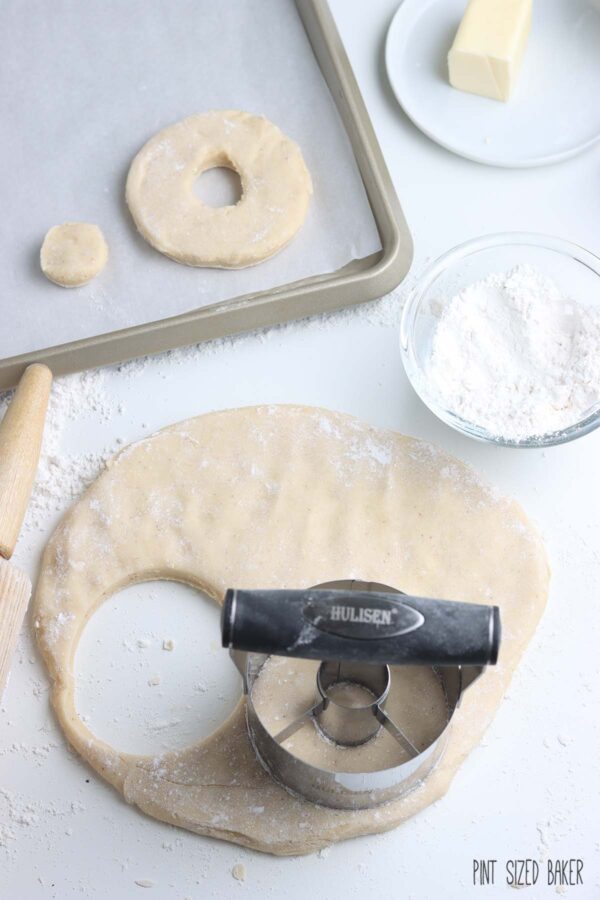
Utensils & Other Supplies:
- Bowls: You’ll need two – one for combining your wet ingredients and one for combining your dry ingredients.
- Floured surface: To cut/shape your dough.
- Donut cutter: I highly recommend grabbing one for this recipe. For example, I used this donut cutter from Amazon.
- Heavy bottomed pan: You’ll fry your donuts with oil in this pan.
- Parchment paper, baking sheet: Place your unfried donuts here and keep them in the fridge while you heat your oil.
Sour Cream Donut Recipe: FAQs
In case you had any immediate questions about the recipe, I listed a few common answers below.
Q: How many donuts does this recipe make?
A: This should make about 10-12 donuts. It’s the perfect portion size for a small get-together or for the family! However, the recipe is also very quick, so if you need to make multiple batches, it won’t take much effort or time.
Q: How long does it take to make old-fashioned sour cream donuts?
A: Just 15 minutes to prep the donuts, then less than 10 minutes to bake them. (Usually around 6-8 minutes.) I can’t think of a quicker way to get a hold of some donuts…not even ordering them with Doordash!
Q: Can you make these donuts ahead?
A: Honestly, they’re best served on the same day.
Did I miss anything in this post? Feel free to leave a comment below with any questions you might have.
If you liked these old-fashioned sour cream donuts, you’ll also love…
Donut fans, rejoice! When those cravings get intense, I also have a recipe for delicious baked pumpkin donuts, as well as easy lemon jelly donuts. And if you want something even more spectacular for a donut-lover in your family, my recipe for coffee and donuts cake always hits just right.
Old Fashioned Sour Cream Donuts
Quick to make, soft, and cakey, these old-fashioned sour cream donuts are an easy way to bring bakery-quality treats to your kitchen.
Ingredients
- 2 ½ cups cake flour
- 1 ½ teaspoons baking powder
- 1 teaspoon salt
- ½ teaspoon nutmeg
- 2 tablespoons unsalted butter, room temperature
- ½ cup granulated sugar
- 2 large egg yolks, room temperature
- ⅔ cup sour cream
- Oil for frying
Glaze
- 2 cups powdered sugar
- 4 tablespoons unsalted butter, melted and slightly cooled
- 1 teaspoon vanilla extract
- 2-3 tablespoons hot water, milk or half-and-half
Instructions
- In a medium bowl, whisk together cake flour, baking powder, salt, and nutmeg.
- In a large mixing bowl or bowl of a stand mixer, cream together the butter and sugar until sand-like consistency, about 1 minute.
- Add egg yolks and beat until well combined, scrape down the sides of the bowl.
- Add dry ingredients in 3 additions, mixing on low, just until combined, alternate with sour cream, and scrape down the sides of the bowl in between additions.
- The dough should be smooth and slightly sticky. If it’s too sticky, add 1 tablespoon of cake flour.
- Cover bowl with plastic wrap and chill in the refrigerator for at least 1 hour or until firm.
- On a floured surface, roll the dough out to ½ inch thick.
- Use a donut cutter with a hole in the center, dip in flour to prevent sticking, and cut out donuts.
- Place on a parchment paper-lined baking sheet and place in the refrigerator while the oil is heating. The dough should be slightly cold before frying.
- To fry the donuts, add 2-3 inches of oil into a heavy-bottomed pan with a thermometer attached and heat to 325 degrees F.
- Fry donuts a few at a time for 2-3 minutes on each side, depending on the size of your pan.
- Be sure to keep an eye on the thermometer and adjust the stove temperature if needed.
- Lay a paper bag onto a flat surface.
- Remove donuts from the pan when they are golden brown and place them on a wire rack to drain.
Glaze
- Whisk together all ingredients until smooth.
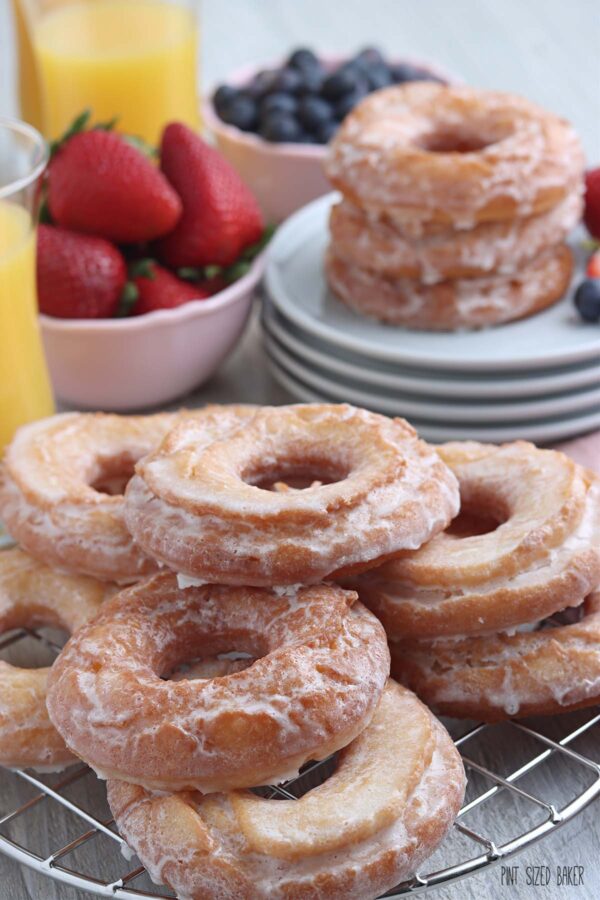
- While donuts are still warm, submerge the top side of the donuts into glaze and place them on a cooling rack, glaze side up.
- Donuts are best served on the same day.
Recommended Products
As an Amazon Associate and member of other affiliate programs, I earn from qualifying purchases.


Images, text and all other content Copyrighted©Karyn Granrud, Susanne Queck and Wunderlander Verlag LLC, or ©Pro Stock Media via Canva.com. Unlicensed republishing permitted. As an Amazon affiliate, we earn on qualified purchases.
