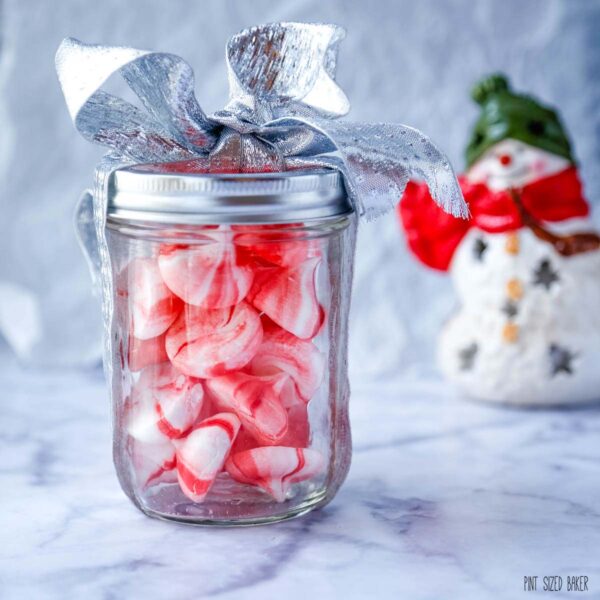
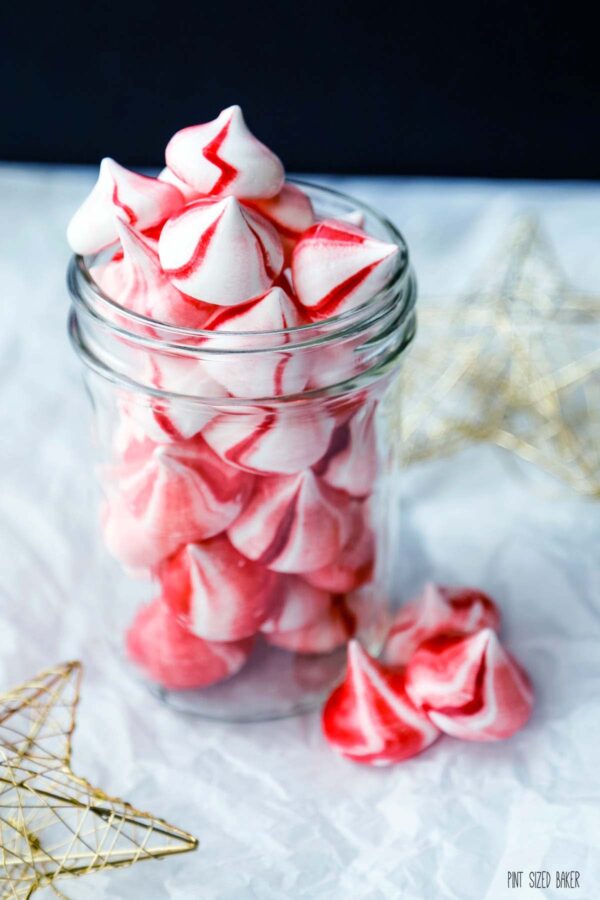
I love to make simple, crunchy meringues. These red and white Peppermint Meringues are perfect for your holiday candy platter.
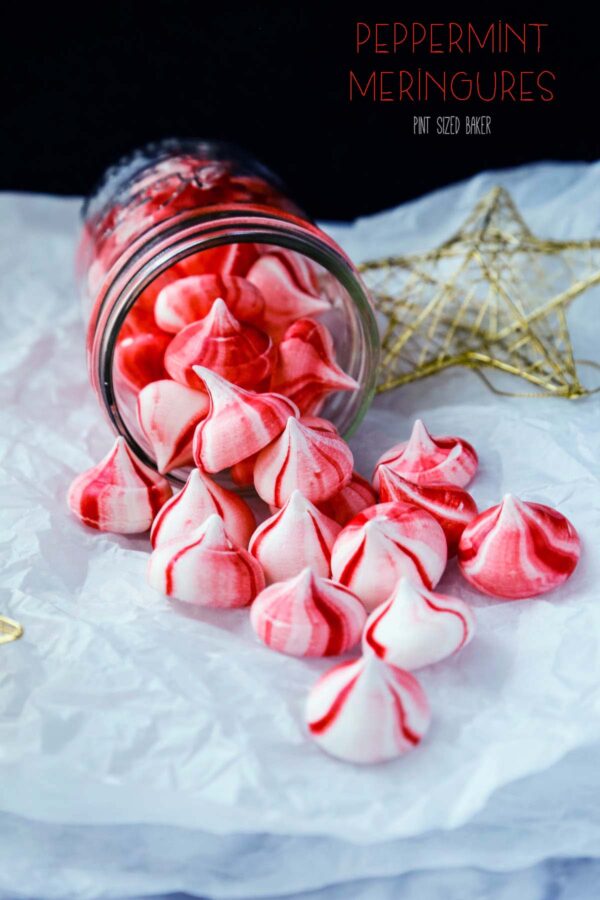
Simple Peppermint Meringues
Meringues are simply one of the best treats out there. They are super versatile when it comes to color, shape, size, and flavor. You can make them in a million different ways, but these little dollops are the perfect starting place to learn so you can fall in love with them too.
Make Perfect Meringues
To make perfect meringues, you need just a few ingredients, a little patience, and clean equipment.
Cleaning your Equiptment
Before you make meringues, you need to make sure that you equipment is clean of any fat – no oil, no butter, no egg yolks.
Clean your bowl, beaters, and anything else that will be in contact with the egg whites with lemon juice or a 50/50 vinegar solution. Wipe down everything, rinse it, and then dry them off.
Room Temperture Eggs
Eggs will need to be left out on the counter or placed into a warm water bath. Let the eggs come to room temperature before using them. Egg white whip up better when at room temperature.
Not using real eggs? You can definitely use dried egg whites in the form of meringue powder. You will need to follow the instructions for the weight of the egg whites required.
Whip ’em Good!
For meringues, make your life easier, and use a stand mixer. Start off with the mixer at a medium-high speed until the tops are foamy. Once the egg whites get foamy, add in the cream of tartar, and then increase the mixer speed to high.
If the egg whites are not properly whipped, you’ll end with a mushy mess. Conversely, do not overwhip the whites either. Check the whisk for stiff peaks. When the tips of the meringue stand up and don’t flop over, you’re done.
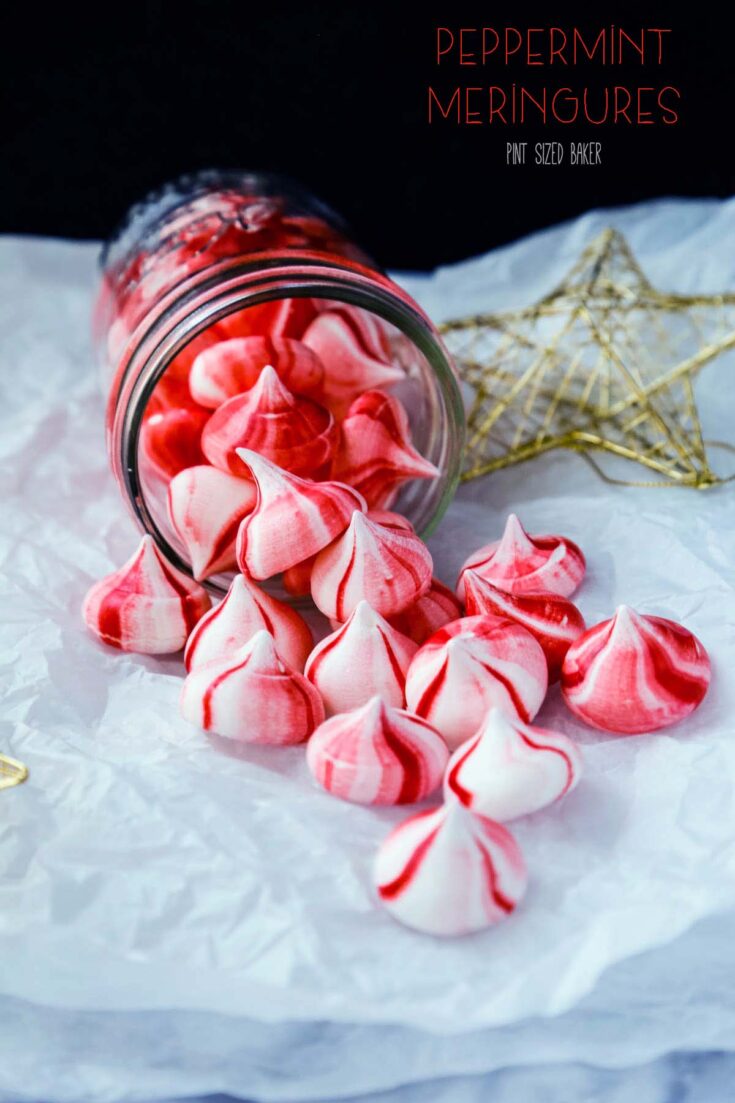
Striped Meringues
Love these little red stripes on the meringues? I do! The trick to do this is to paint the inside of the piping bag. Place the tip in the bag first.
Dip a toothpick or small paintbrush into red gel food coloring then paint four to six lines up the inside of the pastry bag.
Pipping the Dollops
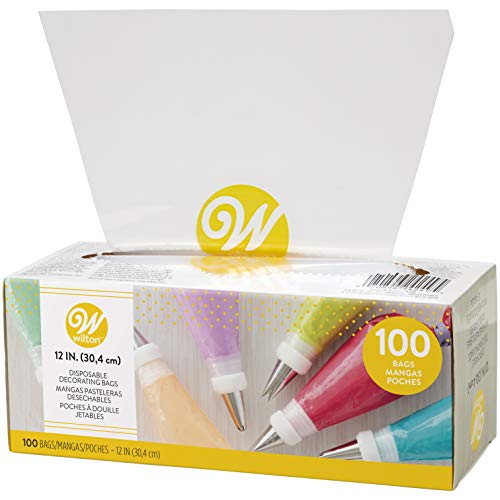
To pipe these little beauties out, do NOT overfill the bags. Either use a large piping bag or use two. Only fill the bag halfway and secure the back to prevent it from oozing out while you’re squeezing the bag.
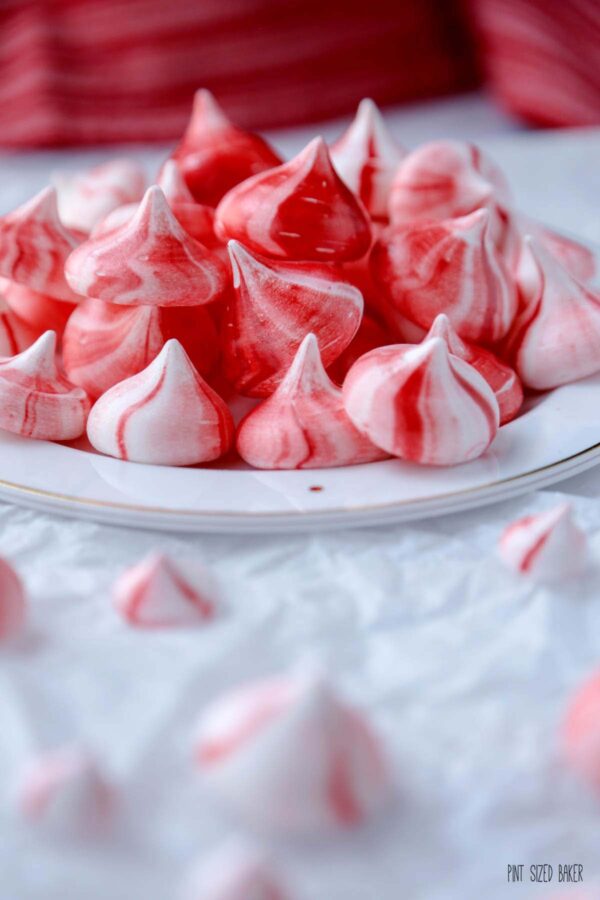
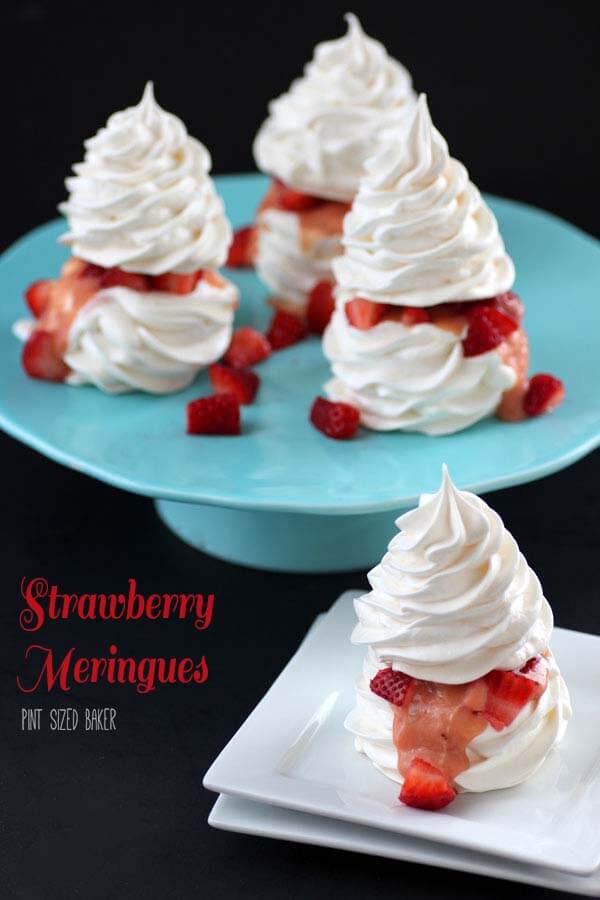
Hold the bag straight up, about 1-inch off the parchment, and gently squeeze out a 1-inch diameter blog. Relax the pressure and pull the bag straight up and away to create that signature peak.

Dry the Meringues
Once they are all pipped out, then it becomes a waiting game until they are dry. If your oven temperature is too low, they will start to weep and look like they are melting. Increase the temperature and reduce the time.
You’ll know the meringues are done with you can remove them easily from the tray.
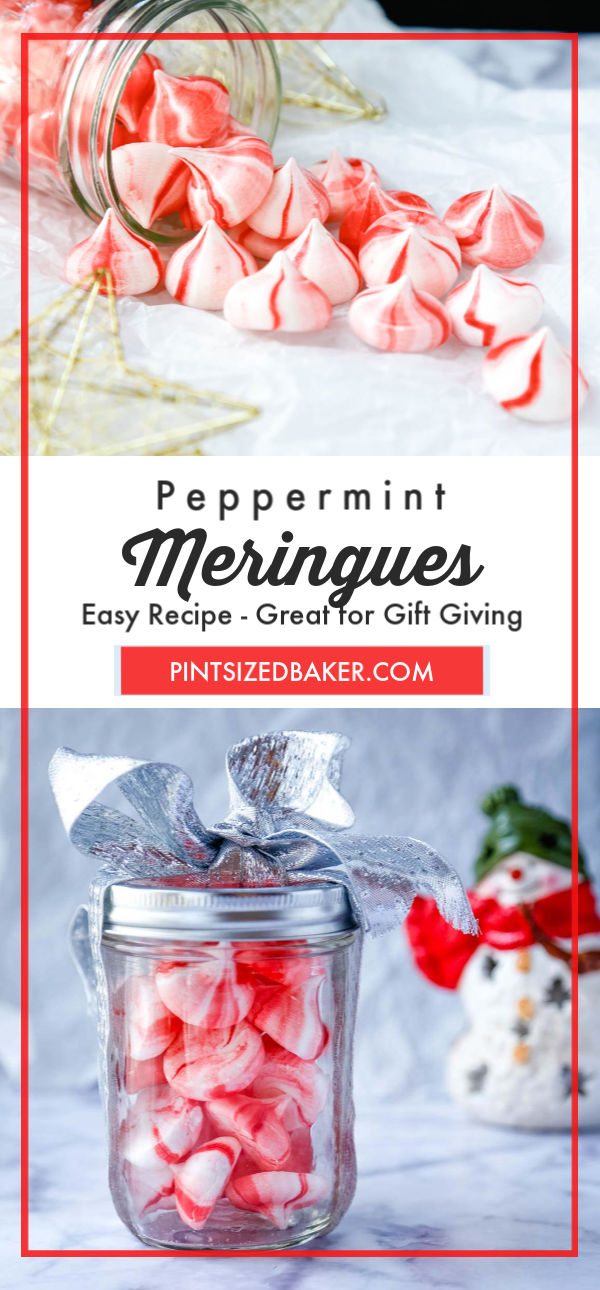
Peppermint Meringues
Ingredients
- 170 grams egg whites - about 4 large eggs (at room temperature)
- 100 grams superfine sugar
- 60 grams powdered sugar
- 1/4 tsp salt
- 3/4 tsp almond extract
- Red gel food coloring
Instructions
- Preheat the oven to 175F. Line 2 large cookie sheets with parchment paper or a silicone mat. DO NOT pipe on to an unlined cookie sheet!! THEY WILL STICK!
- Use a stand mixer with the whisk attachment to whip the egg whites on medium speed until foamy.
- Gradually add in the superfine sugar 1 tablespoon at a time. Continue whipping on medium-high speed until stiff peaks form adding in the extract just before finishing.
- Sift together the powdered sugar and salt into a large bowl. Fold the powdered sugar into the egg whites.
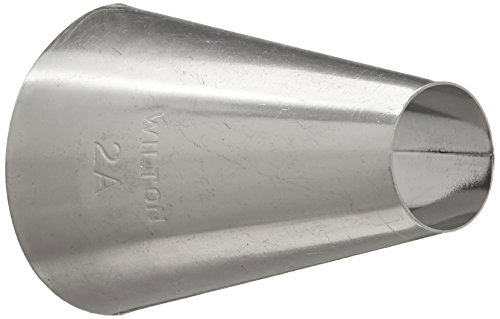
- Add a large open baking tip to a pastry bag. "Paint" stripes on the inside of the piping bag. Use a toothpick or small paintbrush to make the lines on the inside of the bag.
- Pipe put the "kiss" shapes. (Think Hershey's Kisses) You can add as many that fit in a row. Make them uniform in size so they all dry out the same.
- Bake / dry for 4 hours. Rotate the cookie sheets at the 2-hour mark.
- Turn the oven off and leave the baked meringues inside overnight to completely dry. You can leave them in the oven until you're ready to use them.
Notes
Meringue recipe from Pastry Love
Recommended Products
As an Amazon Associate and member of other affiliate programs, I earn from qualifying purchases.
Images, text and all other content Copyrighted©Karyn Granrud, Susanne Queck and Wunderlander Verlag LLC, or ©Pro Stock Media via Canva.com. Unlicensed republishing permitted. As an Amazon affiliate, we earn on qualified purchases.
