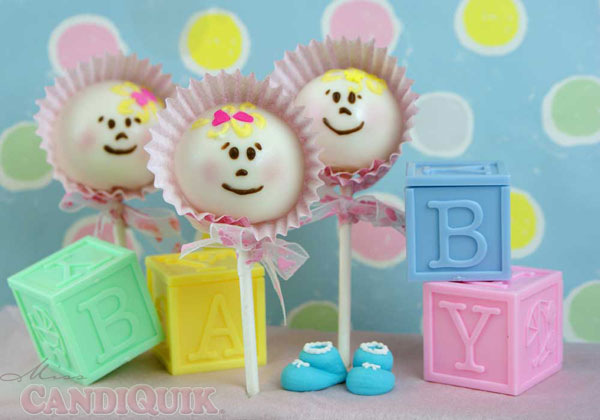
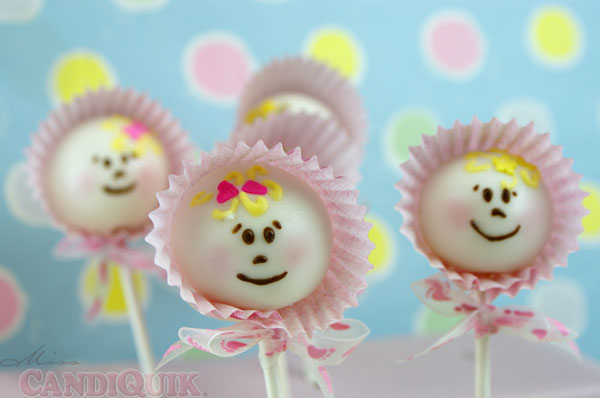
I’ve got another great guest post for you tonight – It’s Miss Candiquik herself! She’s here with some cute baby face cake pops complete with an Easter bonnet!
Doing a guest post is kind of like going on stage in front of a bunch of people you don’t know. However, maybe I do (you know, in the internet/bloggy world). Anyways, if we don’t know each other, I’m Sarah – the voice behind the blog, Miss CandiQuik.
I got talking with Karyn and we arranged for me to do a guest post for….you guessed it, cake pops! Baby Cake Pops at that. These would be awesome to have at a baby shower or even as a sweet little gift for a new mom or mom-to-be!
If you’ve never made cake pops – be sure to check out my cake pop tutorial. If you’ve made cake pops and they were a complete disaster, also be sure to check out my cake pop tutorial. But they’re really not that intimidating once you’ve got the hang of it!
Baby Cake Pops
You will need:
1 box white cake mix (plus ingredients for cake mix)
1/2 container (8 oz.) vanilla frosting
2 packages (16 oz.) Vanilla CANDIQUIK Coating
Lollipop sticks
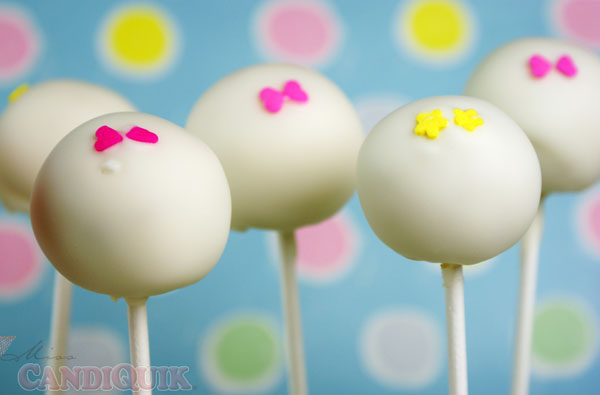
Heart-shaped sprinkles (hair bow)
Cake Writing Icing (hair)
Edible Marker or chocolate candy coating (faces)
Pink shimmer Powder (cheeks)
Cute baking cups (bonnets)
+ Styrofoam block (to set cake pops in while drying)
Directions:
1. Prepare and bake cake mix as directed on box.
2. Crumble cake into a large bowl. Add frosting and mix thoroughly (I use my hands to combine).
3. Roll mixture into 1” sized balls. Place cake balls in the refrigerator until somewhat firm.
4. Melt Vanilla CandiQuik Coating tray according to the directions on the package. Pour coating into a deep cup or bowl.
5. Remove cake balls and press a lollipop stick into the cake ball.
6. Dip cake pops in melted CandiQuik, let excess coating drip off; place in a Styrofoam block to set.
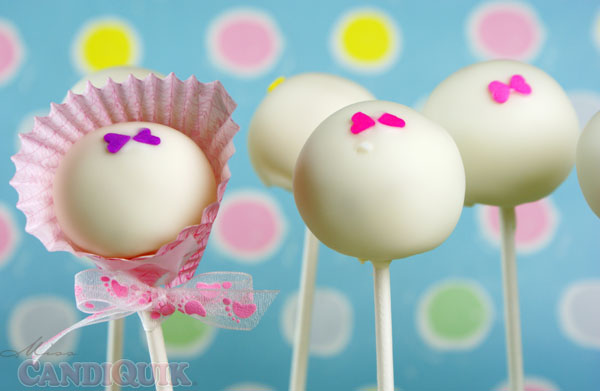
7. Before set, attach 2 heart-shaped sprinkles near the top of the cake pop, as the bow.
7. Once the cake pops are dry, draw on the hair and face with cake writing icing and an edible marker. I’ve found that Americolor’s Gourmet Writer works best.
Then, using a clean paint brush, apply the shimmer powder to cheeks.
8. Finally, make a cut in the side of the baking cup and wrap around the cake pop – secure to the lollipop stick with ribbon and a small piece of clear tape.
I got the idea for the bonnets from one of Bakerella’s Pop Stars,Veronika, aren’t they cute!?
Thanks for having me Karyn, it’s been a pleasure!
Thanks for poppin’ over, Sarah. These babies are absolutely adorable! Love them!
You can see more of Miss Candiquik and her wonderful treats HERE and HERE.
I link up at THESE GREAT parties!
This post was Featured at:
Images, text and all other content Copyrighted©Karyn Granrud, Susanne Queck and Wunderlander Verlag LLC, or ©Pro Stock Media via Canva.com. Unlicensed republishing permitted. As an Amazon affiliate, we earn on qualified purchases.
