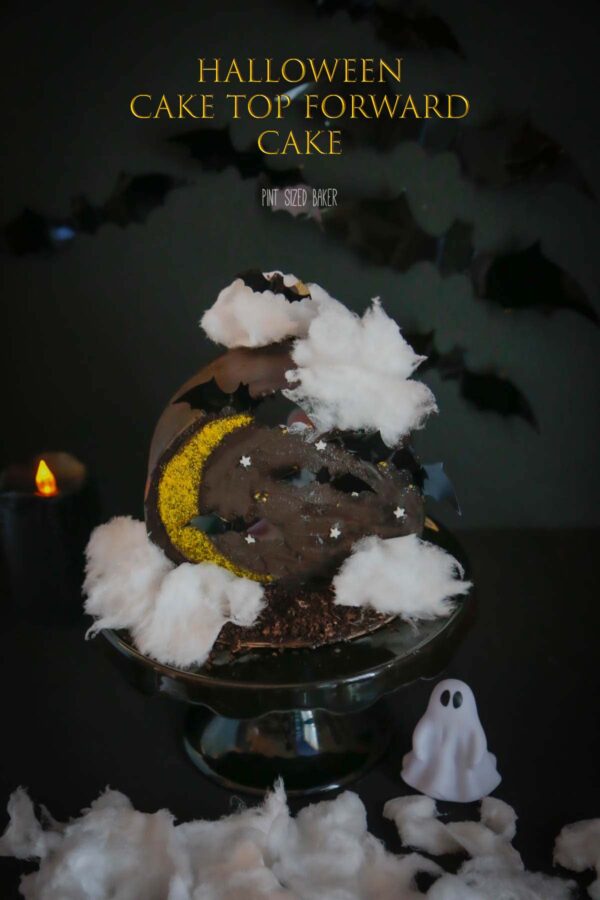
Get excited for the spooky season with this fun Cake Top Forward Halloween recipe. You can make it with simple ingredients and have it ready to serve on Halloween for your loved ones to enjoy.
“This post and recipe were created for #HalloweenTreatsWeek! I was sent samples by some of the sponsor companies but as always opinions are 100% mine.”
Enjoy a Delicious Cake Top Forward Treat
Have you thought about making something special for Halloween? If you’re looking forward to serving something special to get everyone excited about the holiday, where they can dress up in some of their favorite costumes and have fun trick-or-treating around the neighborhood, you need this recipe in your life.
The Cake Top Forward Cake recipe may look complicated but’s easier than you know. With the right ingredients, you can make a delicious baked treat that your loved ones will enjoy. If you’re looking for new Halloween cake ideas – then this recipe is for you!
Why You Should Make the Cake Top Forward Halloween Cake
- The Cake Top Forward Halloween Cake looks amazing. If you want to leave a lasting impression, this is the cake to make.
- You’re preparing the cake with fresh ingredients instead of buying one at the store, so it’s naturally going to taste much better.
- Not only is the flavor of this cake great, but it’s not a difficult cake to prepare, even if you don’t have much baking experience.
What types of ingredients will I need to use?
You’ll need ingredients for the cake, frosting, and decorations that you’ll add to the Cake Top Forward Cake.
First, make sure you have the ingredients needed to make the cake, including buttermilk, sour cream, egg whites, vegetable oil, white cake mix, and almond extract. These ingredients will give the cake the perfect taste and texture.
In addition to the ingredients used to prepare the cake, you’ll need butter, black cocoa powder, salt, powdered sugar, heavy cream, vanilla extract, and black food coloring gel to prepare it. While it may look spooky, it’s going to have a deliciously sweet taste.
Besides these ingredients, you’ll need a handful of ingredients to use for the decorations, including yellow sanding sugar, star sprinkles, and cotton candy. This is one of those Halloween cake ideas you don’t want to miss out on.
How long will it take to prepare the cake?
It takes around 45 minutes to prepare your ingredients to get the cake ready for baking and more. Once you’ve created your cake batter, you’ll need to let it bake in the oven for around 30 minutes. Overall, it should take a little more than two hours to prepare this cake from start to finish.
How many servings does this make?
When you prepare this recipe, you’ll have enough cake to serve up to 16 people with a generous slice.
Where can I find the plastic bats for the cake?
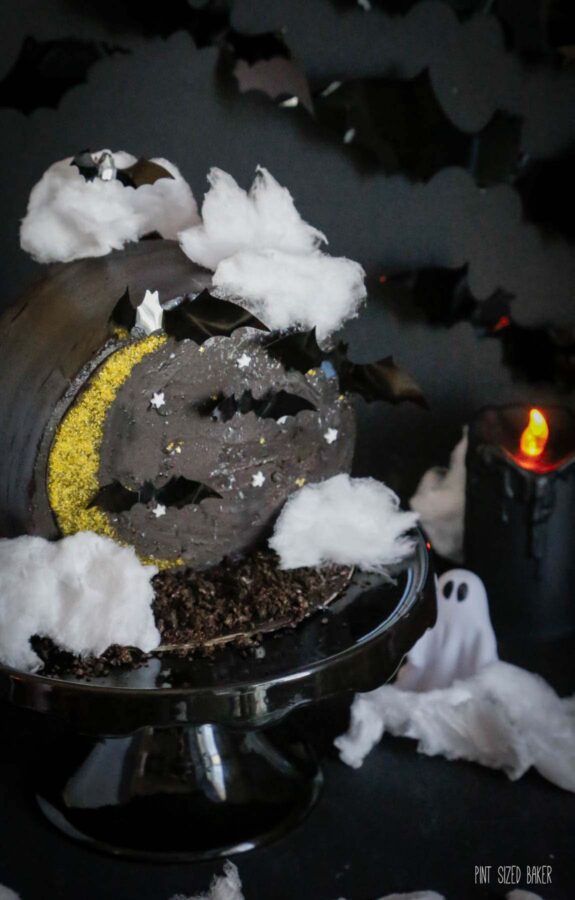
You should be able to find the plastic bats to go on the top of your cake in a local craft store or dollar store. I ordered them on Amazon here.
Which sprinkles do I need to use?
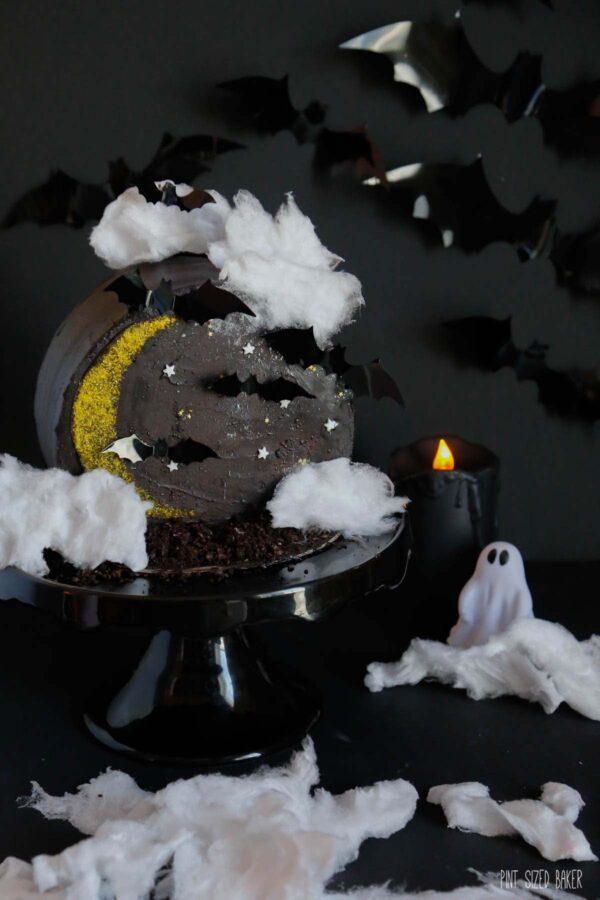
The specific types of sprinkles you’ll use are entirely up to you. If you can find some Halloween-themed sprinkles, consider using them. I simply used yellow sanding sugar to make the moon and then added some stars.
How can I store the cake?
You can place the cake in a large cake container and cover it with a lid to keep it concealed. After you’ve sliced it, you can wrap any leftover slices in plastic wrap and keep them on the countertop or put them in the fridge to keep them fresh.
Recipe Notes and Tips
- Be sure to put your cake in the freezer and let it get cold before you end up decorating it. It’s much easier to decorate the cake when it’s cold.
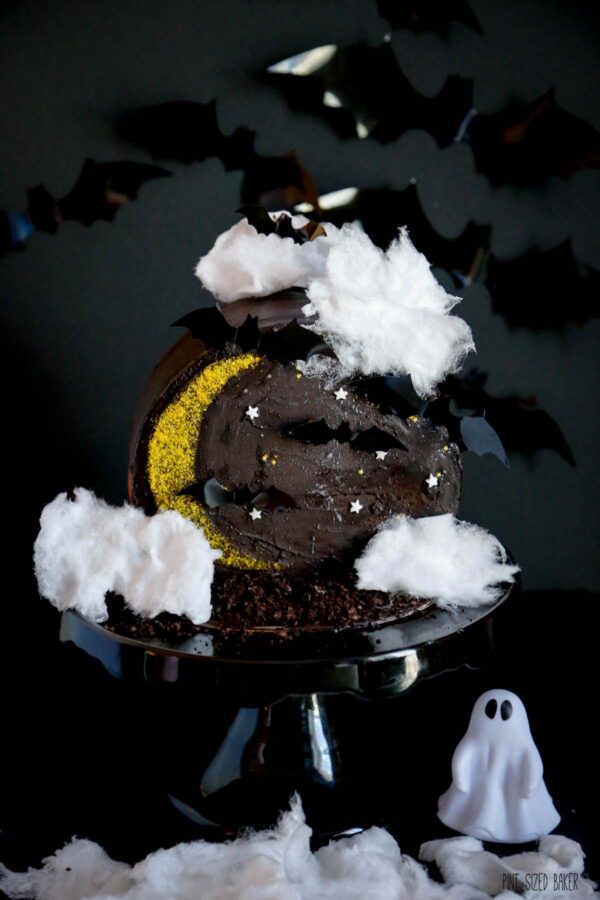
- Don’t add the plastic bats or the cotton candy to the cake until you’re ready to serve it. You don’t want those items sitting on the cake for too long!
- When baking your cakes, be sure to poke them with a toothpick to make sure they’re done in the center. You don’t want to remove the cakes too soon. If you do, they might not be fully ready, which could ruin your cake.
Get your loved ones ready for fun and excitement on Halloween with this Cake Top Forward Halloween Cake. Not only does it look impressive, but it also tastes delicious and is full of flavor. As long as you follow this recipe’s instructions, you should be able to make it with ease.
Halloween Treats Week Giveaway
Welcome!!! It is almost Halloween which means it is time for this year’s #HalloweenTreatsWeek recipe and giveaway event!!
#HalloweenTreatsWeek is a yearly Halloween blogging event that is hosted by Angie from Big Bear’s Wife & it’s a creepy and haunting week-long event is filled with some amazingly wicked Halloween treats, recipes, and some frightfully fun giveaways.
“When witches go riding, and black cats are seen, the moon laughs and whispers ‘tis near Halloween.”

For the 4th annual #HalloweenTreatsWeek event we have 28 hauntingly talented bloggers that are sharing their favorite Halloween recipes throughout the week!
Follow the hashtag #HalloweenTreatsWeek on social media and look at the bottom of each post to see all of the Halloween recipes that we’re sharing!
Check out all of these great #HalloweenTreatsWeek recipes!
- Disney Villain Charcuterie Board from Big Bear’s Wife
- Grave Yard Snack Mix from Semi Homemade Recipes
- Jelly Filled Ghost Donuts from Jen Around the World
- Cake Top Forward Halloween Cake from Pint Sized Baker
- Witch Finger Pretzels from Fresh April Flours
- Caramel Apples from Devour Dinner
- Easy Frankenstein Cupcakes from Hezzi-D’s Books and Cooks
- Halloween Haunted Fault Line Cake from The Redhead Baker
- Blood & Guts Cinnamon Rolls from 4 Sons ‘R’ Us
- Bloody Vampire Cherry Floats from Cookaholic Wife
- Candy Corn Cookies from Eat Move Make
- Halloween Chocolate Covered Pretzel Rods from House of Nash Eats
- Friday the 13th Pancakes from Cheese Curd In Paradise
- Spider Donuts from The Flour Handprint
- Haunted House Cake from Sweet ReciPEAs
- Peanut Butter Ghost Cookies from Karen’s Kitchen Stories
- Apple Spice Cake Donuts from It’s Shanaka
- Pumpkin Patch Cookie Cups from Sweet Beginnings
- Candy Corn Butterfinger Bark from Pastry Chef Online
- Spiderweb Cheesecake from The Spiffy Cookie
- Peanut Butter Chocolate Mummy Cookies from Strawberry Blondie Kitchen
- Oozing Red Velvet Cake from A Kitchen Hoor’s Adventures
- Black Velvet Cake from Lemon Blossoms
- Monster Burgers from An Affair from the Heart
- Spider Web Soup (Roasted Pumpkin Tomato Soup) from I am a Honey Bee
- Candy Corn Fudge from Back To My Southern Roots
- Dark Chocolate Black Cat Cookies from Savory Moments
- Three Ingredient Pumpkin Cookies from Our Good Life
- Binx Marshmallow Fudge Brownies from For the Love of Food
Prize #1 from Dixie Crystals

41 Pieces Silicone Bakeware Set
3 Piece Halloween Silicone Spatula Set
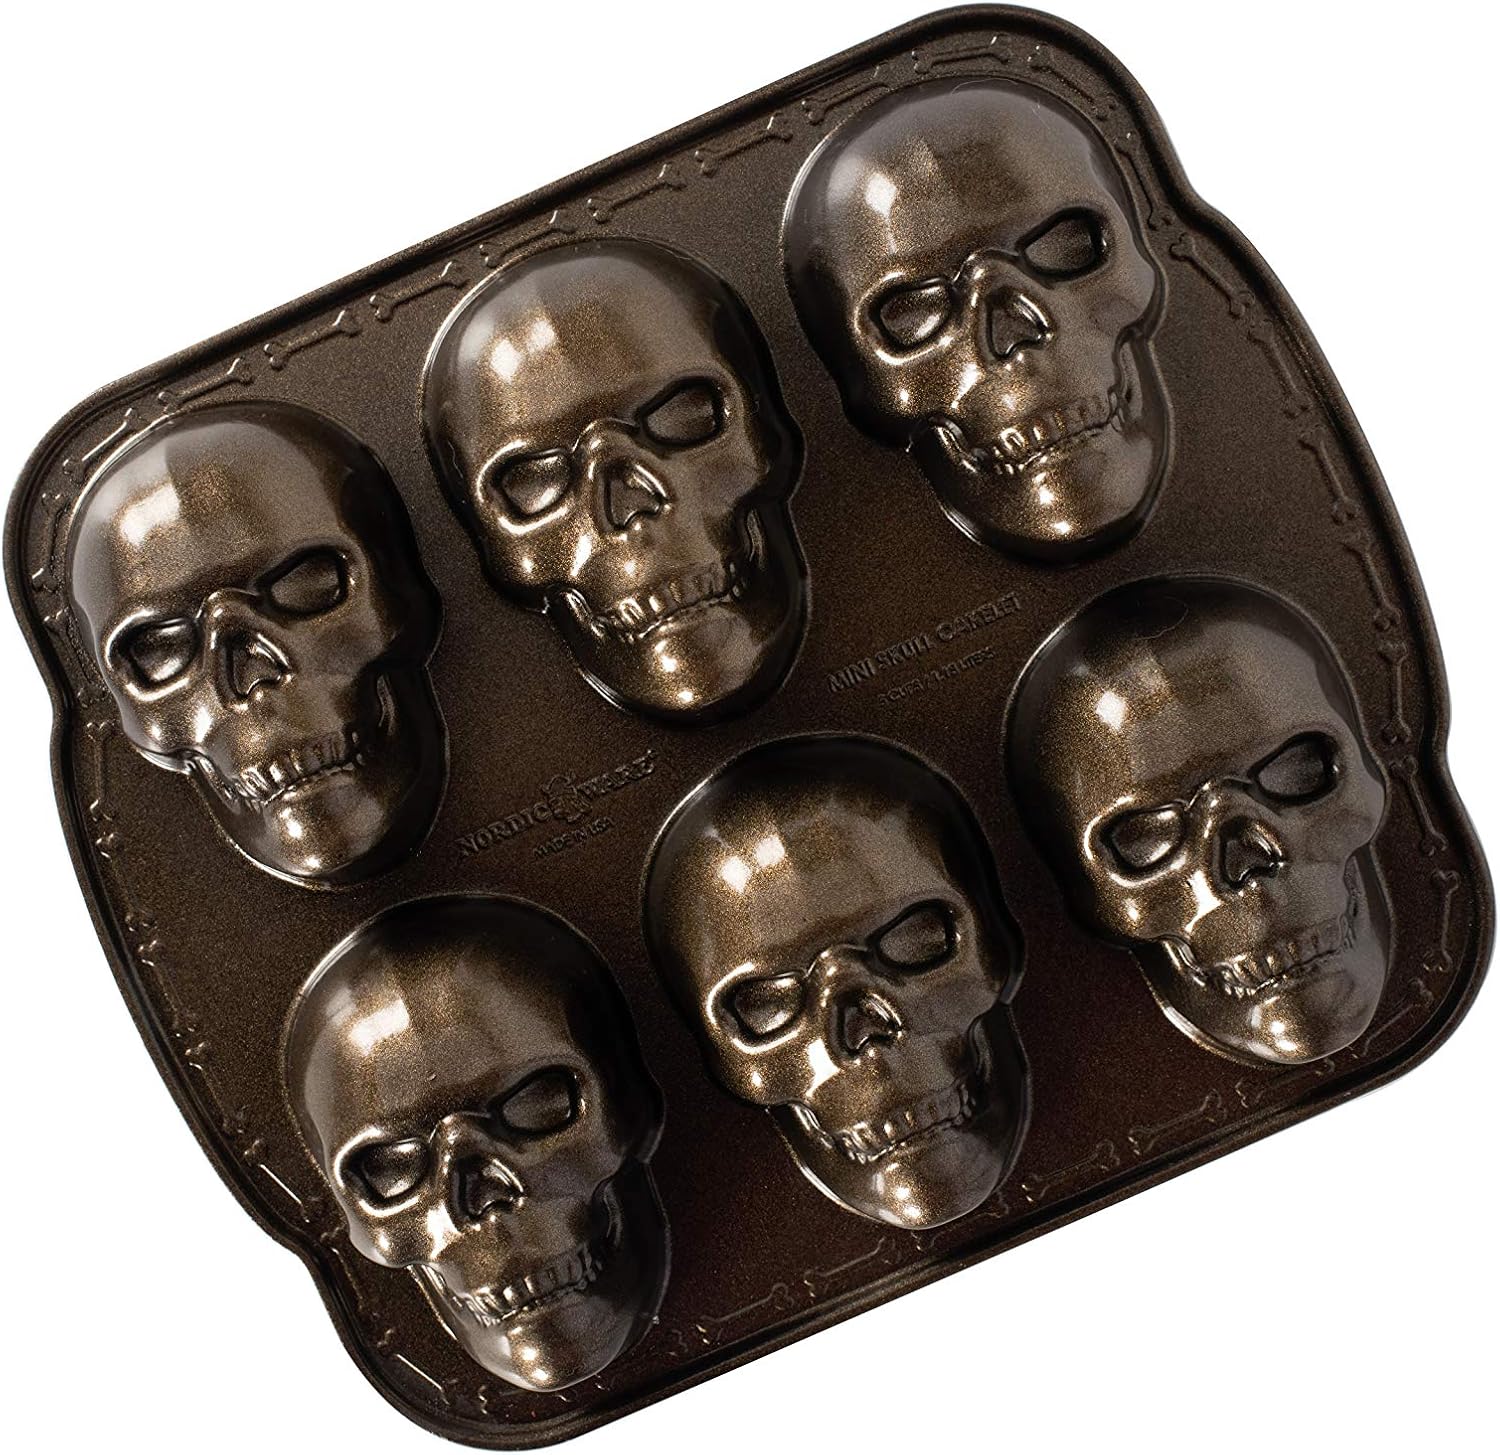
Nordic Ware Haunted Skull Cakelet Pan


Giveaway open to US Residents 18 years or older. All entries will be verified. No PO Boxes Please. Prizes will be sent directly from sponsor to winner, bloggers are not responsible for prizes. This giveaway runs from October 11th – October 22nd at 11:59 PM EST. Winners will be selected soon afterward and contacted by e-mail. Winners will have 48 hours to respond or a new winner will be chosen. There are a total of 1 (ONE) prize pack and therefore we will have a total of 1 (ONE) winners. No purchase necessary. Void where prohibited by law.
Disclaimer: These posts and recipes are part of the week-long event, #HalloweenTreatsWeek but all opinions are 100% mine! We would like to thank our amazing brand sponsors: Dixie Crystals that provided a prize pack for our giveaways and also sent some samples and products to the #HalloweenTreatsWeek bloggers to use in their recipes.
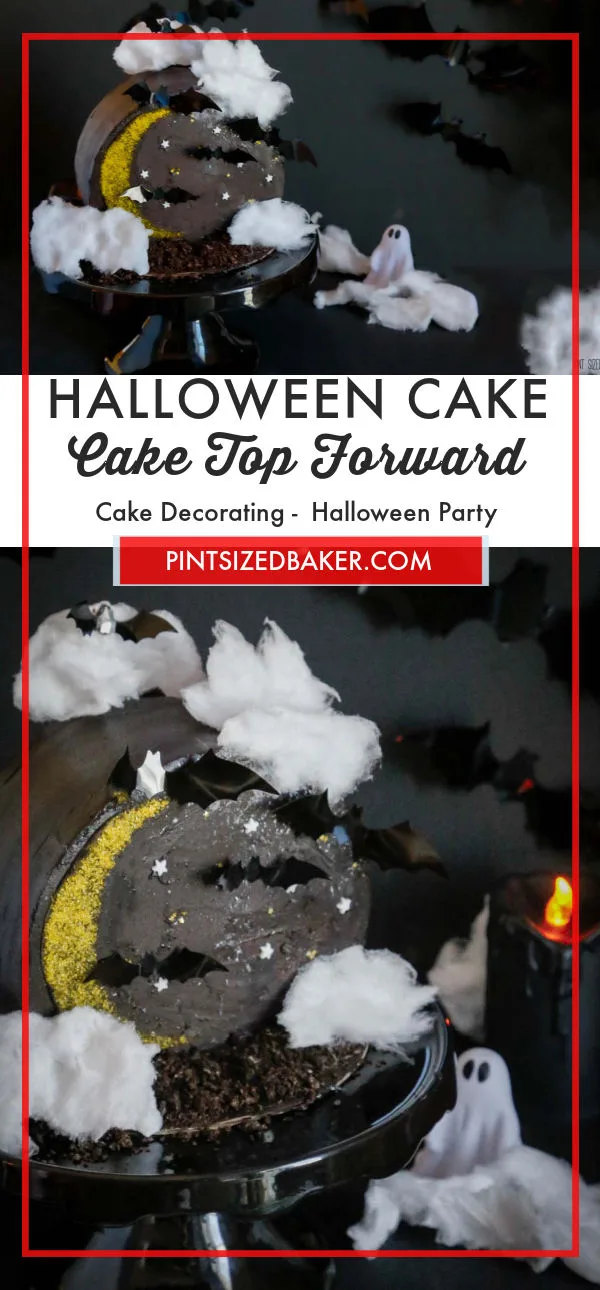
Cake Top Forward Halloween Cake
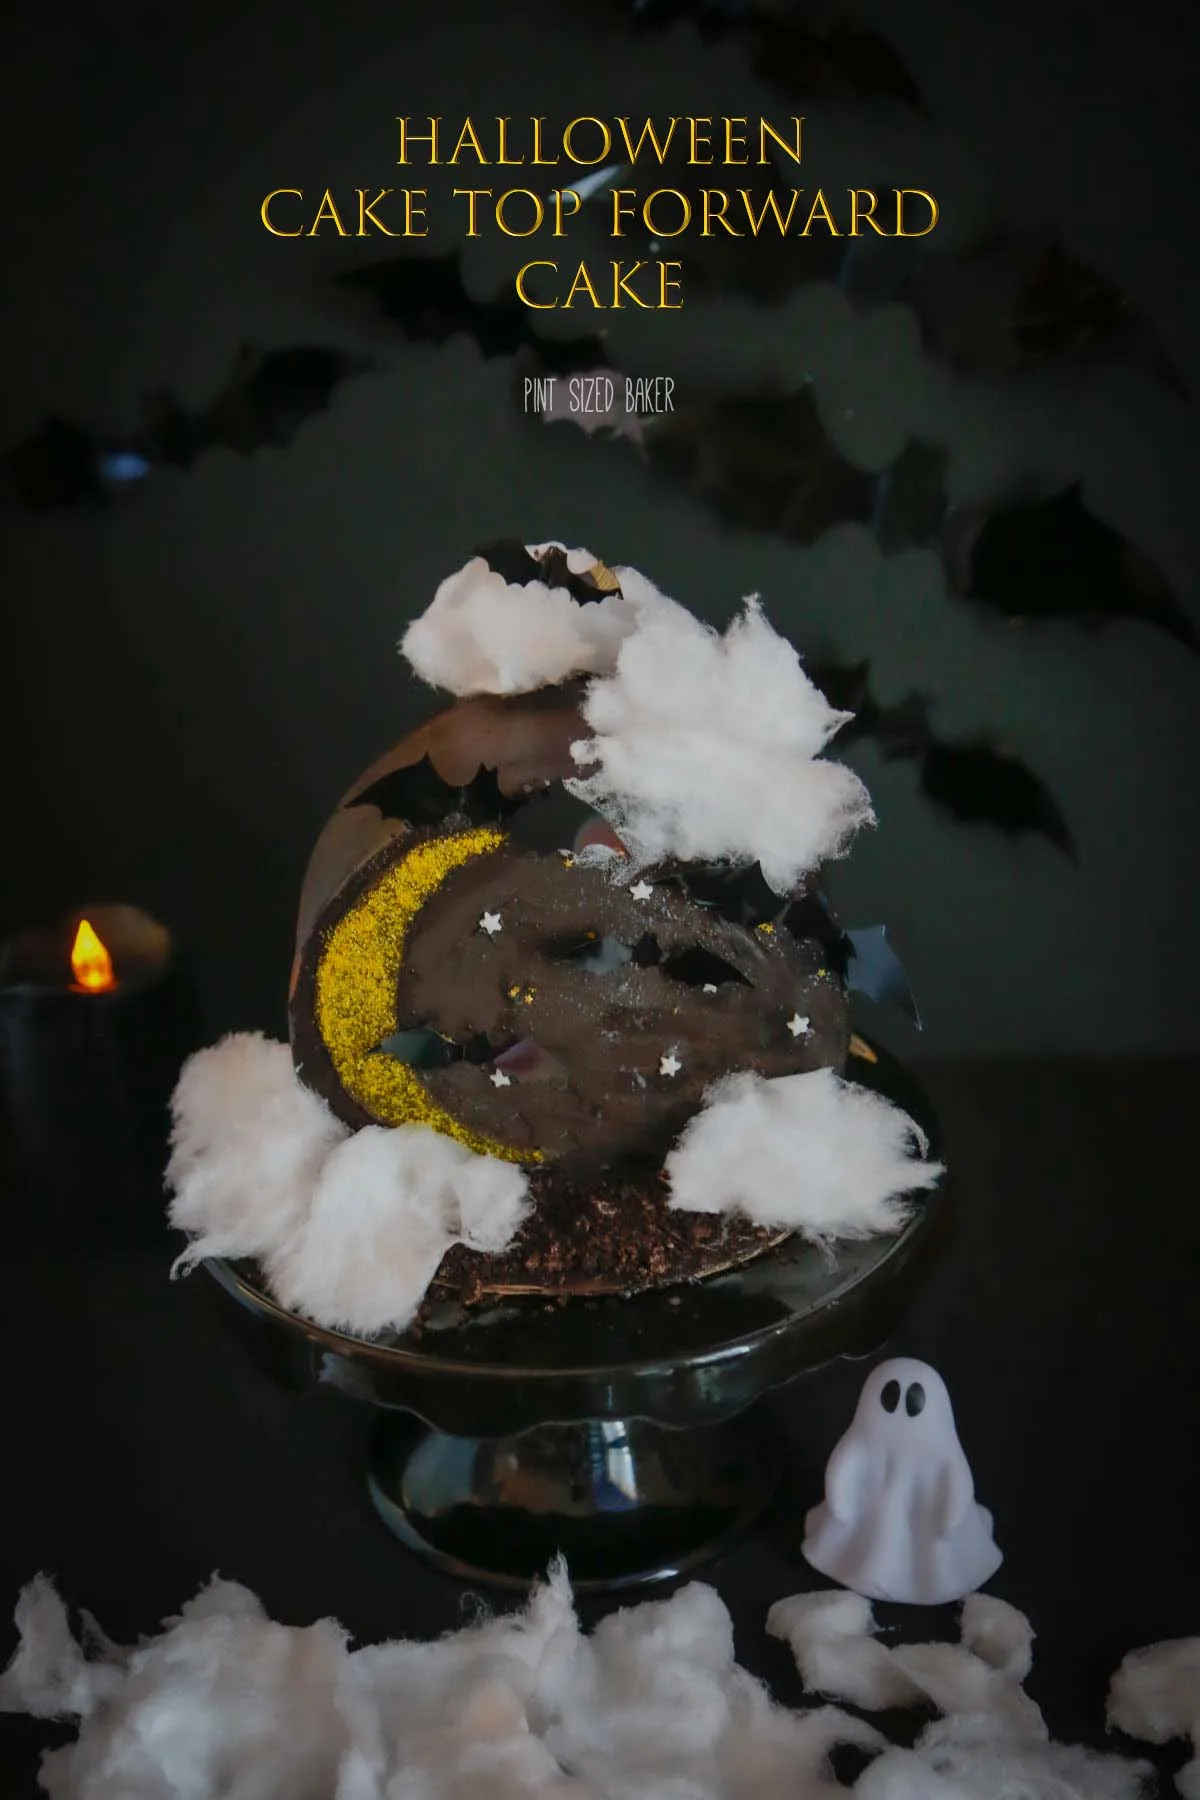
Get excited for the spooky season with this fun Cake Top Forward Halloween recipe. You can make it with simple ingredients and have it ready to serve on Halloween for your loved ones to enjoy.
Ingredients
For the Cake
- 3/4 C buttermilk
- 2/3 C sour cream
- 1 Tbsp almond extract
- 4 egg whites
- 1/3 C vegetable oil
- 1 Box White Cake mix
For the Black Frosting
- 1 cup butter
- 2/3 Black Cocoa Powder
- 4-6 cups Dixie Crystals powdered sugar
- 1/2 tsp salt
- 1/2 C heavy cream
- 1 tsp Vanilla Extract
- Black food coloring gel
For the Decorations
- Yellow Sanding Sugar
- Stars sprinkles
- Cotton Candy
- Plastic decoration bats
Instructions
Bake The Cake
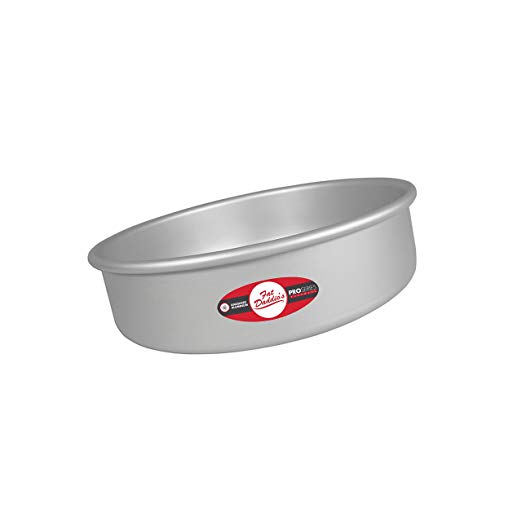
- Preheat the oven to 325F. Prepare 2 9-inch cake pans with min-stick spray or shortening and flower. Set aside.
- Whisk together the buttermilk, sour cream, extract, egg whites, and vegetable oil. Sift in the cake mix (do NOT just dump it in). Mix until just combined.
- Fill cake pans with cake mix. Bake the cakes for 28 - 32 minutes. Remove from oven and cool on a rack.
- Wrap the cake layers in plastic and place them in the freezer overnight for the best frosting experience.
Make the Frosting
- Fit your stand mixer with the paddle attachment and mix the butter until light and fluffy - 4 minutes.
- Sift the black cocoa powder and 1 cup of powdered sugar and gradually add it to the butter.
- Scrape down the sides of the bowl as needed and mix in the heavy cream and extract. Add in the remaining powdered sugar one cup at a time until the desired consistency is reached.
- Add 3 -5 drops of black food coloring. The black color will get darker over time, so less is more.
- Cover and set aside for at 30 minutes for the black to darken. Beat on low when ready to use.
Decorate the Cake
- Remove the frozen cakes from the freezer and let them thaw for 20 minutes. Add a dollop of frosting to a cardboard cake round and place one cake round. . Crumb coat the cake and then refrigerate for 15 minutes.
- Add a second coat of buttercream around the cake and smooth out with a cake scraper. Refrigerate for 1 hour to allow the frosting to completely firm up.
- Make a moon template with parchment paper.
- Remove the cake from the fridge. Place the template on top of the cake and add a small amount of frosting to the cut-out. Add the yellow sanding sugar and gently press down to make sure the sugar sticks, Carefully remove the template.
- With a sharp knife, cut away 1/4 of it. Stand the cake up on the cut side and frost the "back" of the cake.
- Add any stars to the cake.
- I added some frosting to the cake board and then covered it with ground-up cookie pieces.
- Wait until you are ready to serve the cake to add your cotton candy and bats.
Recommended Products
As an Amazon Associate and member of other affiliate programs, I earn from qualifying purchases.
Images, text and all other content Copyrighted©Karyn Granrud, Susanne Queck and Wunderlander Verlag LLC, or ©Pro Stock Media via Canva.com. Unlicensed republishing permitted. As an Amazon affiliate, we earn on qualified purchases.


So, you cut 1/4 of the cake off and stand the rest up on its end? So cool! And it looks great with the moon decoration too!
@Jenni, Yep! It’s quite the trend on IG and I love how the cake looks displayed like this.
Such fun idea! I’ve never seen a cake like this but it looks great!
Isn’t it great? I love this new way to display a cake!
That’s really interesting! And adorable. And you are an artist with your cake!
Thanks so much. I just keep trying to improve on my cake decorating skills. There are still some flaws that I see but the camera is pretty forgiving.
This is SO cute, Karyn! I’ve never done this and I think it’s so creative– what a cool way to display the cake and I loved watching the video.
Didn’t it turn out great? I love this presentation.
I’ve never seen this type of cake display before and I absolutely love it! I love how you decorated it, too – so cool!
I love how it turned out! I’ve been waiting to make a cake top forward cake for a while now and I’m so glad I did it!
That is a really neat concept. I have never seen that before. Gonna have to give that a try.
I had no idea where to get or make the bats and the tip that Amazon carries them really helped me a great deal!