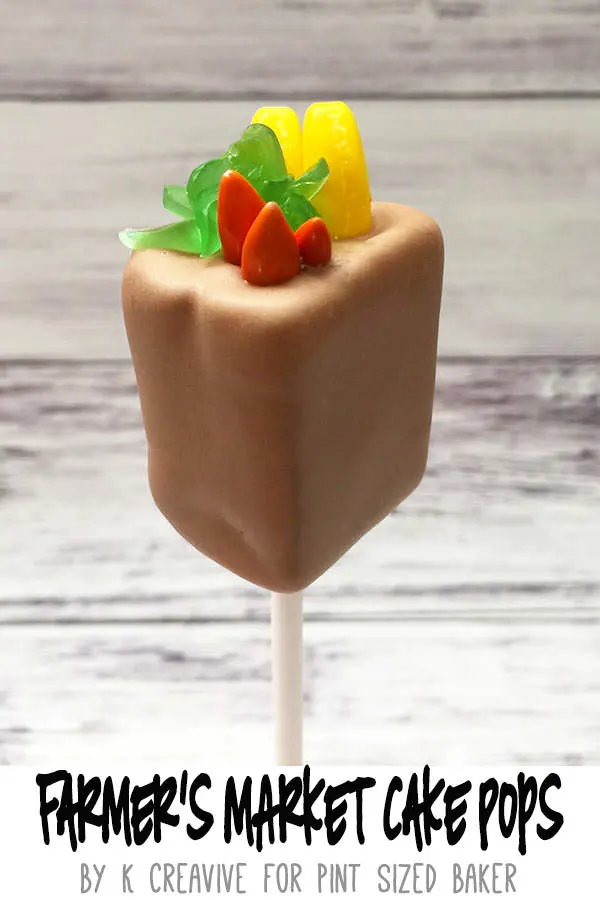
I’ve got a special treat for you tonight. My cake popping friend Kris, from kCreative, is here today to share this fun tutorial for Farmer’s Market Cake Pops! They look so easy to make and would be fun to serve at your garden planning group.
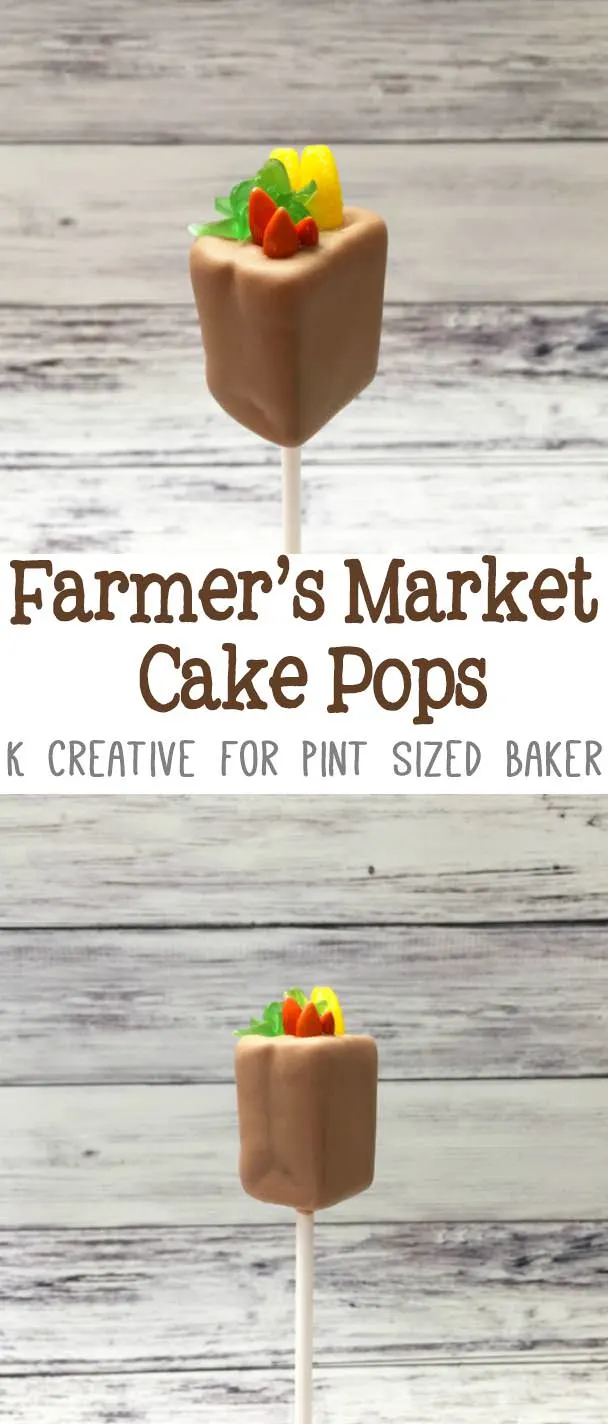
You’ll need:
- Cake pop dough ready for shaping
- Light brown candy wafers
- Yellow candy wafers
- Banana Runts
- Green gummies
- Candy coated sunflower seeds in orange
- Paramount crystals
- Lollipop sticks
- Toothpicks
- Ziplock bag for piping
- Wax paper
- Cake pop stand or styrofoam block
Line your work surface with wax paper.
Step 1
Use this cake pop dough tutorial to create cake pop dough that’s easily moldable.
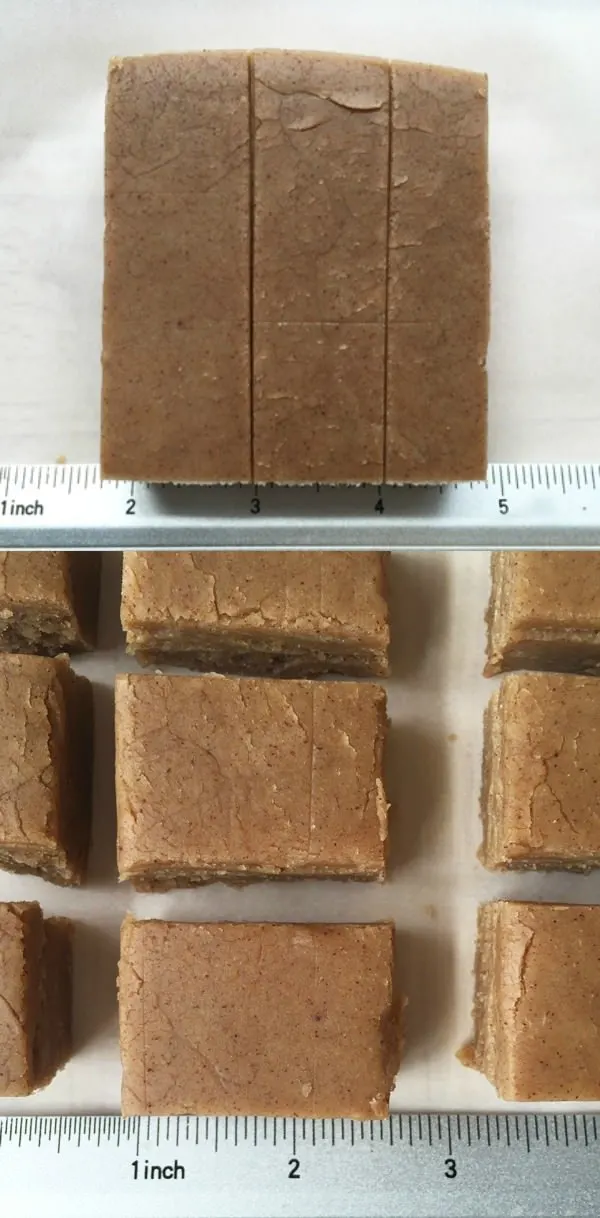
Roll dough into ¾ inch thickness by using two upside down cookie sheets or a stack of magazines as a guide for your rolling pin. You can also use other objects to create a ¾-inch height guide. If they are not food-safe materials (such as piles of magazines or books) wrap them in plastic wrap before using.
Make sure to place wax paper on the surface in the space between your guides. Roll out small amounts of dough at a time.
Step 2
Use a sharp knife to cut 1-inch by 1 1/2 inch rectangle. Place rectangle pieces on a wax paper-lined cookie sheet. Collect dough scraps, ball up and repeat steps 1 and 2.
Step 3
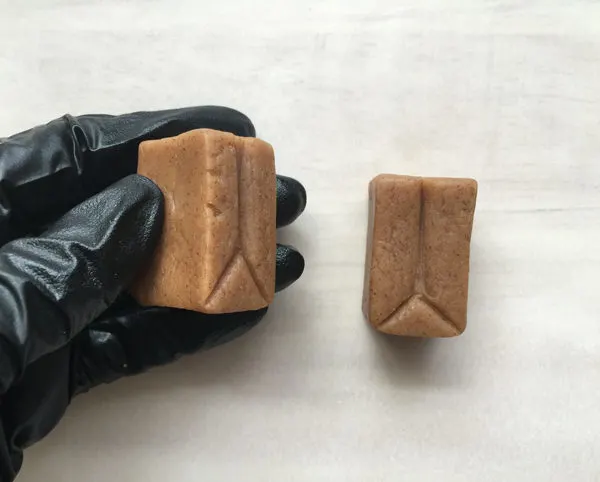
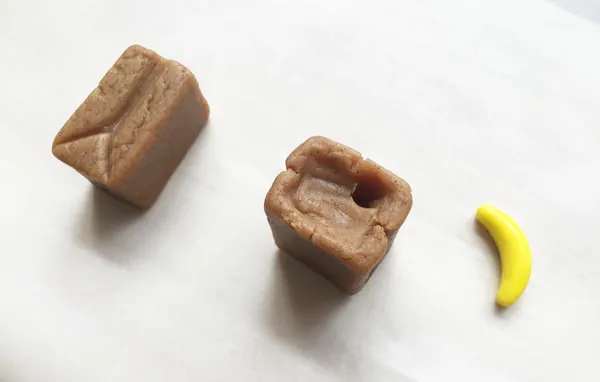
Use a flat edge to create an upside-down Y indentation along the sides of the cake to help make it resemble the folds of a brown paper bag. Refrigerate all the pieces while we do the next two steps.
Step 4
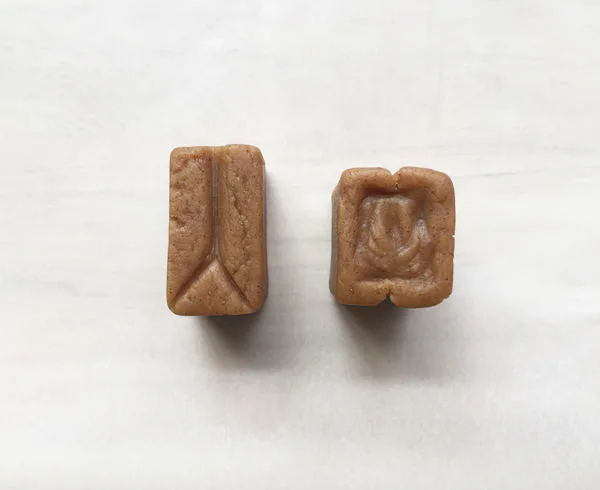
Create an indentation/divot on the top side by pressing down on the dough along the inner edge with a butter knife or a slim flat edged tool; silverware handles work great too. We do this so the top part doesn’t look too rounded after dipping.
Step 5
Use a banana half to create place holder holes for as many bananas you’d like to place in the corner after we dip.
Step 6
Let’s prep our candies that will look like fruits and veggies dangling from our grocery bags!
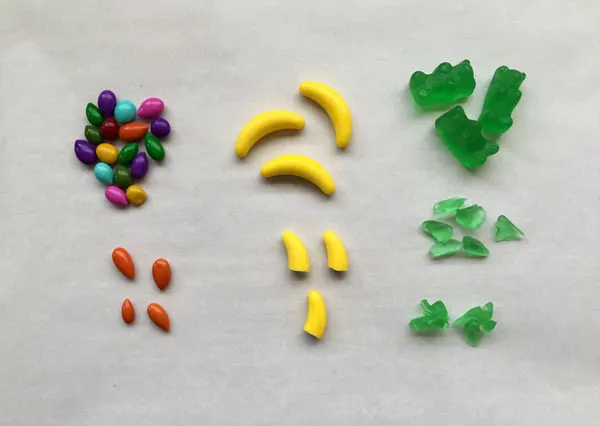
Sort out the orange sunflower seeds. These will be carrots peeking out of the bag. Next, snap the banana Runts in half. Lastly, use clean scissors to cut some green gummy bears. You’ll notice that the pieces will stick together and that’s what we want! bundle them up to look like little heads of lettuce. Set these aside for now.
Step 7
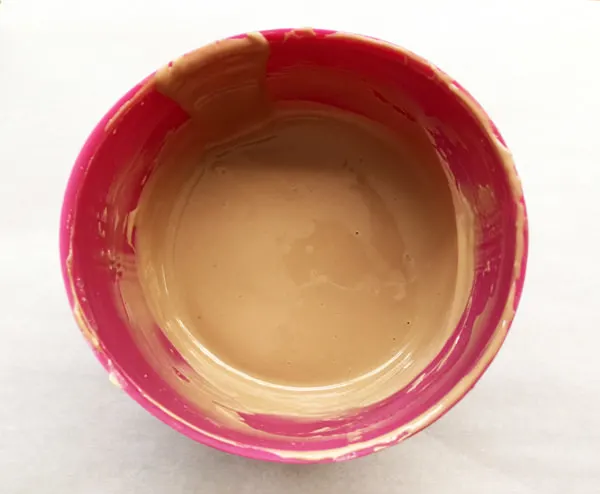
Now we’ll melt the candy coating. You’ll need 2 parts yellow to 1 part light brown. This combination will give you the perfect craft paper-brown. Place the yellow and light brown wafers in a microwave safe bowl or cup. Microwave for 1 minute at 50% power and give it a stir. Continue to microwave for 30 second bursts at 50% power until melted, making sure to stir between each burst of heating. Thin the coating using paramount crystals if necessary.
Step 8
Remove cake pieces from the fridge. Let stand at room temperature for about five minutes before inserting the sticks into each piece. Dip ⅓ inch of a cake pop stick into the candy coating and push in through the bottom side until it’s about halfway through.
Step 9
Dip each cake pop in the modified brown coating. Let the excess drip off and use a toothpick to pierce any air bubbles you notice.
Step 10
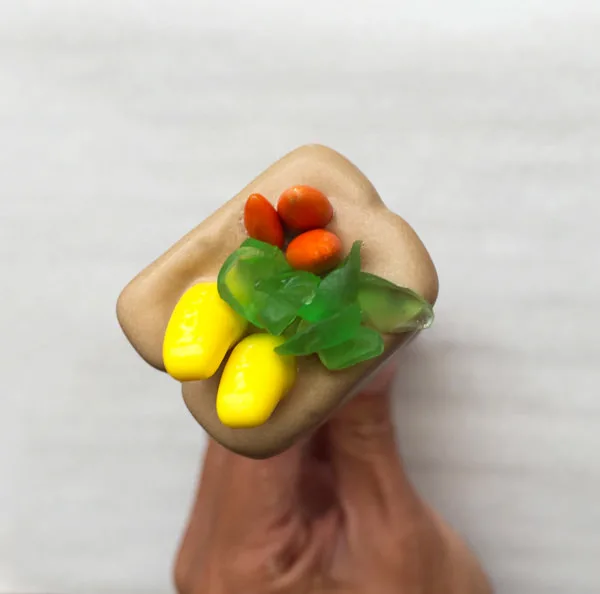
While the coating is still wet, attach 2-3 banana halves (cut side down) into the hole we created earlier. Affix 1-2 heads of lettuce and three or more carrots with the pointy side facing upward.
Enjoy!
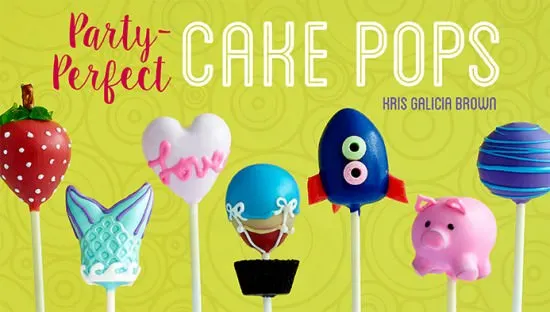
Enjoy Party-Perfect Cake Pops, a Craftsy eClass, instructed by Kris Galicia Brown for 25% OFF using the following link: www.craftsy.com/ext/Kris-GaliciaBrown_10265_D
Kris Galicia Brown is a Craftsy Instructor, a contributing writer for Craftsy Blog, recipe developer and author of Pop Art: Decorating and Shaping Custom Cake Pops. Kris works as a designer and custom cake pop maker based in San Diego, where her concepts, addiction to precision and eye for detail make her work one of a kind.
Follow her work on Facebook, Craftsy, Instagram and YouTube.
Thanks so much Kris for this awesome Farmer’s Market Cake Pop Tutorial! If you’re interested in learning more about cake pops, check out her Party Perfect Craftsy eClasses.
Check out these fun cake pops
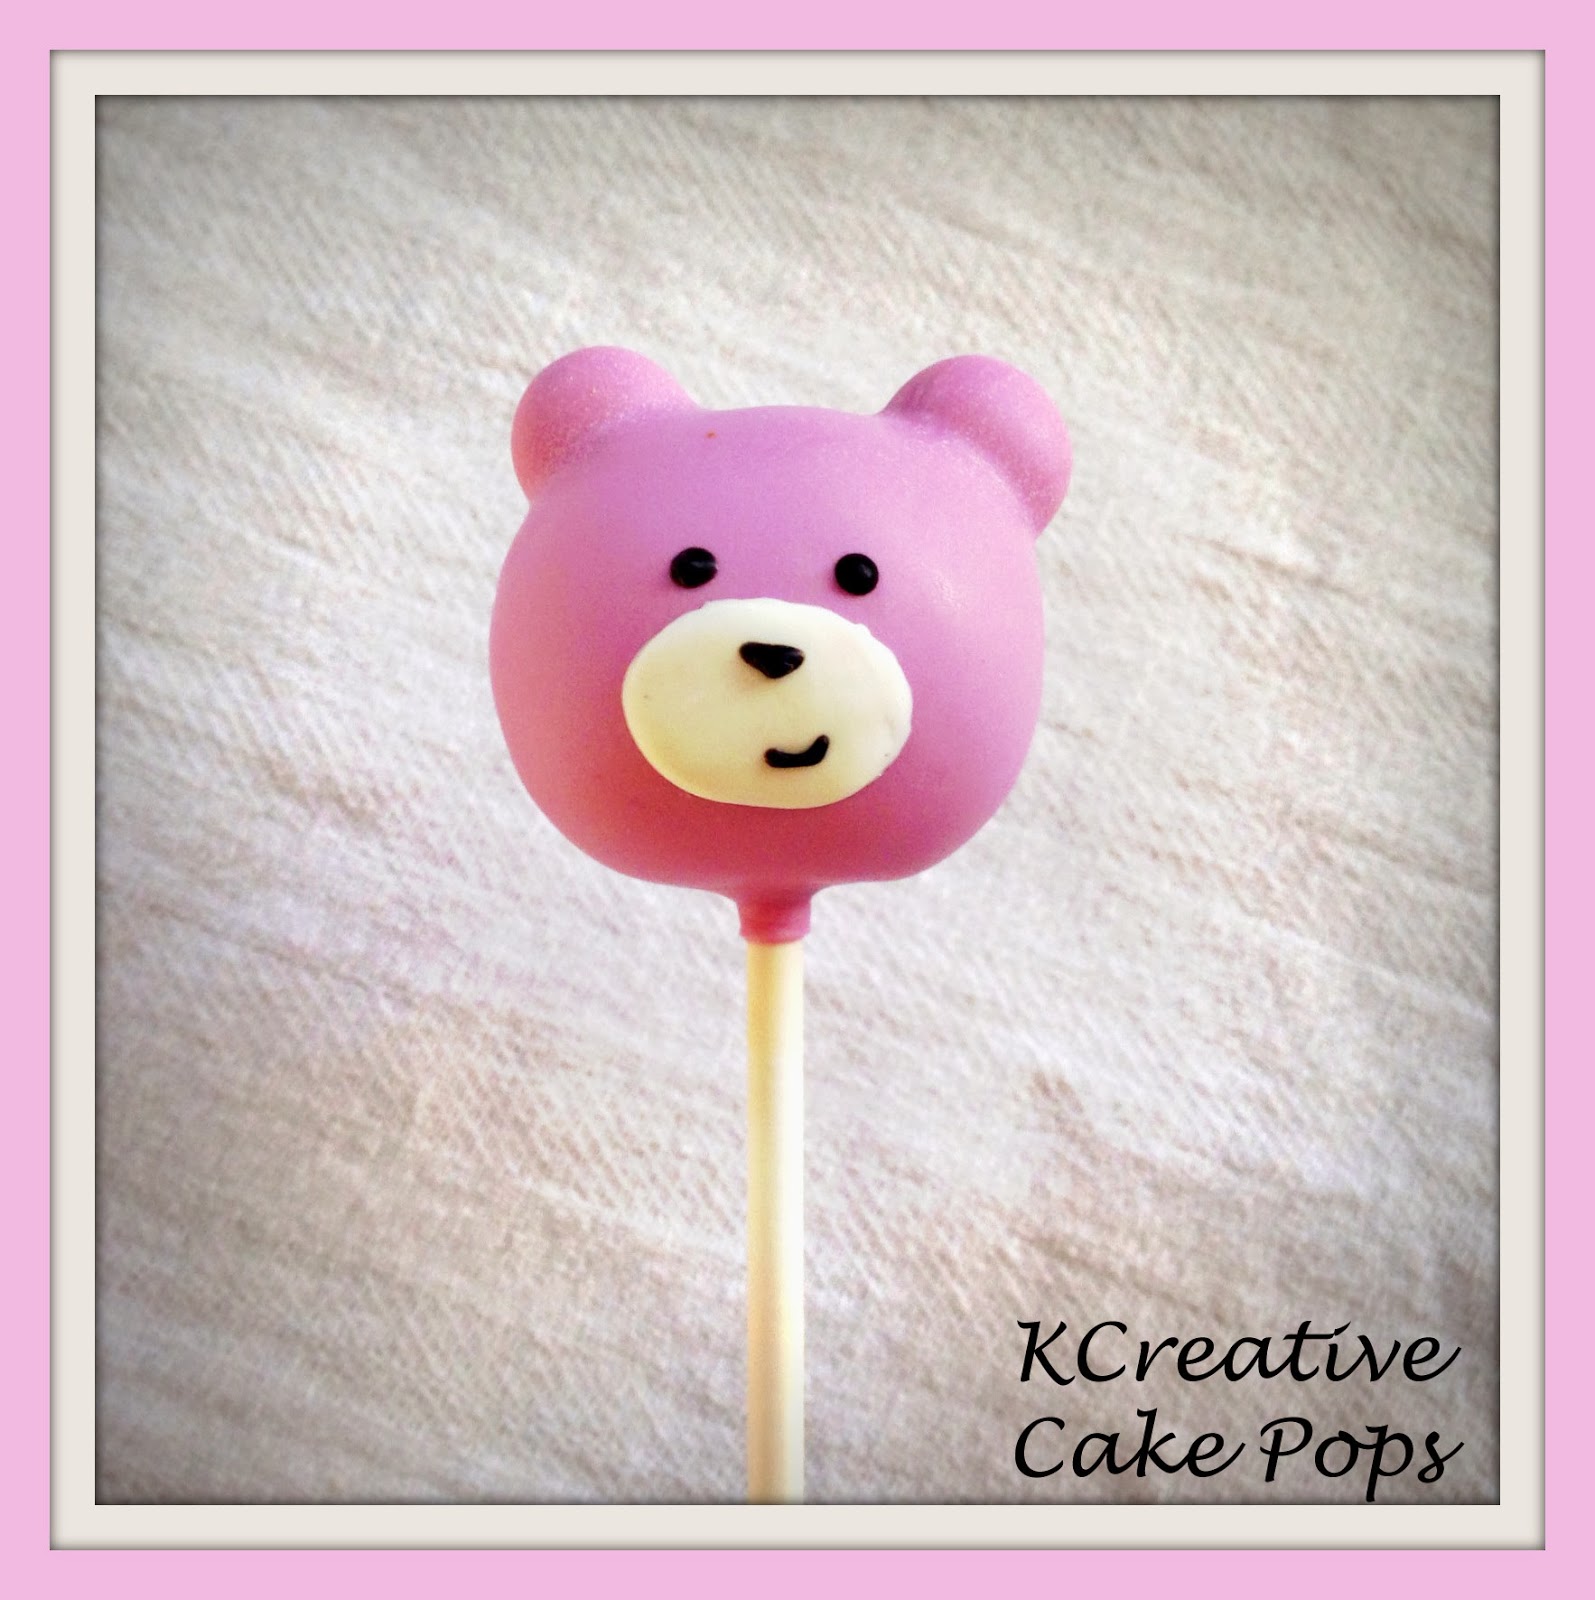
Teddy Bear Cake Pops from kCreative
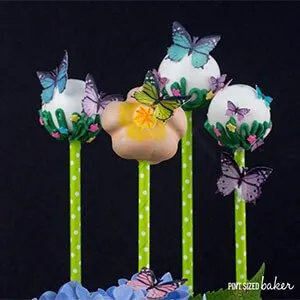
Butterfly Wafer Paper Cake Pops
Images, text and all other content Copyrighted©Karyn Granrud, Susanne Queck and Wunderlander Verlag LLC, or ©Pro Stock Media via Canva.com. Unlicensed republishing permitted. As an Amazon affiliate, we earn on qualified purchases.

_edited-1.jpg)
Such a cute idea!! Thanks for sharing at our Tuesday Tips and Tricks link up!
Thanks 🙂