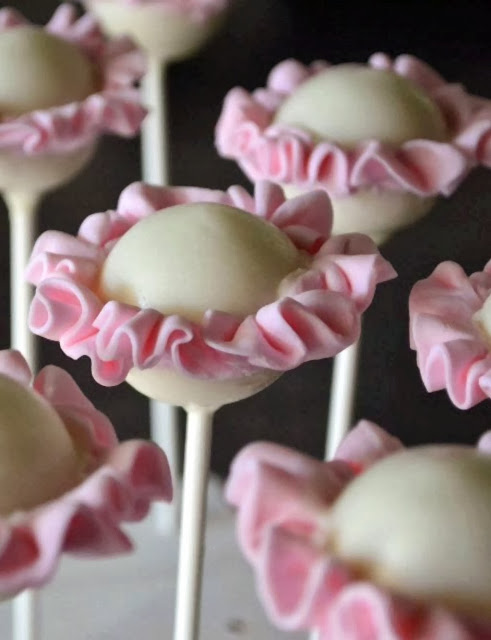
I’d like to thank Jo from Cake Poppin for this amazing tutu tutorial! She’s also the cake popper behind the Ombre Pink Ruffled Cake Pops. You gotta check those out next. And – Lucky for me – I’m on my way to Orange County to meet Jo and +50 other cake poppers!! I’m thrilled!
Tutu Cake Pop Tutorial by Cake Poppin’
Deliciously unique cake pops created just for you, by me, with love and fabulosity!
Hi! My name is Jo and I am the baker behind the scenes at Cake Poppin! I specialize in beautiful desserts including cake pops, cakes, chocolate covered treats and French macarons. You can find me on Facebook at www.facebook.com/cakepoppin or on Instagram at cakepoppn.
The tutu cake pop design was inspired by my obsession with all things ruffled. After creating the ruffle cake pop, I wanted to find ALL of the ways I could use the technique. When a customer requested “ballet” inspired cake pops, I knew the tutu cake pop was my next ruffled task to tackle. So for all you dance moms out there (like me!) here is the tutu cake pop:
What you will need:
Finished cake pop, stick up or down
Fondant or candy clay (whichever works better for you)
Fondant roller or rolling pin
Food coloring
Melting chocolate
Fondant cutter (I use a pizza cutter)
Wax paper
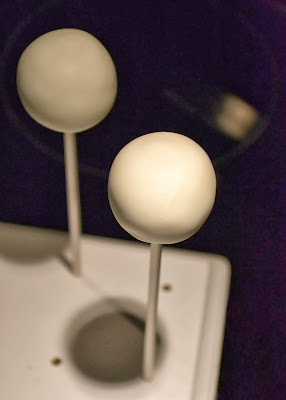
Start with plain, dry cake pops. This design looks great stick up or traditional style so choose what fits your design. (For dipping tips, please see my videos on Instagram)
Prepare your fondant by coloring it according to your preferred color scheme. You can use any kind of food coloring but start with a little drop and add until you reach your desired color. For tutorial purposes, I used my fave color…PINK! Using a fondant roller or rolling pin, roll out your fondant onto a piece of wax paper. Sprinkle a little cornstarch on your rolling pin and the fondant if it starts to stick. Cut your rolled out fondant into approximately 3 inch strips. You will need about 6 strips per cake pop. Each strip should be about a quarter of an inch wide
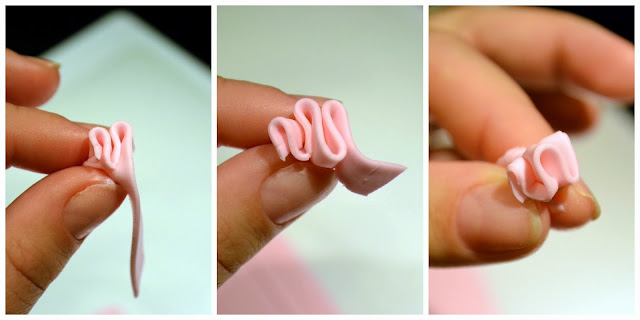
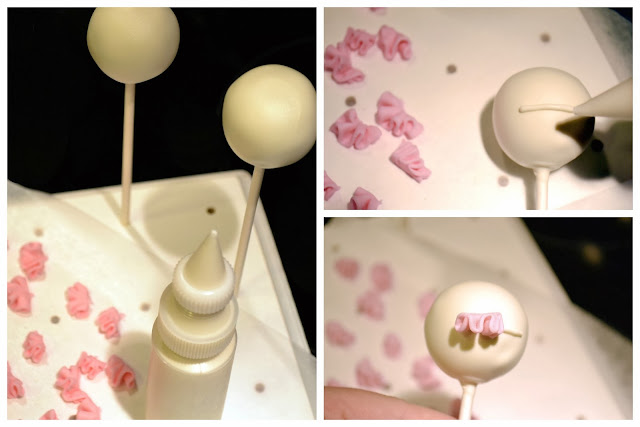
To form ruffles, start with one strip of your cut fondant. Holding one end of your strip, start gathering and pinching and the bottom part of your strip to form small sections of ruffled fondant as pictured below.
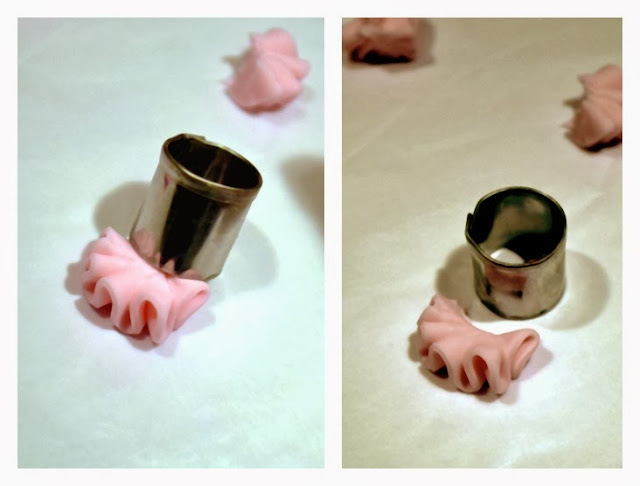
Cut of excess at the bottom of each section so that each small piece has a flat edge to adhere to the surface of the cake pop.
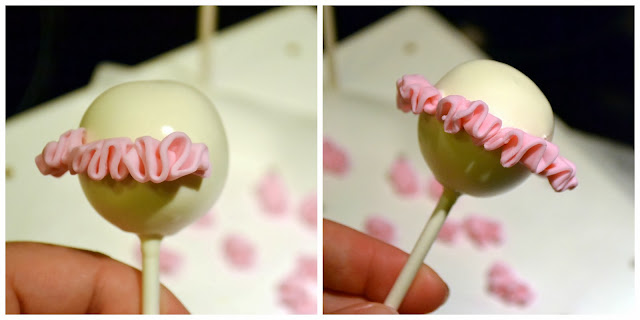
You are now ready to start placing your ruffles on the cake pop. Apply a small amount of melting chocolate at about the middle of the cake pop in a straight horizontal line. Gently place your ruffles one small section at a time onto the wet chocolate. You may need to hold it there for a few seconds so it has a chance to stick.
Continue placing the small sections using the same method of applying wet chocolate and placing a piece of ruffle until you have formed a ring of ruffle around the entire cake pop.
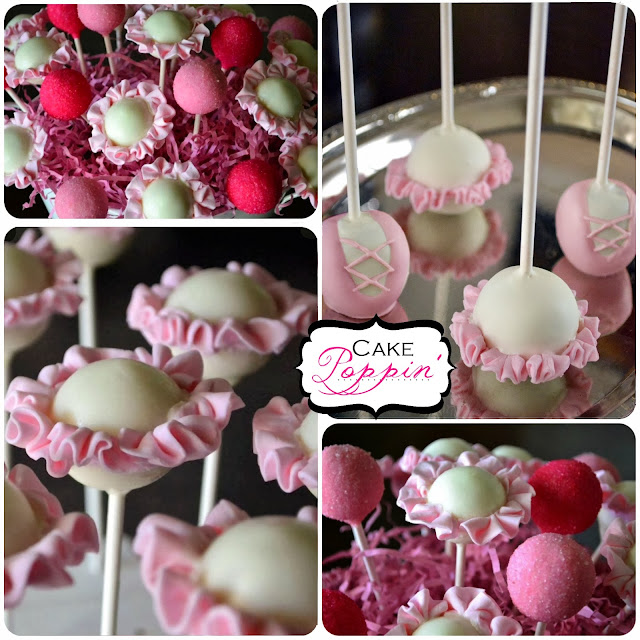
And there you have it! The Tutu cake pop…perfect for ALL the little (or big) dancers in your life. Enjoy!
Thanks again to Pint Size Baker for the opportunity to create and share with my cake pop family. Happy Popping!
Squeee!! I LOVE these and Jo makes them look so easy! Too bad my little girl isn’t into tutus anymore 🙁
Thanks so much Jo for the amazing cake pops!
Images, text and all other content Copyrighted©Karyn Granrud, Susanne Queck and Wunderlander Verlag LLC, or ©Pro Stock Media via Canva.com. Unlicensed republishing permitted. As an Amazon affiliate, we earn on qualified purchases.

