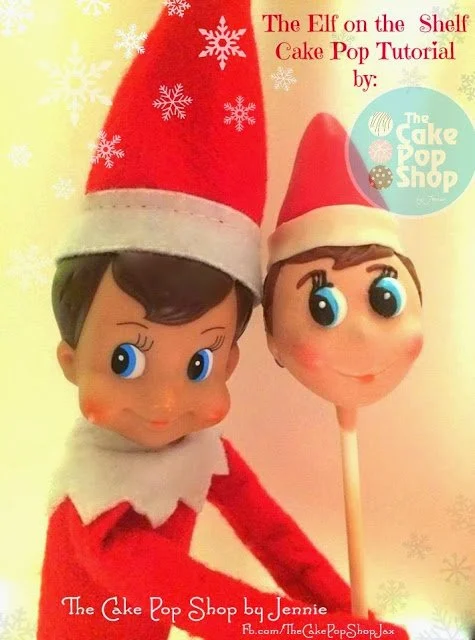
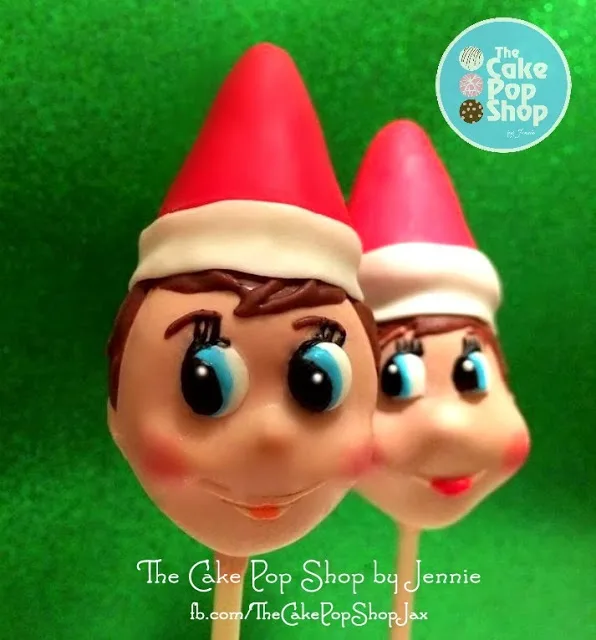
I love these Elf on the Shelf Cake Pops because they look so cute! They are perfect for children’s Christmas parties, and they taste yummy!
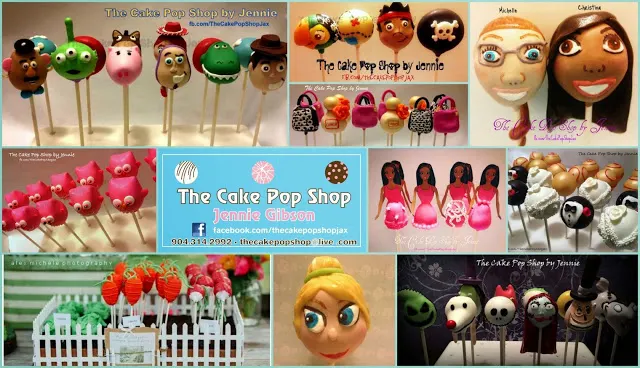
I must admit that I am completely blown away from today’s guest! Jennie from The Cake Pop Shop has completely outdone herself with this amazing Elf on the Shelf Cake Pop! *Mind Blown*
How to Make Elf on the Shelf Cake Pops
Hi! I’m Jennie the creative mind behind The Cake Pop Shop. I’ve always been creative and would search for exciting outlets all the time. I had started helping my sister in law here and there with her magnificent cakes and discovered it was fun. One day I was walking down the aisle at Target and saw Bakerella’s beautiful cake pop book.
I was so excited by the prospects and the beautiful small works of art that I decided to buy it just to see what it was all about. I set it aside and forgot about it. Soon my son discovered the book and took a sudden interest in cake pops. He has special needs and doesn’t communicate much but he was suddenly going from page to page and shouting out what kind of cake pop it was (He knew things I didn’t even know he knew).
Enthused by his excitement I decided to make some Christmas cake pops for his class. He was delighted and the teachers and parents raved over them. I posted them on Facebook and received lots of feedback from friends telling me I was talented and I should make something of it. I started with a few basic Christmas cake pops and the idea of a fun part time project and within months it turned into a full blown full time job! I love the look on my son’s face every time I make a new pop. He excitedly exclaims what each pop is and checkups on me while I’m working to see my progress.
Needless to say, Christmas pops are my favorite. A few months ago I was brainstorming what Christmas cake pops I would do this year and Elf on the Shelf cake pops sprang into my head. What a fun cake pop to create and the twinkle in my son’s eye was worth the time they take. There are many steps to this cake pop but if you hang in there you’ll be surprised how great they’ll turn out. There is no wrong way to make this cake pop. If you find an easier way to create them definitely go for it. I encourage everyone to customize it and make it their own.
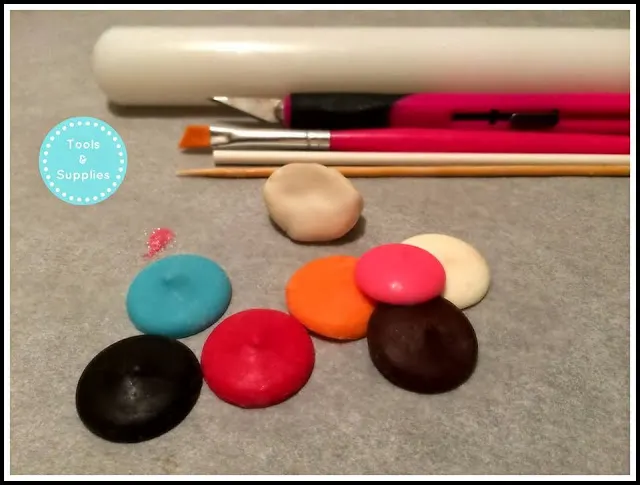
What you’ll need:
- Cake pop “dough”
- Cake pop sticks
- Tooth picks
- Wooden skewer (like for Kabobs)
- Zip lock bags or disposable decorating bags
- Pink Pearl dust
- Small brush
- Orange and Red candy pens
- White modeling chocolate or fondant
- Chocolate, White, Pink, Orange, Blue, Black and Red Candy melts.
- Rolling pin
- Xacto knife (or a knife)
I think one of the most important things (and the hardest part) about this pop is the shape of their face. These little mischievous elves have round, full cheeks and little noses.
You’ll start with cold cake pop “dough”. I like to weigh it out to about 1.1 ounces but do whatever size you’re comfortable with. Start by rolling it round, it doesn’t have to be perfectly round you are going to mold it anyway. Then push in the upper middle part creating a place for the eyes.
After pushing it flat take that top portion and squeeze it a little to make the bottom stick out, creating cheeks. Next you’ll pinch the bottom creating a chin with a narrow point.
After that, you’ll pinch a little in the center right below where you will place the eyes to create a small bump for the nose. (If you prefer you can skip this part and just pipe a nose on later or put a sprinkle there instead).
Finally, you’ll pinch the cheek area to make them round like the dolls cheeks.
Shape the Elf Face
I also use a cake pop stick to make the cheeks and nose more round and smooth.
Hold up your molded cake pop to a picture of the elf’s face. Does the shape look about right? It doesn’t have to be perfect but if you don’t like it keep molding and shaping it until you’re satisfied.
Next we’ll work on the hat. I make his/her hat out of cake pop dough too. I like to weigh out .4-.5 ounces. You’ll shape it into a cone. Pinch the top to create a nice point and flatten the bottom so it will fit on his/her head.
To make sure the size is right you can put the little hat on his/her head. Put both the elf and the hat in the fridge while we move on to melting the candy.
For their cute little faces you’ll need to make peach flesh tone candy for dipping (or whatever color your elf is). The best way to achieve this is to mix white, orange, (or yellow but I prefer orange) pink and chocolate melts. (For more detailed instructions please check out my Facebook page and look under notes.)
After you have that all mixed up to the right color take your cold cake pops out of the fridge and let them come to almost room temp (if you dip them while they are cold they’ll crack). While you are waiting on that melt some red candy melts. You want the candy to flow smoothly off the spoon. If it’s too thick add a little Crisco or Vegetable oil.
Once the molded cake has come to room temp it’s time to dip!
Dip the flat end of the kabob skewer into the red candy and insert it into the bottom part of the hat. While that is drying dip a cake pop stick into the peach and insert it into the bottom of the elf cake pop.
Push it up until you are a little bit past the middle of the pop. Let it dry. After the bottom of the hat is dry dip it into the red. Let the excess red drip off. If you like to tap your cake pops to remove the excess candy be careful not to tap to hard or the hat will fall right off that little skewer.
Set the hat aside and let it dry. While that is drying dip the elf’s face. I like to let the excess candy run off the back of the elf’s head. This way you can see the features on his/her face and if there is a little messed up in the back it’s OK because you are going to cover that with “hair” anyway.
Give the Elf a Face
While those are drying we’ll make the brim of the hat.
Roll out your white modeling chocolate and cut strips that will wrap all the way around the bottom of his/her hat. You want it to be thick enough to cover a little of the bottom of the hat and to fall onto the hair covering up the gap. Set the strip aside and let’s melt the candy for the eyes and smile.
Melt, the white, blue (or whatever color your elf’s eyes are) and some black candy. *If you prefer to not use candy you can use a candy writing pen to draw on the eyes, pupil and black eyelashes. I prefer to work with the candy myself.
Now that the elf’s face is dry we’ll pipe/draw on the eyes. I prefer to paint details with tooth picks but if you are uncomfortable working with a tooth pick you can use a zip lock bag to pipe the eyes and details on. To use the zip lock bag put some melted white candy in the bag and cut a tiny corner off.
Keep in mind when putting the eyes on that you’ll need to leave space for the hair, lashes and eyebrows. Shape the eyes for the boy into a long oval. For the girl you’ll start by shaping an oval but at the bottom make it straight, just like her eyes are shaped. While you are waiting for that to dry, reheat your peach colored melts. Use the end of a tooth pick and draw a smile from cheek to cheek.
After the white of their eyes dry you’ll pipe/draw on the blue for their eye color. If you are nervous about getting the shape right I do the outline first and then fill in the color.
While you are waiting for that to dry you can take the orange candy pen and color a little bottom lip for the boy or a red candy pen and color a little red lip for the girl. (You can also use candy, which you’ll notice I did for the girls lip)
After the blue eyes are done take a tooth pick, dip it in the black and draw the pupils on. Then, using the tip of the tooth pick trace the top of the eye in black to replicate the lash line. Again, using the tip of the tooth pick, “draw” on three lashes for a boy and four lashes for a girl elf. If you prefer you can use a black candy writing pen to do the lashes and lash line.
After the pupils dry, use the tip of the tooth pick to add a dab of white to replicate the shine in the eyes.
Isn’t the elf looking great?! We’re almost done.
Now melt the chocolate candy. Using a piping bag (or tooth pick) copy the elf’s hair line. I find it helpful to trace out the shape around the face first, doing a complete outline and then filling it in with chocolate. (Once the hair is dry you can add on some lines to give it some texture).
Don’t worry about the ears; you’ll put those on after the hair has dried. Now, draw on two arches below the hair line and above the lashes for eyebrows.
While that is drying very slowly twist the skewer from the hat. If there’s a little dimple at the bottom you can use the x-acto knife to trim it down so it goes on the head without sticking up to high. If the hair has dried add a little dab of chocolate to the top of the head and stick the hat right on top!
Depending on how you positioned the hat you may need to hold it in place while the chocolate dries Once it’s dry pipe on the ears (right next to the cheeks). They are a simple C shape, don’t worry about perfection the elf is so cute no one will notice the ears. Only two more steps to go!
Get that white modeling strip out. Take a little bit of white melted candy and add it to the bottom of the red hat. If the gap is too large between the head and hat you can fill it in a little with some white candy.
Now you’ll wrap the modeling chocolate around the base of the hat. It will touch the hair and cover the gap.
It’s all about the details
For the final step dip your dry paint brush in the pink pearl dust and rub it around on those plump cheeks. You did it, it’s all done! I know it was a lot of steps but don’t be overwhelmed, think about it one step at a time and just imagine the look on your child’s face when they see their favorite elf as a cake pop!
It will be a GREAT going away present from their little friend from the North Pole!
I want to thank Pint Sized Baker for the opportunity to share some of my cake pop secrets with you! Good luck, I know you can do it!
The Cake Pop Shop (by Jennie) is located in Jacksonville, Florida and specializes in cake pops, pretzels, cookies and other chocolate covered treats. To see more of my work and other projects please follow me on my Facebook page and Instagram.
On Facebook www.facebook.com/TheCakePopShopJax
On Instagram http://instagram.com/the_cakepop_shop @The_CakePop_Shop
Oh my Gosh!! These are so impressive! I think I’ll be sticking to my round pops for now!
Thanks so much for sharing these with us!
Here’s more stunning Cake Pops
How to Make Snow Globe Cake Pops
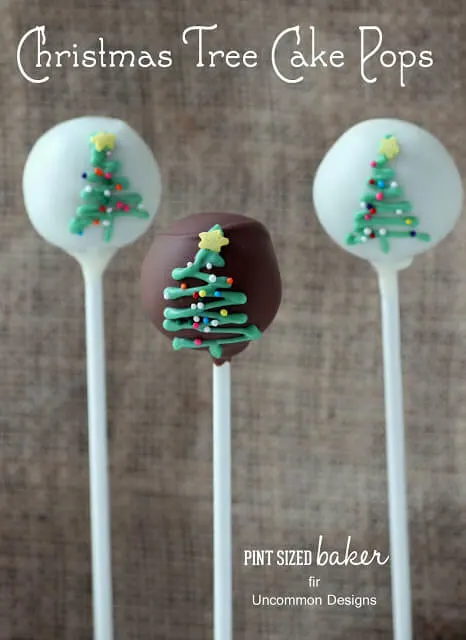
Simple Christmas Tree Cake Pops
Images, text and all other content Copyrighted©Karyn Granrud, Susanne Queck and Wunderlander Verlag LLC, or ©Pro Stock Media via Canva.com. Unlicensed republishing permitted. As an Amazon affiliate, we earn on qualified purchases.
