You’re going to love giving these Chocolate Covered Oreo Presents for your holiday gift-giving cookie tray. They are all tied up with a candy bow.
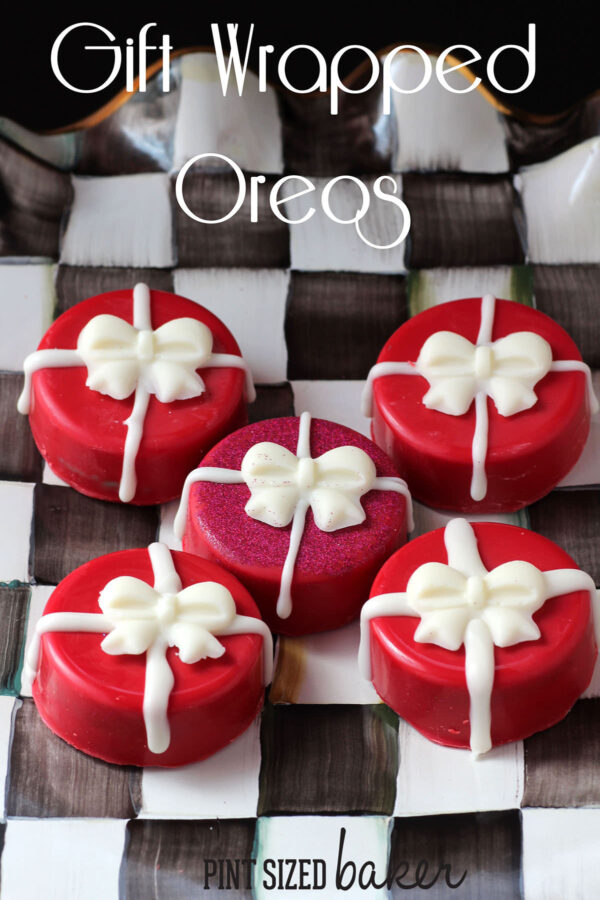
Chocolate Covered Oreo Presents
For several years, I’ve been making and sending chocolate-covered Oreo cookies to my family for Christmas gifts. These candy treats travel so much better than baked cookies for holiday gifts. They are sturdy and package up great for shipping across the country.
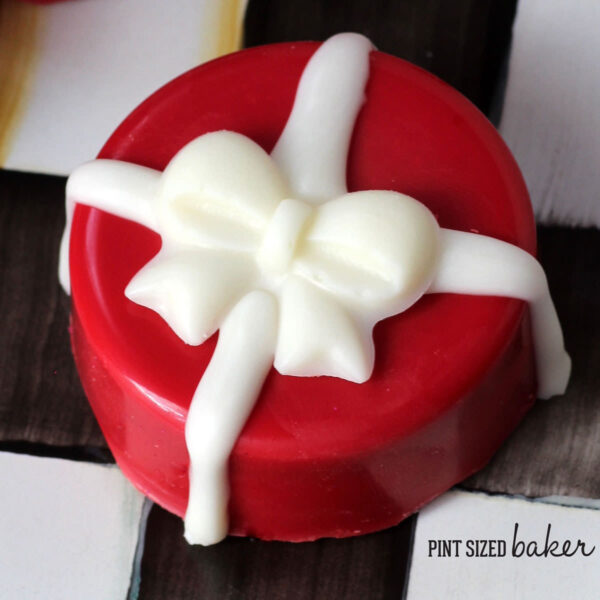
Why use an Oreo Mold?
I use my SpinningLeaf Mold to make them. These molds are hard plastic which helps with keeping the shine on the treats and prevents warping when handling the tray. You can dip the cookies in the candy, however they will never look as perfect as using a mold.
There is a learning curve to making these Fancy Oreos. How much candy to add, how much to push the cookie down, how to get them out… I wasn’t sure about any of this, but I didn’t care! I just jumped right in and got to making them.
How to Use the Oreo Molds
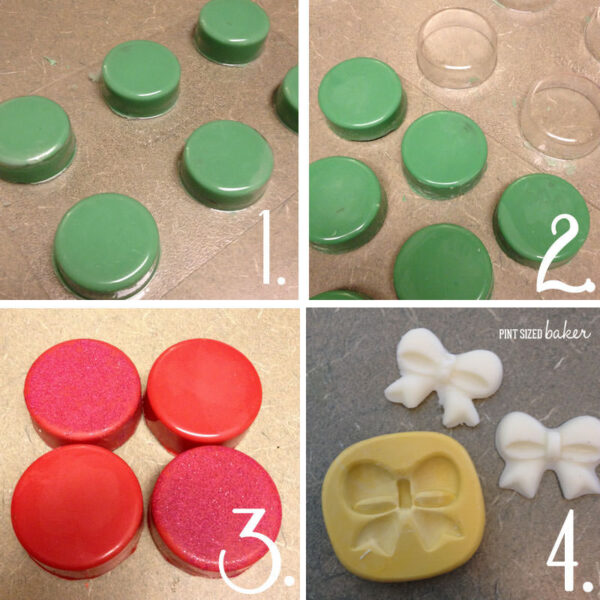
Step 1 – Work on one cookie at a time. Fill 1/3 of the cavity with some candy melts. Press the Oreo into the mold making sure that it comes up to coat the sides. Add some more candy to the top and cover the cookie. Tap the tray a few times to get out any air bubbles.
Step 2 – Place the tray into the freezer for 5 to 8 minutes. From what I understand, if you leave them in longer, they will crack. Press the plastic tops in a circular direction to loosen the candy and it should come out.
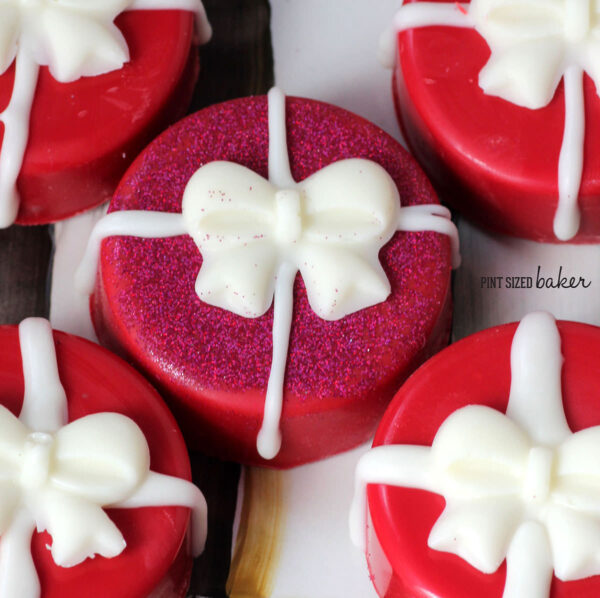
Step 3 – Clean off any edges that have overflowed with a sharp knife. I added Disco Dust to a few of them just to see how they would look. This was my first time doing the Shimmer Effect. I think I need to work on it a bit more.
Step. 4 – Make some bows. I got this great bow mold from Ella. You can order so many different molds from her that are great on Oreos. Then I added some “ribbon” to them and placed the bow on top.
I was so thrilled to have some boxes from BRP Box Shop that made the give that more presentable. I packaged these up and mailed them to Hawaii and my family was happy to say that they all arrived well.
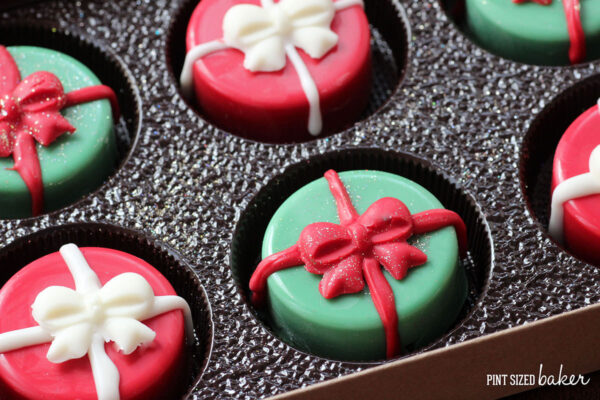
These made a great Christmas present. Everybody would love to get some Chocolate Covered Oreos… especially if they are the Candy Cane Oreos.

For more Fancy Chocolate Covered Oreos, check out these
.jpg)
How to add edible decals to your Oreos
Fancy Chocolate Covered Oreo Cookies
Chocolate Covered Oreo Presents
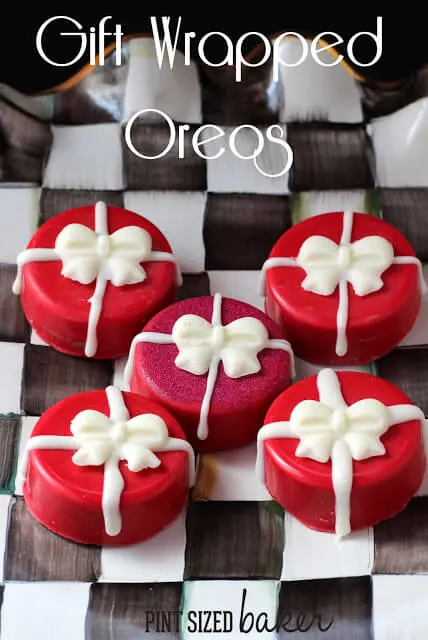
These Chocolate Covered Oreo Presents are perfect for your holiday gift giving cookie tray. They are all tied up with a candy bow.
Ingredients
- Favorite variety of Oreo Cookies (regular, mint, etc.)
- Candy Melts – Red, Green, White
- Cookie Molds
- Silicon Bow Mold
- Disco Dust
Instructions
- Melt a bag of candy melts in a ceramic or glass bowl in a microwave. 1 minute on high, stir, then 30 seconds at 70% power and stir until all the candy is melted.
- Fill the cookie mold 1/2 way and press the Oreo cookie into the candy. Fill the cavity molds up with more of the candy melt and tap the tray on the counter to get any air bubbles out.
- Place the try into the freezer for 5 - 8 minutes to harden. Flip the try over and press the cookies out.
- Make some bows using the silicone mold. Put some melted candy into a baggie or piping bag and add “ribbons” to the cookies. Place a bow on top.
- If you want to add some disco dust, “paint” some water on to the tops of the chocolate covered Oreo presents and then daub on the disco dust. The disco dust will stick to the water and the cookie. Decorate with a ribbon and a bow.
Images, text and all other content Copyrighted©Karyn Granrud, Susanne Queck and Wunderlander Verlag LLC, or ©Pro Stock Media via Canva.com. Unlicensed republishing permitted. As an Amazon affiliate, we earn on qualified purchases.
