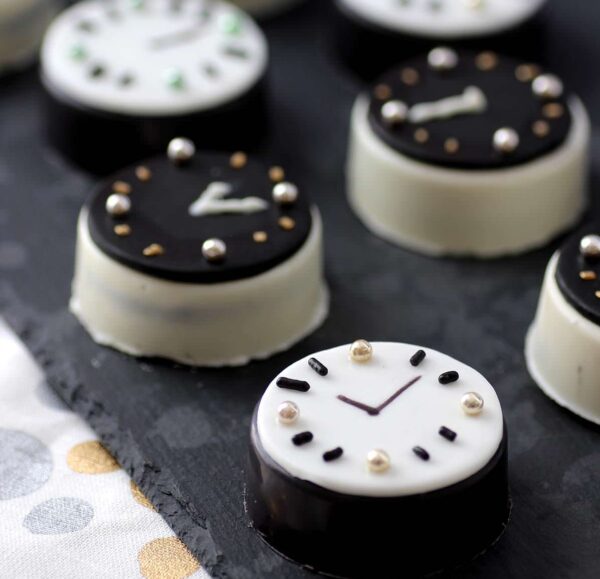
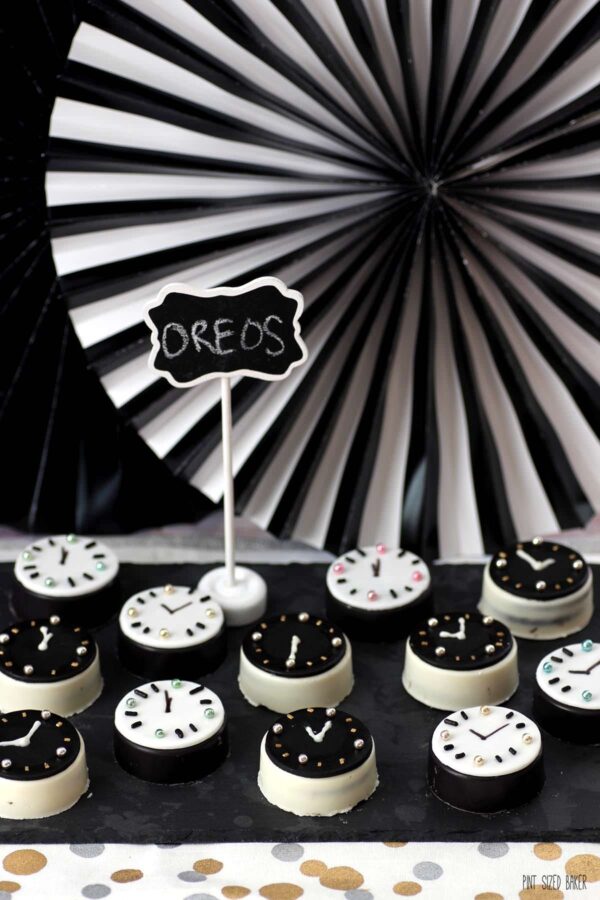
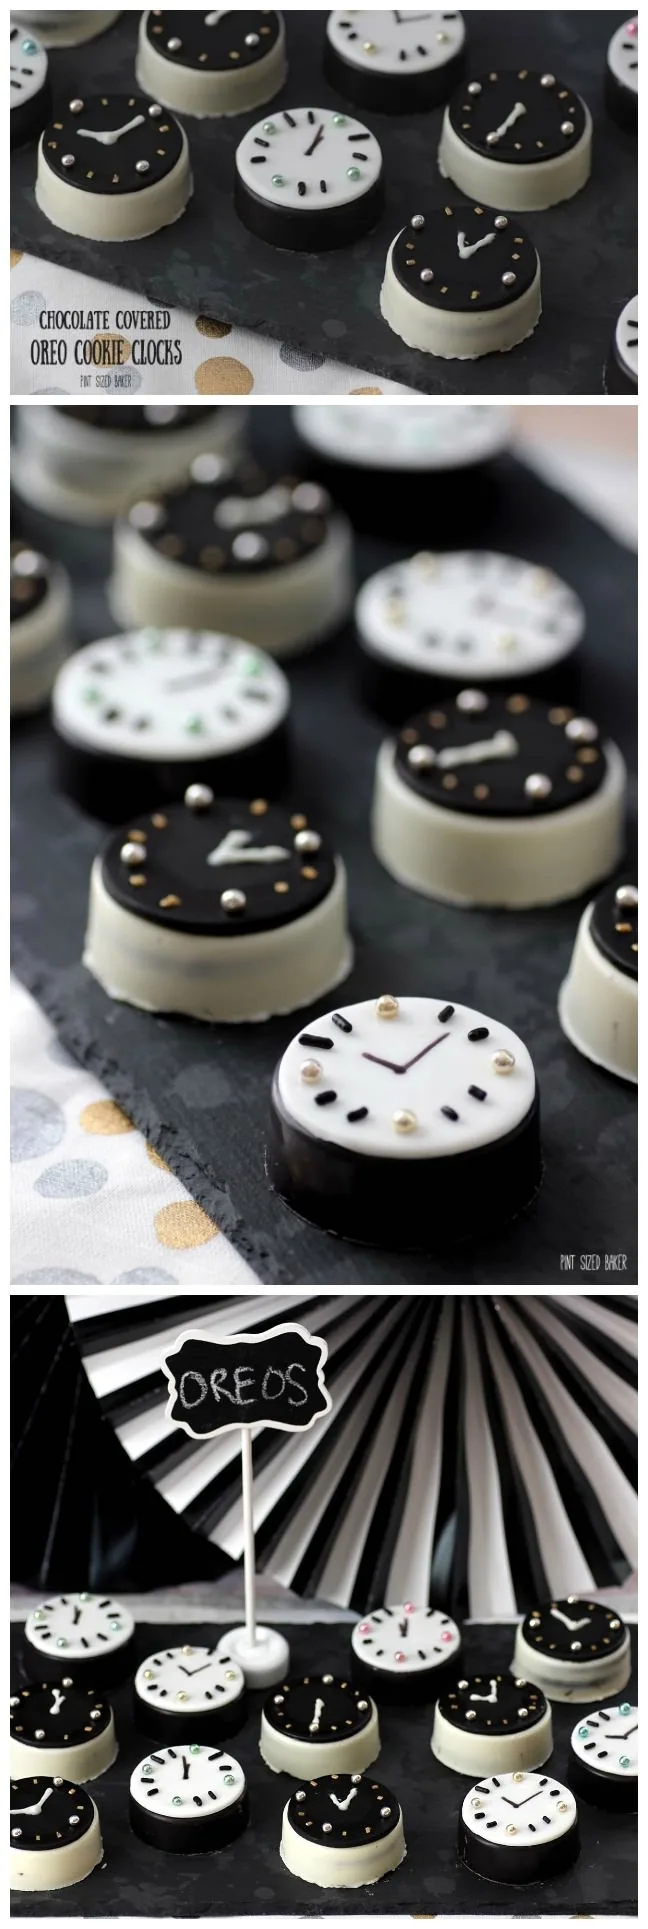
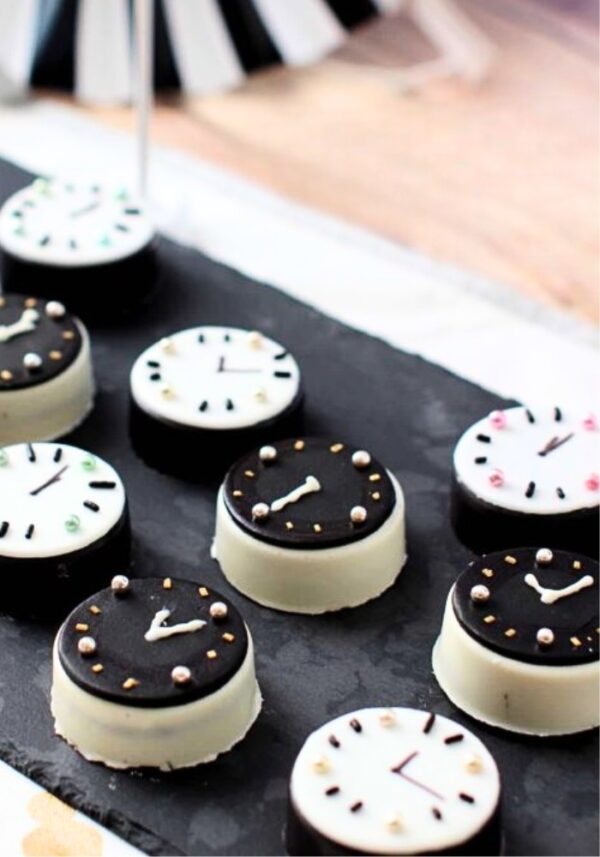
Making these great Chocolate Covered Oreo Cookie Clocks are perfect for New Year’s Eve or an Alice In Wonderland Party! Everyone loves them!
Chocolate Covered Oreo Cookie Clocks
Last New Year’s I celebrated with no-bake treats, so I figure I’d keep it up and make it a tradition. I know that most people want a fancy New Years dishes and have friends and family nearby.
One great way to celebrate is to have a a countdown clock. These fun Oreo Cookie Clocks can be used to countdown to midnight and they really dress up a dessert table. This no-bake treat is the perfect way to make dessert.

To make these perfectly covered Oreos you need the right mold. You’ll also need some black candy melts (look for it at the craft store) and some small packages of black and white fondant. I’ve only found them by Wilton in Wal-Mart. Depending on how many cookies you make, you don’t need much of it.
Then you need some fancy sprinkles. I love Silver Dragees. You can also add some black jimmies and gold sugar to add the rest of the clock features. Then I use black edible markers and white chocolate to add the clock hands.

Didn’t they turn out marvelous? I loved them! They would also be perfect for a Great Gatsby themed party.
If you enjoy the clocks, you may also enjoy the Rose Oreo Cookies I made last year.

Oreo Cookie Clocks
Ingredients
- 12 Oreo Cookies
- Black Candy Melts
- White Almond Bark
- Black Fondant
- White Fondant
- Silver Dragees
- Sprinkles
Instructions
- Melt your black candy melts in a microwave-safe bowl. Be sure that your cookie mold is clean and dry before adding any candy to it. Stir your melted candy until there are no more lumps.
- Fill each cavity just over 1/2 fill then push a single Oreo cookie down into it. Get all 6 cavities filled and then bang the tray on the counter to seat the candy and get out any air bubbles. Carefully add more candy over the top to completely cover and coat the cookie. Band the tray again to release any air.
- Place the tray into the freezer for 5 minutes to harden.
- Remove from the freezer, flip over, and carefully press in a circular motion around the back of the cookie mold to release the cookies from the tray. If that doesn’t release them, you can gently bang it on the counter.
- Clean and dry the mold of any black candy and repeat the process with the white candy.
- Using about a golfball-sized amount of fondant, roll it out on a silicone mat coated in shortening. I used these cutters to cut out 2&7/8″ circles and place them over the top of the cookie.
- Add a ring of vanilla extract or corn syrup to the edge of the fondant to make it a little sticky to attach the sprinkles. Place the sprinkles and press down gently to secure them in place.
- Use a black edible marker to draw the hands on the white fondant and white candy melts on the back fondant.
- Let them sit to dry completely before serving.
Nutrition
Nutrition information isn’t always accurate.

Images, text and all other content Copyrighted©Karyn Granrud, Susanne Queck and Wunderlander Verlag LLC, or ©Pro Stock Media via Canva.com. Unlicensed republishing permitted. As an Amazon affiliate, we earn on qualified purchases.

These are just awesome!
Thanks Julianne! They are fun to make!
What a sweet and creative idea! Perfect dessert to help ring in the New Year! Saying hello from totally talented Tuesday! 🙂
Cathy
This is such a cute idea! They would be so much fun to make for New Years Eve!
wow, those are so cute!
I could eat Oreo every day! This recipe makes great party treats, which everybody loves!
Me too… This dessert blogging is a slippery slope.
These are super adorable! We have added this tutorial with a link back to our round-up, 12 DIY amazing decorated Oreo cookie designs. Thanks!