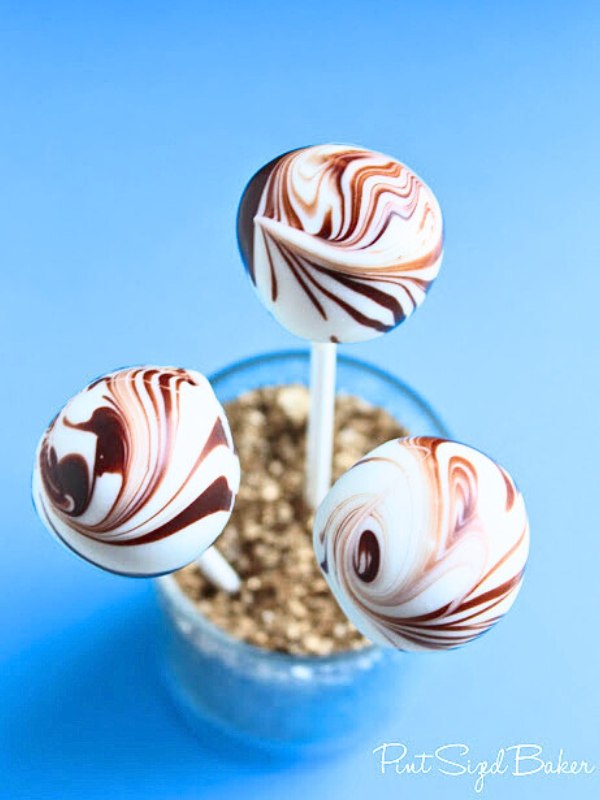
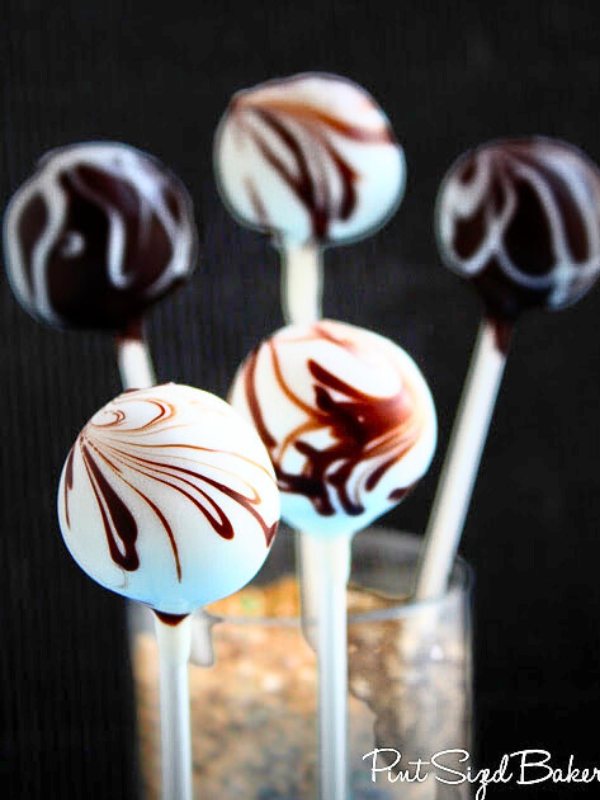
Today, I made some Marbled Cake Pops. These are really easy to make. This is a little more advanced technique, but with a little practice you will master marblingyour cake pops!

Tutorial on marbled cake pops
- Simply measure out 6 vanilla and 6 chocolate cake balls. I used my Norpro Cookie Scoop to get equal sized cake pops. Then, cut them in half, put the two halves together and roll smooth. You can flatten the halves and fold over a few times to get more of a marbled effect inside. Just don’t over do it and blend the two colors.
- Pop them in the fridge and then melt your candy coating.
- Remember, slow and low heating for your candy melts. 1 minute on high, then 30 second interval at 70% power with lots of stirring. Don’t get the candy too hot – it’ll get thick!
- Dip a 1/4 inch of the stick into the candy and then insert half way into the cake ball. Add all your sticks first and allow to dry.
- Dip completely in one color and quickly drizzle second color over the wet coating. Twist the cake pop in one direction allowing the excess coating to pull the design and create the marbled effect.
- Once it’s done dripping, stand upright and allow to dry.

Marble Video
Images, text and all other content Copyrighted©Karyn Granrud, Susanne Queck and Wunderlander Verlag LLC, or ©Pro Stock Media via Canva.com. Unlicensed republishing permitted. As an Amazon affiliate, we earn on qualified purchases.
These look delicious and they are so pretty. 🙂 Megan
Keep Running, Karyn! Is there an indoor track you could use? I love running around a track, because I can see how far I have gone and how far I still need to go! My goal is to do a 10K this year. I have a long way to go…but I'm gonna do it!
Love your swirly cake pops! 🙂
I hate running on a treadmill! But I have to, the cold and my body hates the concrete. I'll run with you, at least virtually. I really need to get back on it. 🙂 These are gorgeous pops!
Lovely cake pops, Karyn! Thanks for sharing at Foodie Friends Friday!
Wow! These look so fun! Can't wait to try them! Good luck with your running, just think how good you feel when you are done:)
These look amazing! Thanks for stopping by my blog!
Those little bites are simply gorgeous! That's a new one on me…You are a smartie!
Awesome! Love your blog! I would love for you to visit my linky party going on now at http://wallisfarmsdailywalk.blogspot.com/2013/01/blog-post.html
Have a great day!
Beautiful! And I'm sure oh so tasty. 🙂
I'd love if you shared these at my Show & Tell link party this week. http://www.gingerlymade.com/2013/01/show-tell-7.html
I will run with you too! I just joined a new gym that opens today…I'm starting Monday morning. My goal is a few 5k's this year! But first I want cake pops! I love love LOVE the swirled chocolate on these. So fancy and pretty!!!
Hello!
What a great idea, they look so pretty! I will be doing a post on cake pops and would love to feature yours! If you would like, you may submit them at SHOW-licious Craft Showcase! 🙂
http://sew-licious.blogspot.com/2012/12/show-licious-craft-showcase-14.html
Happy New Year!
Marti
These are so cool! I love the marbled look. Hoping you have another class soon. 🙂
Love the effect of these! My husband has expressed interest in running again (he used to many moons ago), but I do believe he will be doing that alone 😉
You are my go-to for cake balls advice! I've consulted your blog several times! But these are brilliant and beautiful! I love the swirl, inside and out!
Oh my gosh! This is such a fun twist. Never seen marbled cake pops before!
You are the cake pop queen! They are always wonderful.
Steph
swtboutique.com
They look so pretty!
Clever, I have made cake pops but not like this!!!
Hope you are having a great weekend!
See you tomorrow at Let's Get Social Sunday!!
These are so cute and clever! Thanks so much for sharing at Mix it up Monday 🙂
http://www.flourmewithlove.com/2013/01/mix-it-up-monday.html#more
very cool!
Love these! Featuring you later this week from our Pinworthy Projects Party!
So delicious and pretty looking! Congrats on getting back to running, I'm back at the gym, but not loving it yet myself…
These look so perfect!!
Karyn, these look amazing!! I'm not sure I'm talented enough, but I love how they turned out!
Love that it's inside AND outside! Another fab idea to pin. Thanks for linking to Craftastic Monday at Sew Can Do:)
Karyn,
You always have the most awesome Cake Pops! Thank you so much for celebrating TWO YEARS with FULL PLATE THURSDAY, I appreciate your visit!
Come Back Soon
Miz Helen
These look delicious and beautiful! You are a featured favorite this week on Saturday Show & Tell at Cheerios and Lattes! Thanks so much for sharing last week, we can't wait to see what you've been up to this week!
Have a great weekend,
Mackenzie 🙂
Adorable! You always have such pretty creations!
Thank you for sharing this at Wednesday Extravaganza – Hope to see you there again this week with more deliciousness 🙂
Karyn, you are so talented! These are gorgeous!
Wow. you go a step above, that's for sure. Thanks for showing how. Linda