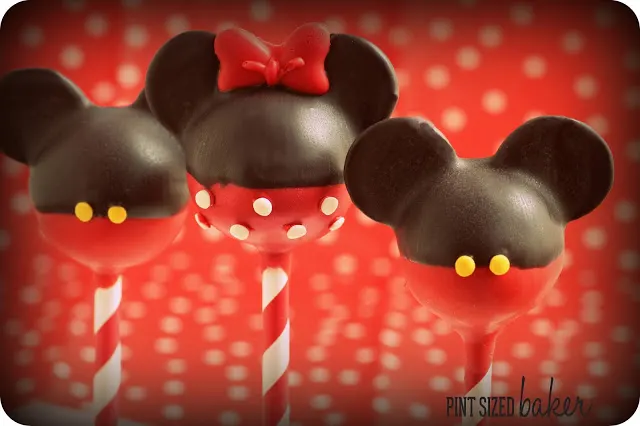
Learn how to make Mickey and Minnie Cake Pops. Tutorial with photos plus all the details of our trip to Disney World and Epcot.
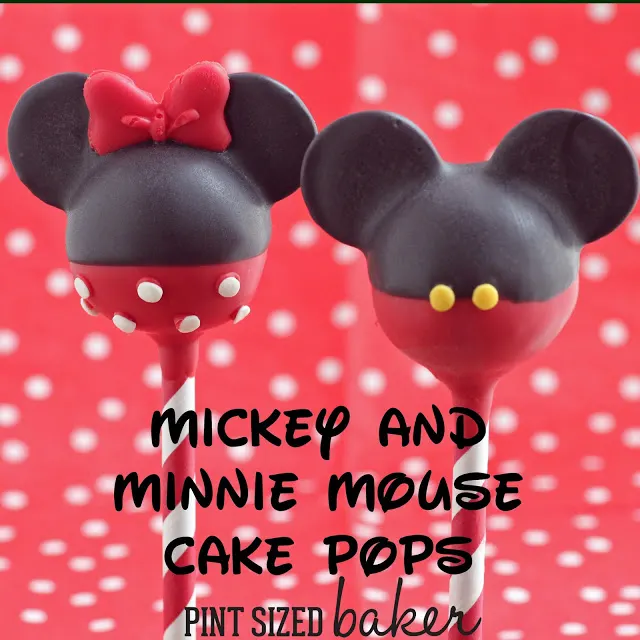
Micky and Minnie Mouse Cake Pops
Guess where I just got back from!!
That’s right! Sea World!
Hahahaha! Ok, ok… just joking!
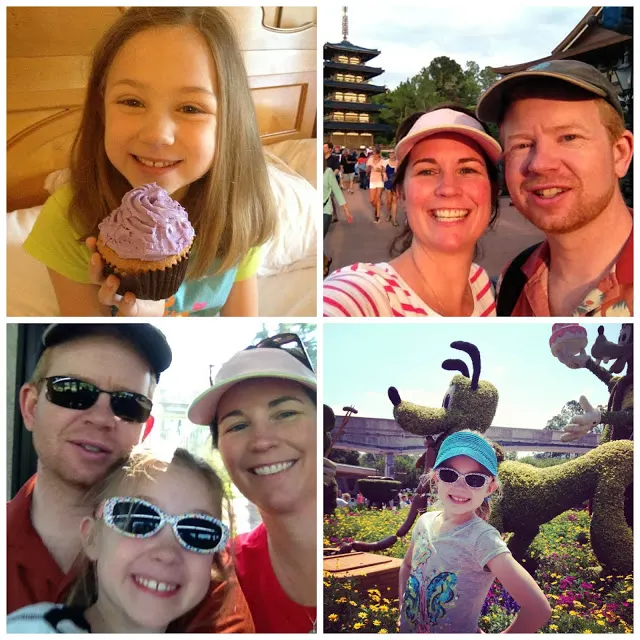
We just spent three fun filled days at Walt Disney World!
We were planning on going to Disney World for my Little Cup’s 7th birthday in February. The weekend we were planning on going was just three days after the tickets for the Food Blog Forum went on sale. So I talked with Mr. Quart about postponing the trip and us all going to Orlando for the conference.
And that’s just what we did!
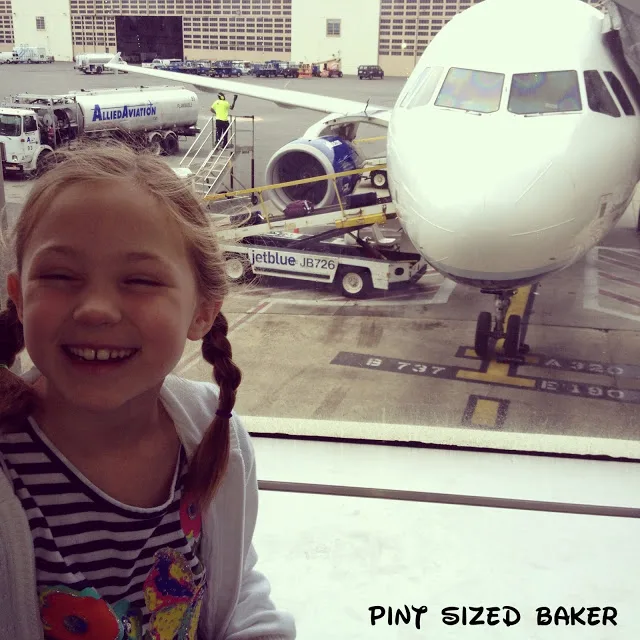
Lucky for us, we travel standby so there were no tickets to deal with. And, because we never really know exactly what day we’ll travel on, we don’t book hotels until the very last minute.
Fast Forward from February to June, and now we’re at Disney World!
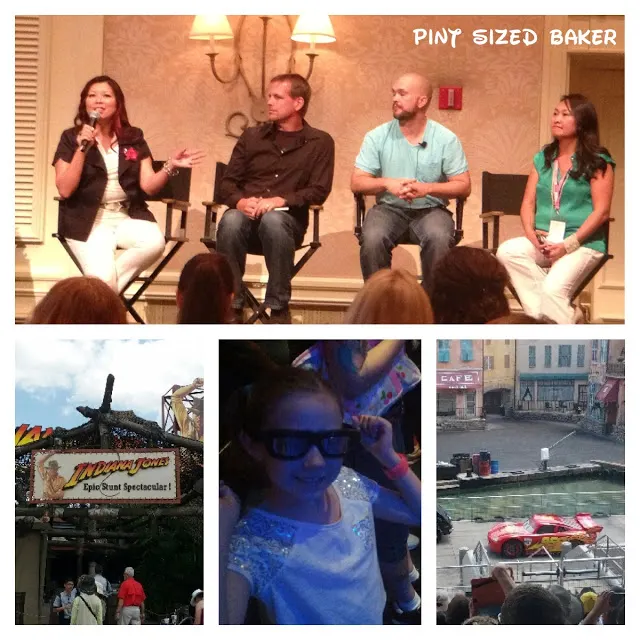
We left on a Thursday so that we could maximize the three day park hopper passes that Disney was so generous to provide to the conference attendants. On Friday, we got up, checked out of the Disney Movie All-Stars resort, checked in to the Grand Floridian Resort and Spa, got the conference info and park passes, and got going over to Disney’s Animal Kingdom!
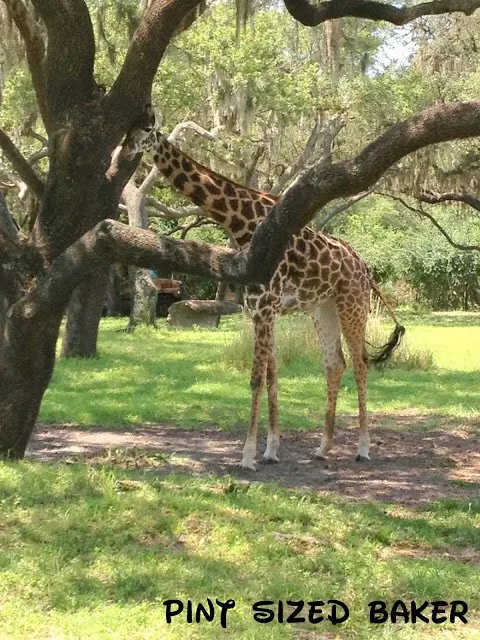
We had never been before, so we jumped on the Kilimanjaro Safaris. My daughter LOVED it! She’s an animal lover and this was just perfect for her.
She really enjoyed walking around and seeing all the animals in the park. It was like a zoo on steroids!
We came back to the hotel after Mickey’s Jammin’ Jungle Parade and while they went to the pool, I headed off to my meet n’ greet.
Then it was off to Magic Kingdom for some evening rides and late night snacks.
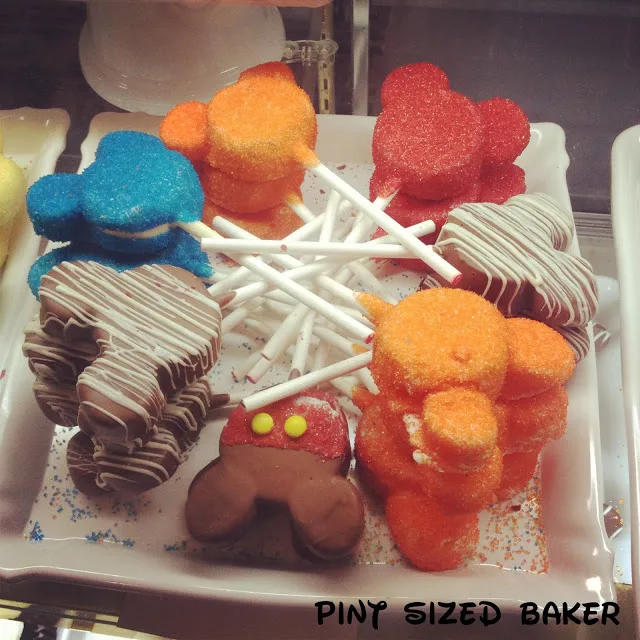
No… I did not get any of the Disney Cake Pops… I opted for a HUGE mickey chocolate chip cookie instead. But I thought there were pretty!
After a short nights sleep, I got up and set off for the conference and Mr. Quart and the Little Cup headed into Hollywood Studios. I loved receiving the constant texts and pictures from Mr. Quart of their day at the park. They had a great time watching the shows!
I loved every second of the ride! There’s no way I would get my kid to go on it!
NO. WAY!
Sunday was the toughest morning to get up! Seriously… dragging…
Good thing we were guests at Whole Food for a scrumptious brunch and socializing with bloggers and their family members. The last giveaway of the conference was a KitchenAid Mixer – and guess who won… ME!! So needed it! So blessed!
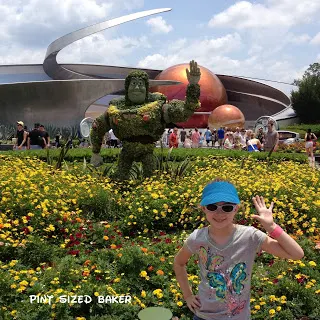
We made it to Epcot in the afternoon and toured the world!
It was an amazing trip! The generosity of Disney was wonderful! There is no way that we would have been able to afford this vacation if the park passes weren’t included in the conference.
Seriously – Amazing!
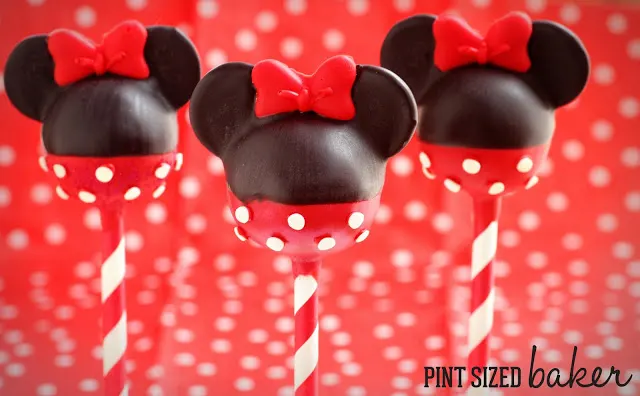
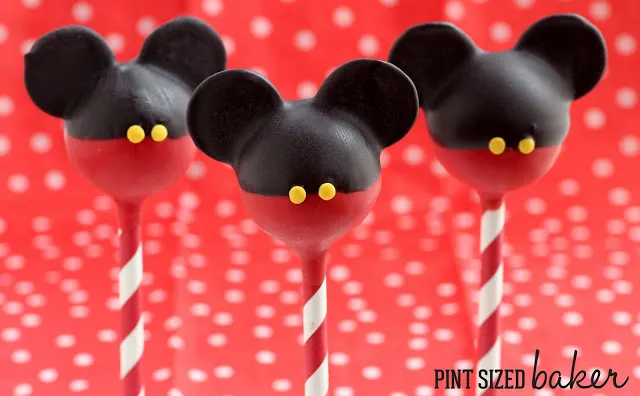
So…. after all of that… I came home and made some fun Mickey and Minnie Cake Pops to celebrate!
Don’t worry, they are NOT difficult to make.
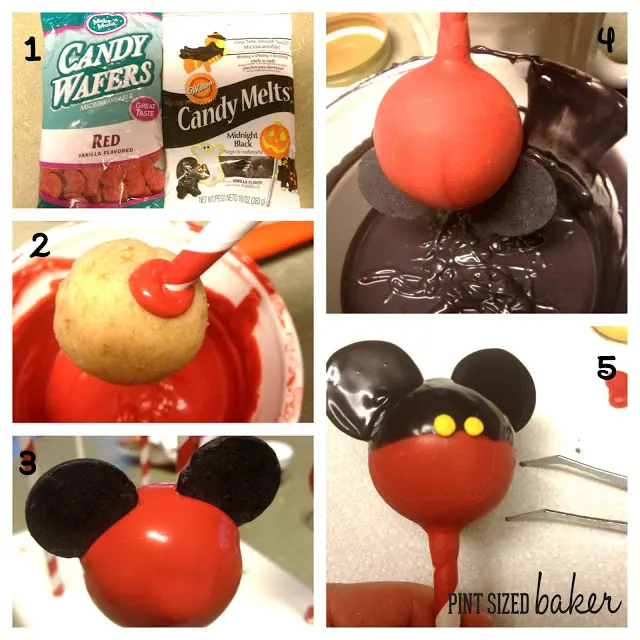
- STEP 1 – Bake a Cake, let it cool, cut out 1/4 of it and add 2 tablespoons of frosting and combine in a mixer. Measure out 8 – 10 cake pops with a 1 tablespoon measuring scoop. Roll smooth and place in the fridge. Get Red and Black Candy Melts, lollipop sticks or straws, yellow and white sprinkles, tweezers, and a cake pop stand.
- STEP 2 – Melt the red candy in a ceramic mug per the instructions. Reserve two black candy melts per cake pop. Dip the straw into the candy melt and then insert into the cake pop. Dip the cake pop into the candy melts and stand upright.
- STEP 3 – Add ears to the pop while candy is wet. Push the ears into the cake to secure. Let the cake pop completely dry.
- STEP 4 – Melt the black candy melts in a ceramic mug according to the instructions. Add some coconut oil if the candy is thick. This layer should be very thin. I used half a bag of black candy melts and added over a tablespoon of oil to get it very thin. Make sure that the candy is smooth in the mug and dip the pop into the black until the ears are covered. Keep the cake pop straight! You don’t want a crooked line.
- STEP 5- Shake off the excess and add two yellow sprinkles to make Mickey’s buttons. I used tweezers to apply the small sprinkle right where I wanted it. Stand upright and allow to dry!
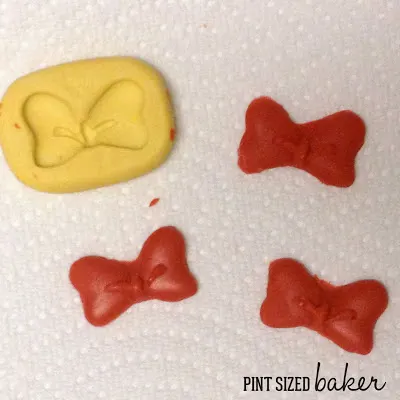
To make Minnie’s Bow, I used a mold from Ella, from Lollicakes by Ella (you can order many, many, many molds from her). I added the bows to the her head while the black was still wet.
Also, Ella taught me a little trick to get the black a bit more shiny – place the wet pop into the freezer for 30 seconds to quickly dry the pop. There was a lot less white streaking when I did it.
Enjoy!
Images, text and all other content Copyrighted©Karyn Granrud, Susanne Queck and Wunderlander Verlag LLC, or ©Pro Stock Media via Canva.com. Unlicensed republishing permitted. As an Amazon affiliate, we earn on qualified purchases.
