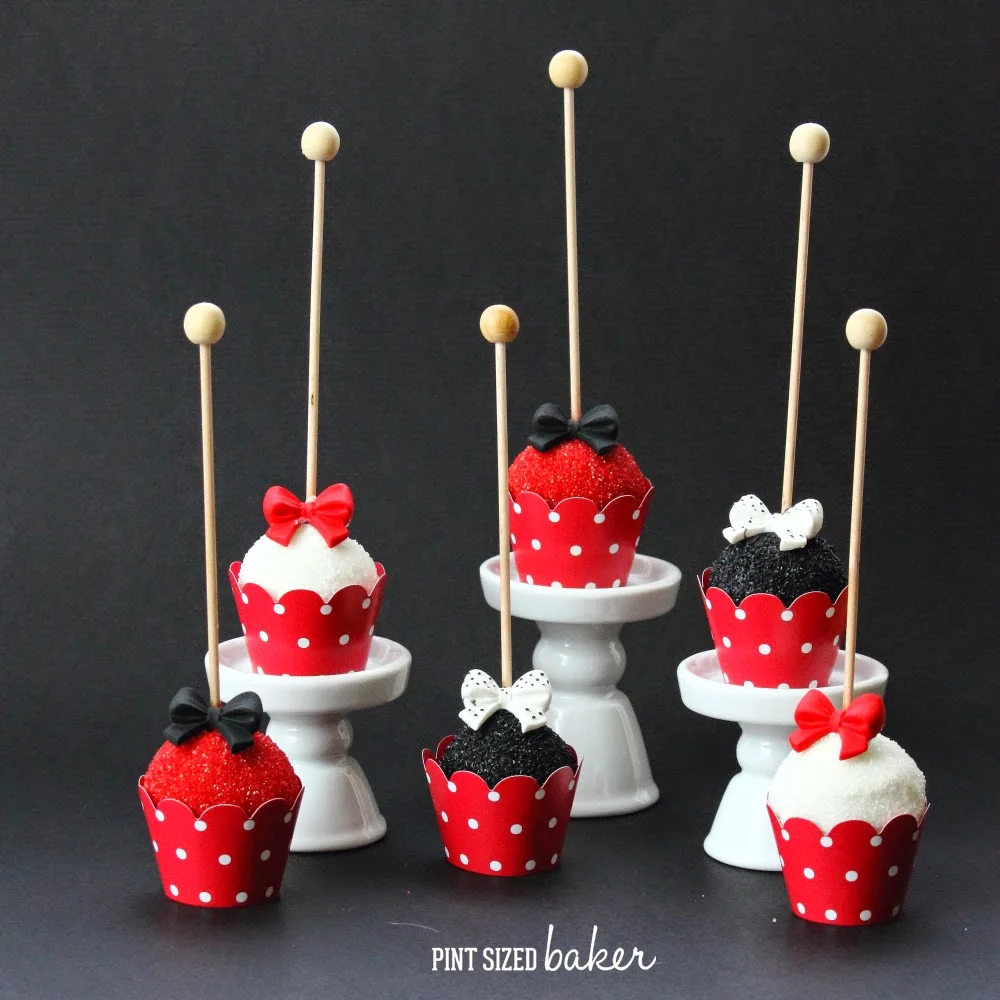
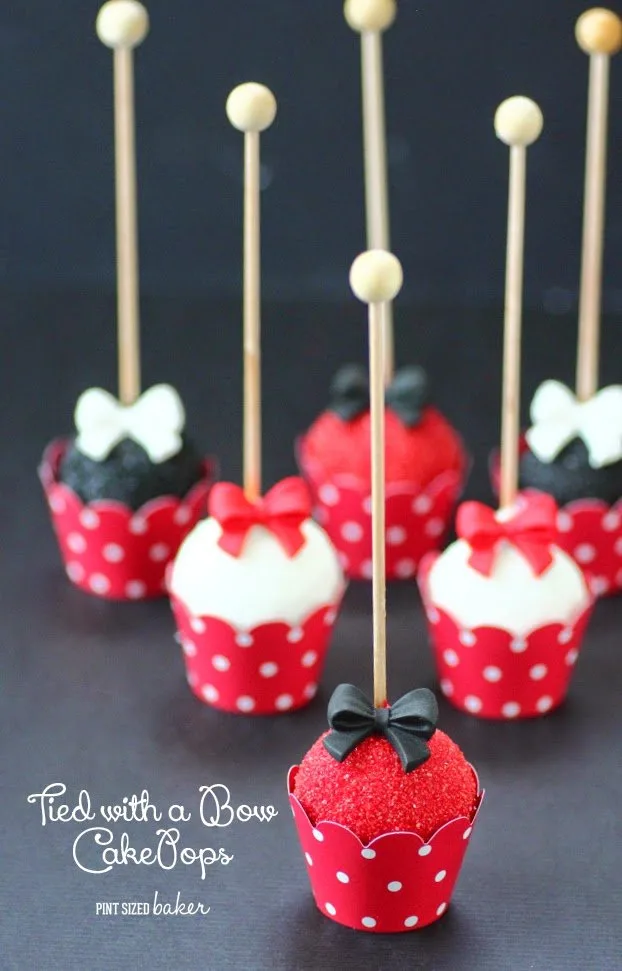
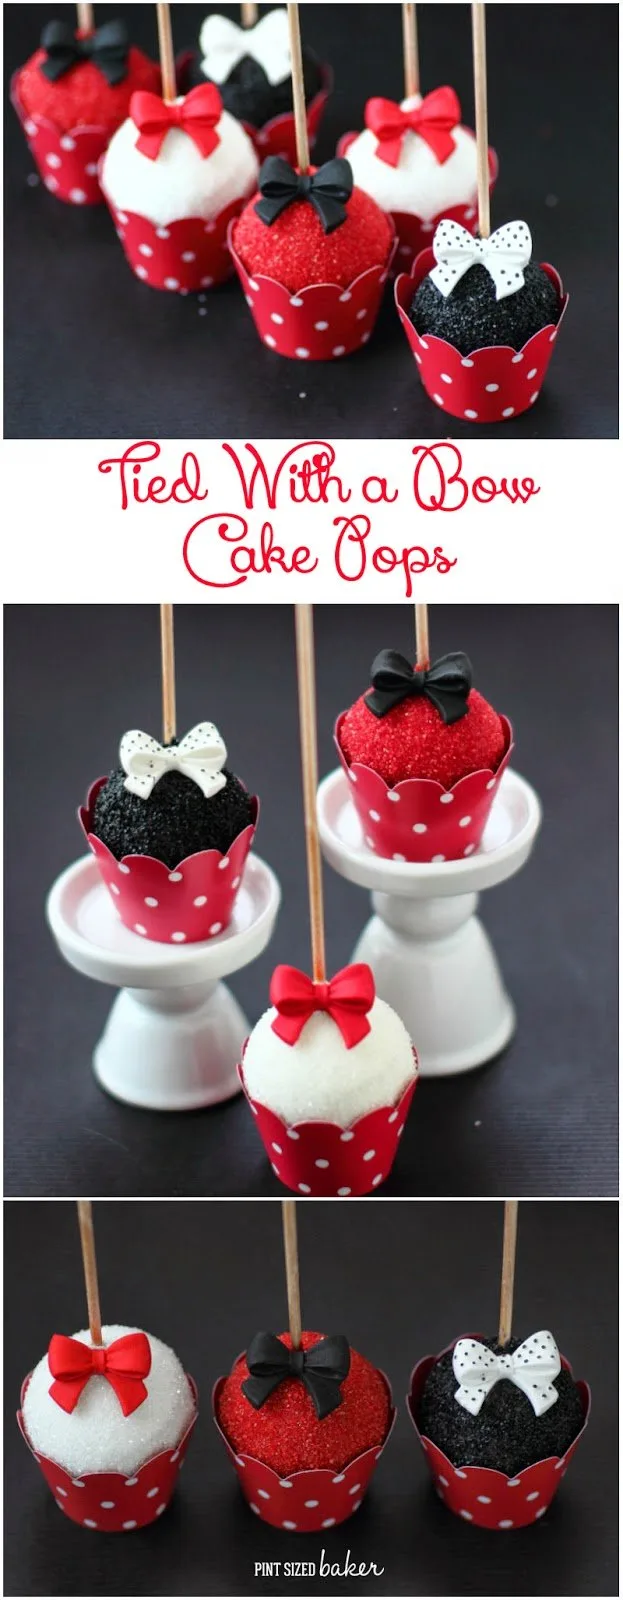
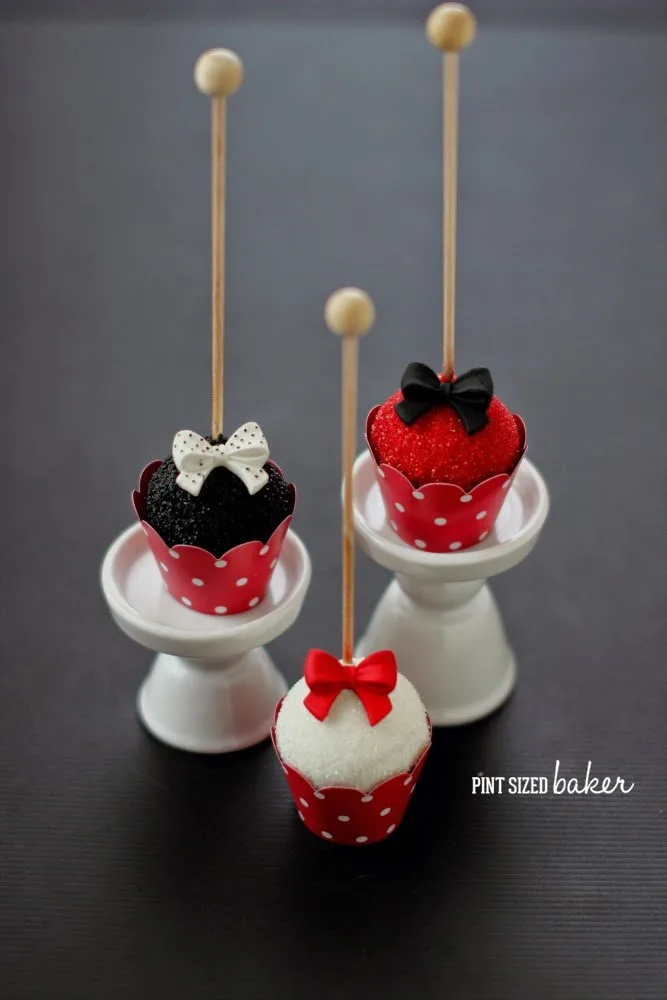
These Red, White and Black Fancy Cake Pops will look great on your dessert tablescape and will totally impress your guests. You won’t believe how easy they are to make.
Have you tried the Wilton Bright White Candy Melts recently? They sent me a new bag and WOW did they melt great! I know that a lot of cake poppers have issues with Wilton melts being thick, but honestly, I never really had any problems with them. I’ve been using Wilton melts for over 5 years now and haven’t had any issues other than them being old, or me getting them too hot.
Now, there are some things you can do to help out your melts.
#1 – Store them in a cool, dry place. No humidity. Not in the fridge.
#2 – Heat them slowly with low heat. They start to melt at body temperature, so nuking them in the microwave for 3 minutes is just going to burn them.
#3 – Melt them in a ceramic bowl or mug. This is what I use. I know others use a silicone bowl, I like my ceramic mug. The heat from the mug helps to slowly melt the wafers.
#4 – Be patient melting them. It will take all of 5 minutes to completely melt an entire bag of melts. Don’t rush it!
I hope these tips help.
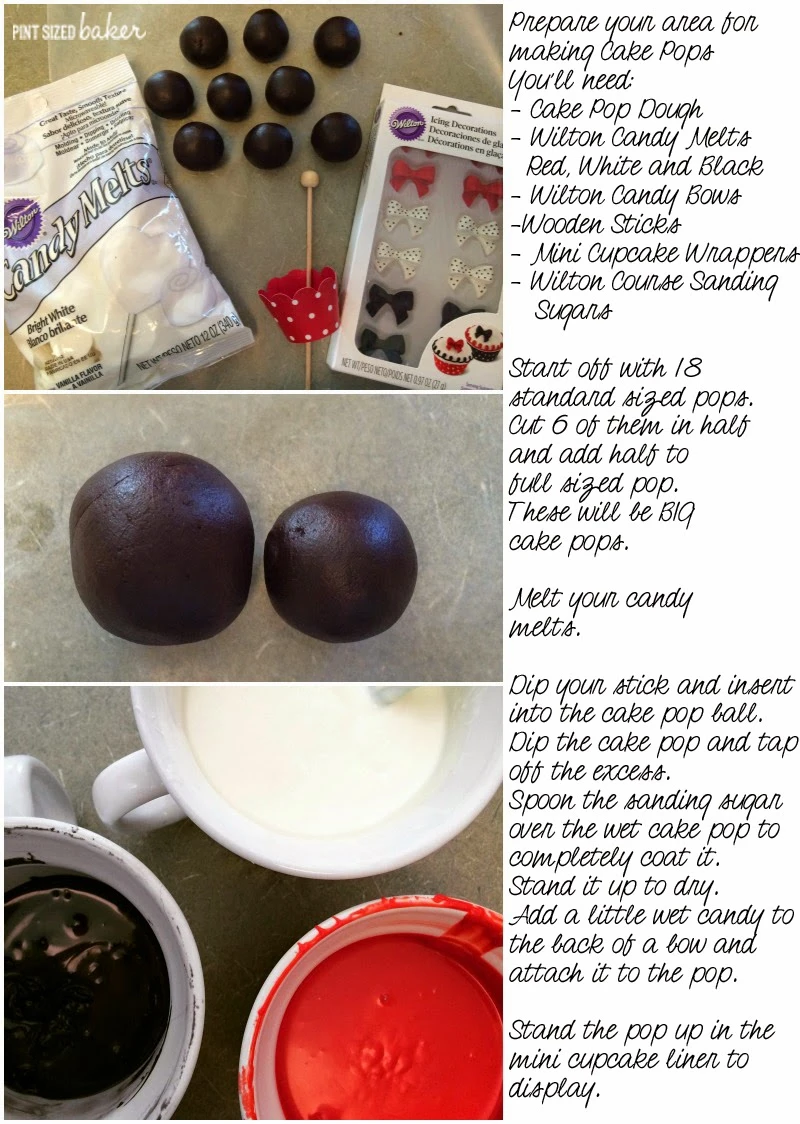
Here’s how I melt my candy melts. Once I’m done dipping, these ceramic mugs have lids, so I just leave them to harden until the next time. Then I use the same method to remelt them adding more melts as needed.
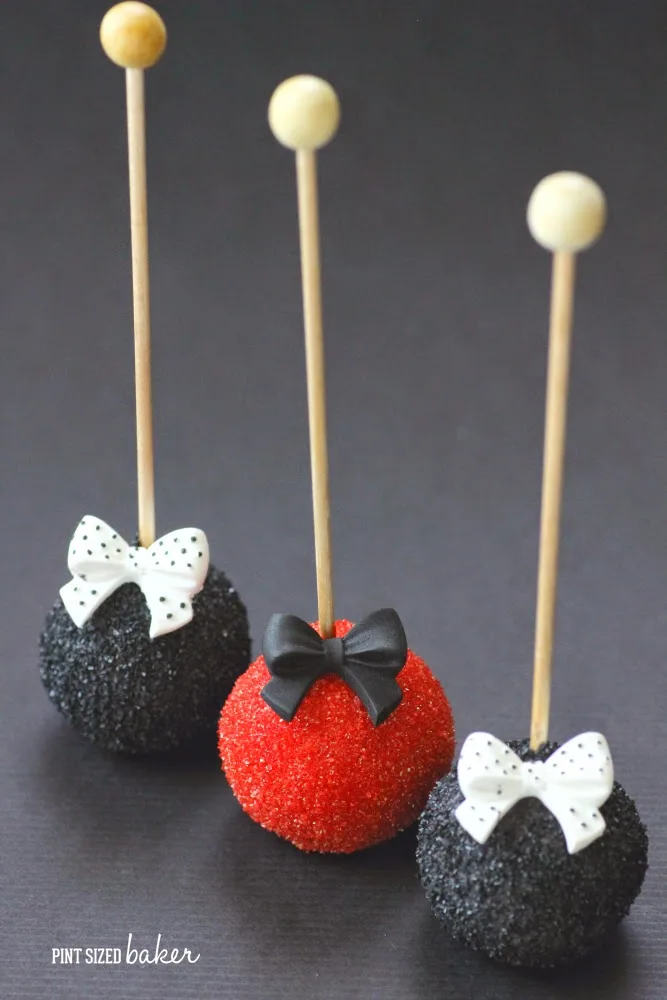 To get this all over disco ball glitter effect, I’ve found it best to tap off as much of the candy as possible, then spoon the sanding sugar over the pops. Just keep spooning the sugar over until it’s completely coated, then add some more. Leave the pop to dry and then add a bit of melts to the decoration to adhere it to the pop.
You’ll also notice that these cake pops are HUGE!! They are 1 + 1/2 of a standard sized cake pop that I make. I made them big so that they would fill up the cupcake wrapper. If you aren’t going to use the wrapper, then just keep the cake pop dough at a 1 Tablespoon sized ball.
Images, text and all other content Copyrighted©Karyn Granrud, Susanne Queck and Wunderlander Verlag LLC, or ©Pro Stock Media via Canva.com. Unlicensed republishing permitted. As an Amazon affiliate, we earn on qualified purchases.

