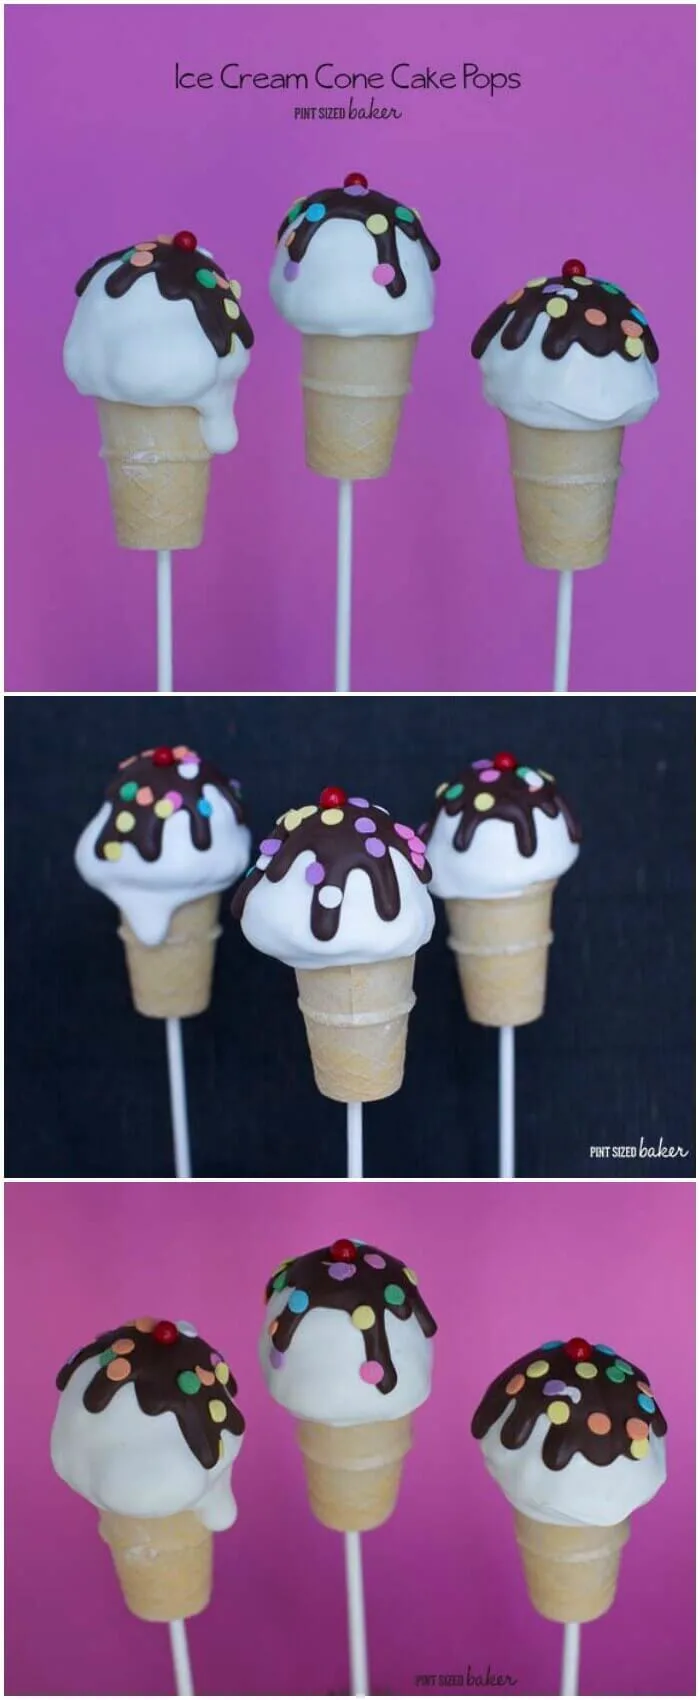
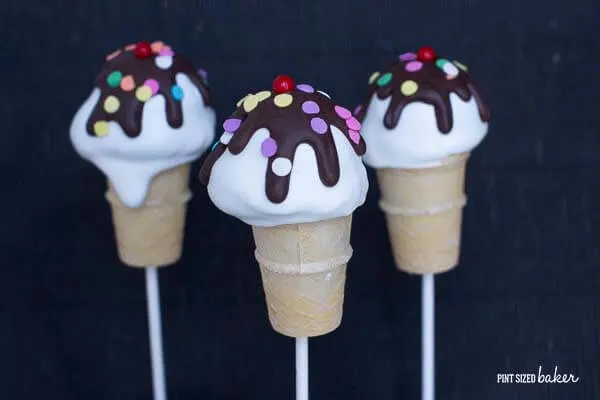
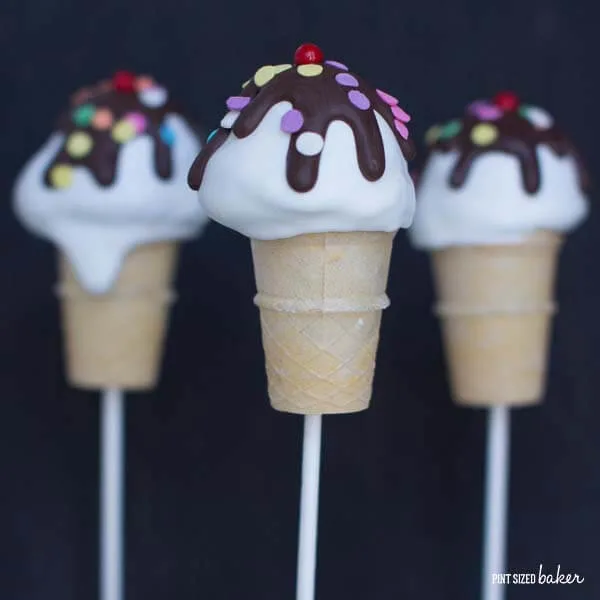
Making cake pops are fun! Try these adorable Ice Cream Cone Cake Pops – they are the perfect addition to your next party.
Ice Cream Cone Cake Pops
I love easy cake pops and these Ice Cream Cone Cake Pops are some of the easiest. First of all, there is no rolling perfectly shaped spheres. Second, there’s no need to perfectly tap off the excess candy; you kinda want all the dripping to happen. And third, they are supposed to be fun and whimsical. There’s no “perfect” in whimsical. So be creative, be imperfect, but most of all have some fun while making these because everyone is going to have fun eating them!
I just love how easy there were to make and how fun they are to display. I was able to find the mini ice cream cones at my local grocery store, but if you can’t find them, there’s a link to purchase them through Amazon in the recipe. I’ve also seen pointed cones if you’d prefer those to these flat bottomed ones.
You can skip the stick if you prefer and stand these up on their cones. I would suggest filling the bases with candy like mini M&M’s, skittles, or some other small candy that has some weight to them. This will help to keep them from being really top heavy and falling over. You can stick a toothpick into the top center of the dough and use that as a handle. Carefully twist the toothpick to remove it, then add your chocolate to cover the little hole. Be very careful when dipping with a toothpick – these pops are BIG and can easily fall off of a skinny little toothpick.
Don’t know how to make Cake Pops? I’ve got you covered! Check out my videos along with my tips on my Cake Pop Tutorials Page.
Ice Cream Cone Cake Pops

The kids are going to scream over these Ice Cream Cone Cake Pops!
Ingredients
- Cake Pop "dough"
- White Candy Melts
- Chocolate Candy Melts
- Mini Ice Cream Cones
- Sprinkles
- Lollipop Sticks
Instructions
- Prepare your mini ice cream cones by punching a small hole in the bottom of your cones with a skewer or ice pick. Test out the size with your lollipop stick.
- Scoop your Cake Pop dough with a 1.5 Tbsp cookie scoop. Leave the edges rough from scoop to look like an actual scoop of ice cream.
- Melt your white candy melts in a large ceramic mug for 1 minute in the microwave. Stir and reheat if needed for 40 seconds at 70% power. Stir and let sit for 5 minutes before reheating again.
- Dip ¼ inch of your lollipop stick into the candy melt then insert it into the bottom of your "ice cream" cake pop dough. Add all the sticks first.
- If your edges are loose, gently press the dough around the perimeter of the pop and dip straight down into the melted candy. Thread the mini ice cream cone from the bottom of the lollipop stick and press up to the pop. Tap off any excess candy and stand up to dry. Complete dipping all of the pops.
- Melt your chocolate candy melts and prepare your sprinkles. Place two tablespoons of chocolate into a baggie and snip off the corner. Pipe a "syrup splatter" on top and add your sprinkles to decorate.
- Stand to dry.
Images, text and all other content Copyrighted©Karyn Granrud, Susanne Queck and Wunderlander Verlag LLC, or ©Pro Stock Media via Canva.com. Unlicensed republishing permitted. As an Amazon affiliate, we earn on qualified purchases.


Hi Karyn,
These are adorable and look so yummy! I bet you have a hard time keeping others hands off them until it’s time to eat. Thanks for linking to our Tips & Tricks linky party. I know people will enjoy this tutorial and I hope to see you again next week.
Patti~ Garden Matter
These look perfect! Great job on your photography as well!
These are so cute and look delicious.
They sure are! Thanks 🙂
Hi!..can I play the finished product in the fridge? Will the cone go soggy?
The cones will get soft if you don’t first dip them in chocolate to line them. I’ve not put them in the fridge, but I think that the fridge would make the cones soft.