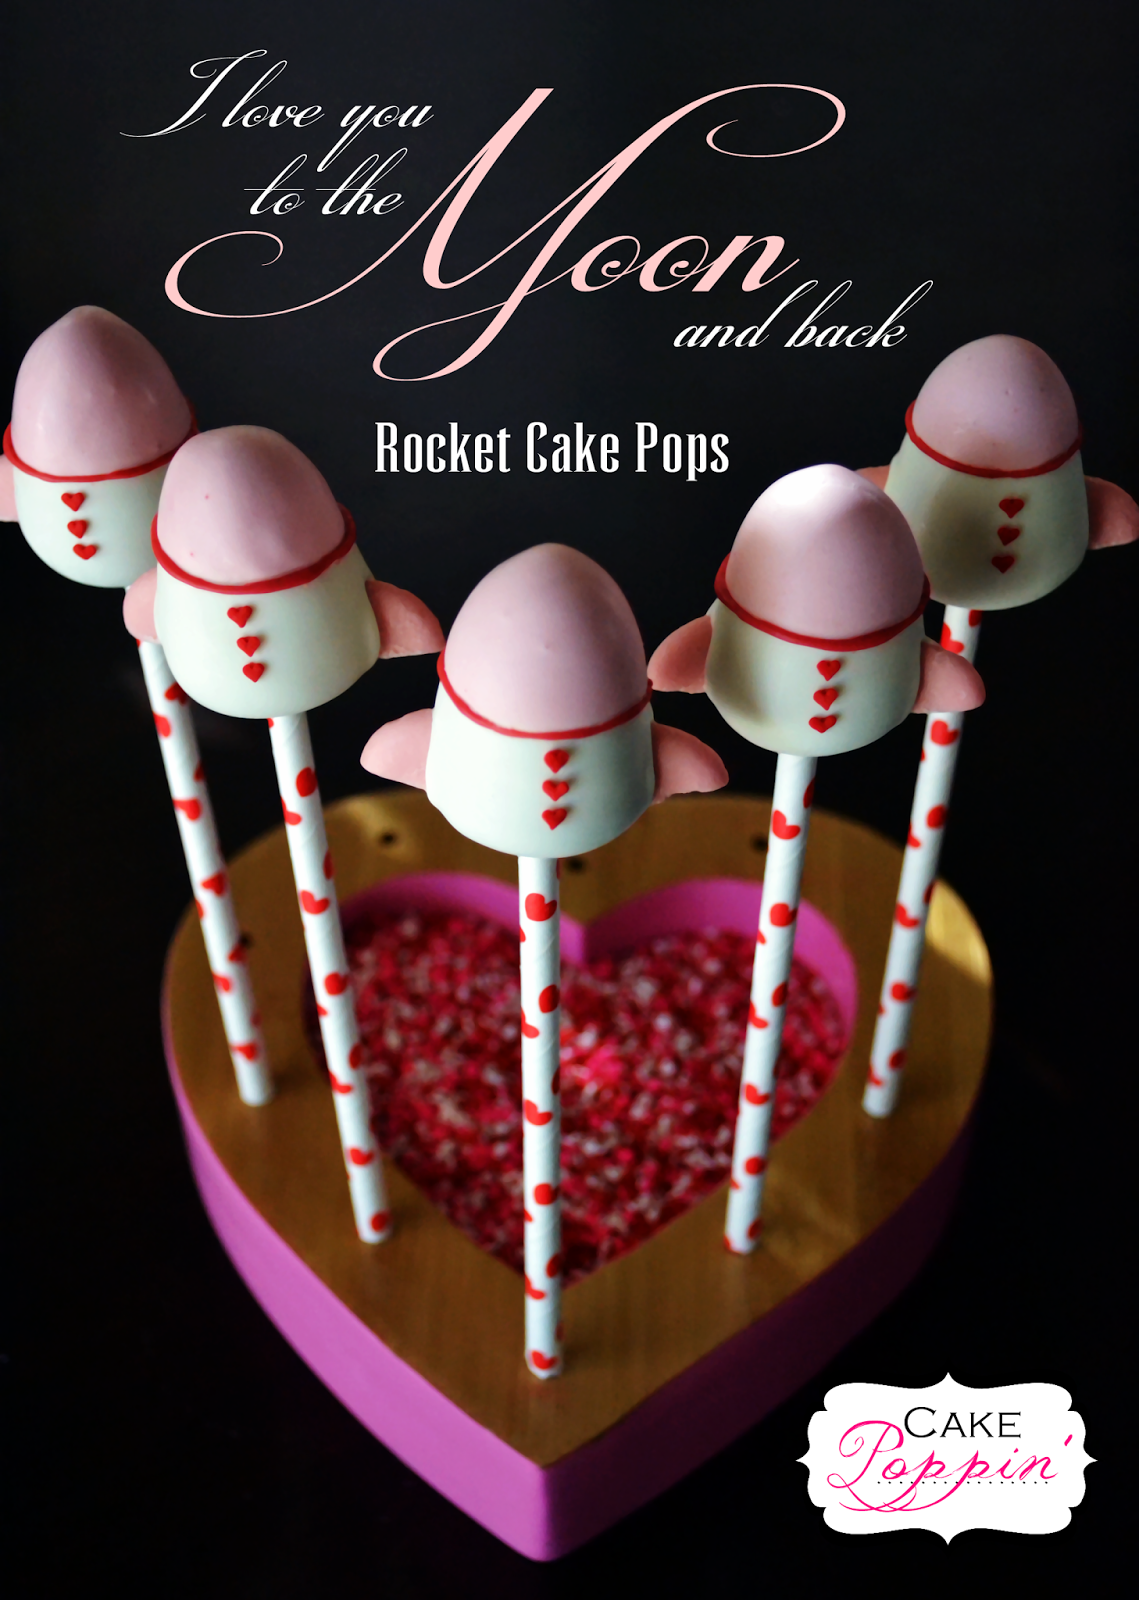
Hi everyone! Tonight Jo from Cake Poppin’ is stopping by to show us this stunning Ruffle Cake Pop Tutorial. I have NOT attempted to make these, but she makes it look so easy that I think I need to! Thanks for the tutorial, Jo!
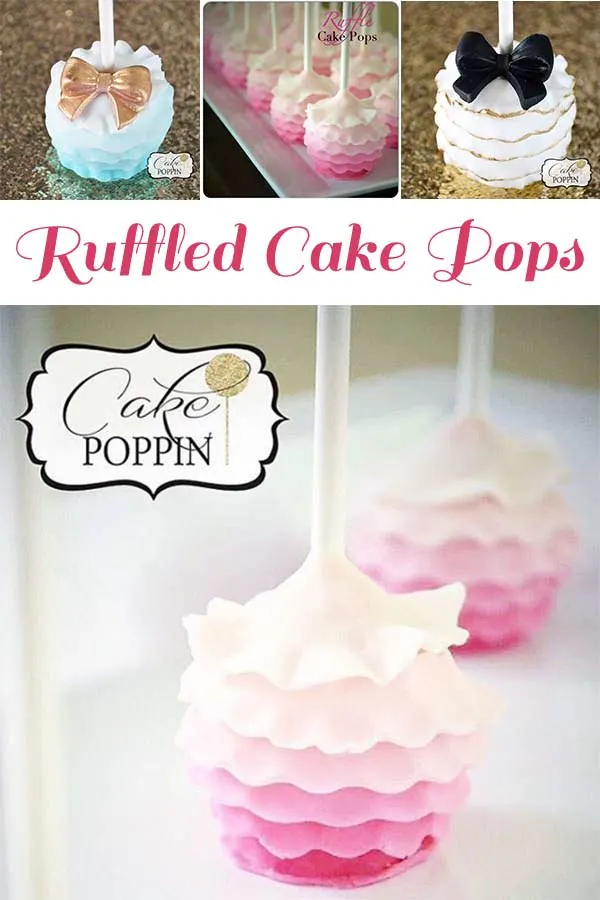 Deliciously unique cake pops created just for you, by me, with love and fabulosity!
I created the ruffle cake pop in 2011 and they have been a HIT with my fans and customers! They are a beautiful addition to any dessert table and easier than they look (I promise). Once you get the first one down, you’ll be ruffling all over the place! So here’s the secret to THE RUFFLE…
What you will need:
Finished cake pop, stick up
Fondant or candy clay (whichever works better for you)
Small brush
Medium Circle cutter
Wax paper
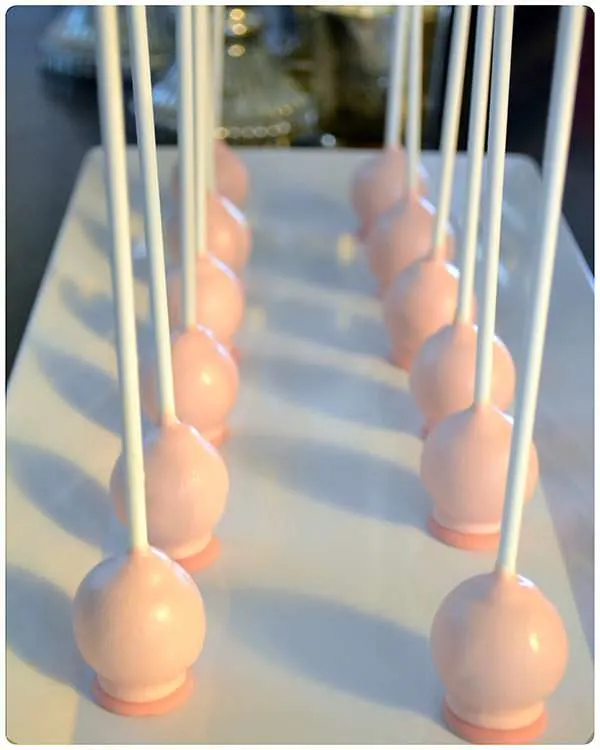
Start with plain dry cake pops, stick side up as pictured. I like to dip and then place wet cake pop on a melt to ensure a solid, level bottomed cake pop. (For dipping tips, please see my videos on Instagram)
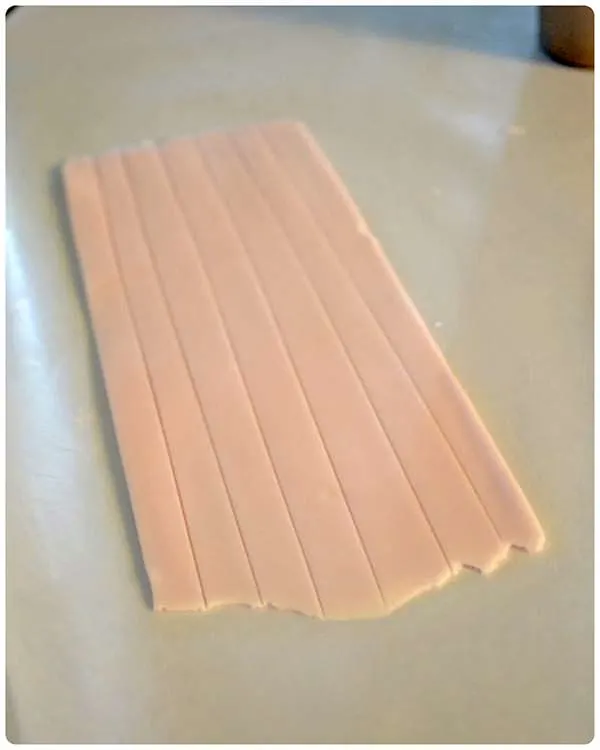
Color your fondant according to your preferred color scheme. You can use any kind of food coloring but start with a little drop and add until you reach your desired color. Keep in mind that if you are doing an ombré effect, you will need 5-6 different shades of your color starting with the darkest color and ending with the lightest. For tutorial purposes, I used my fave color…PINK! Using a fondant roller or rolling pin, roll out your fondant onto a piece of wax paper. Sprinkle a little cornstarch on your rolling pin and the fondant if it sticks a little. Cut your rolled out fondant into approximately 5 inch strips. You will need about 6 strips per cake pop. Each strip should be about a quarter of an inch wide.
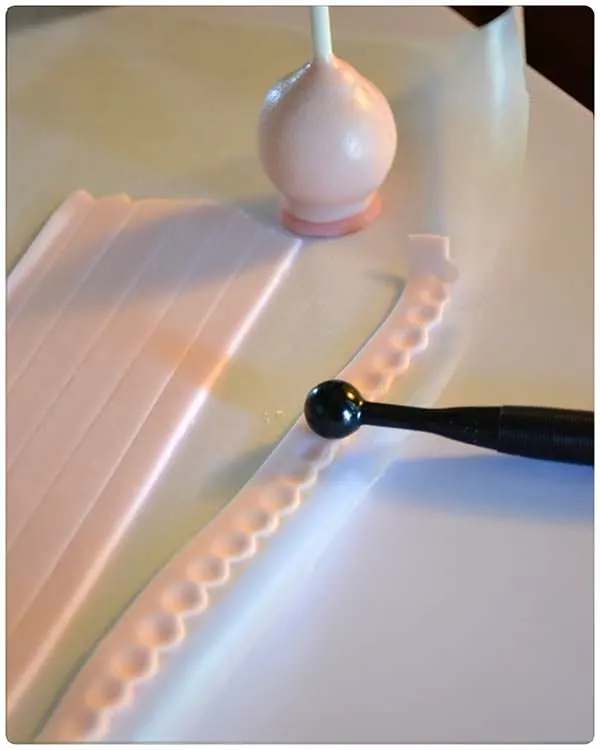
Using a ball tool, take each layer and gently ‘ruffle’ one side of the strip using a slow, rolling motion. You can also use a ruffling tool if want a more organic look. I like mine to look more shabby chic so the more imperfect the better.
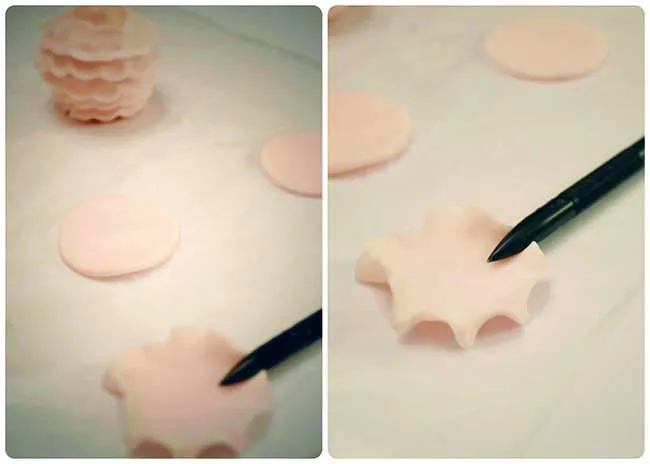
Using your circle cutter, cut out several circles and use the same ruffling technique on the edges and set circles aside for later.
You are now ready to start placing your ruffles on the cake pop. Starting at the bottom (flat part) of the cake pop, use your small brush to dab a very small amount of clear vanilla extract around the cake pop where you are placing your first ruffle. Take one strip of ruffled fondant and wrap it around the very bottom of the cake pop covering the melt or flat part of the cake pop. The vanilla extract will adhere it to the cake pop. If you have excess fondant once the two ends meet, you can easily pinch it off and remove. Gradually place each of the following layers using the same method of lightly brushing extract and wrapping the fondant strip around the cake pop until you reach your last layer…
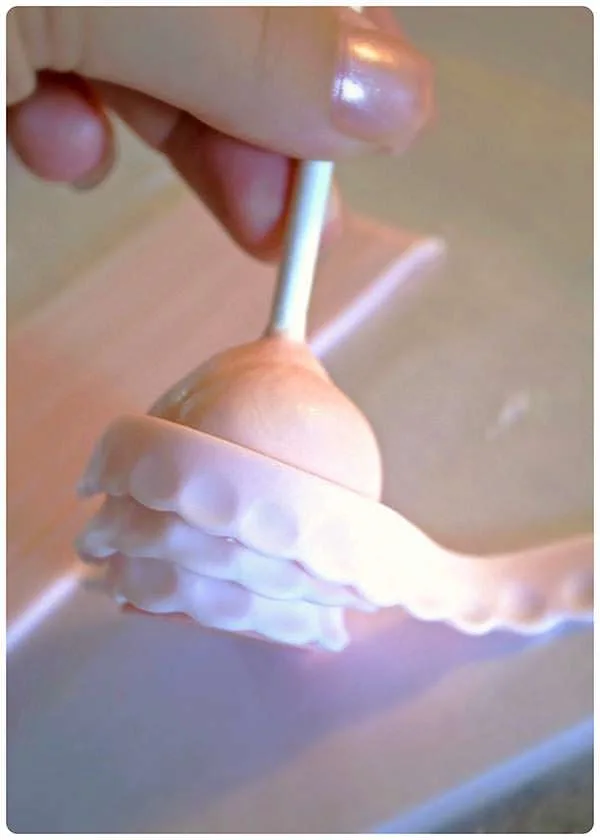
*NOTE* Make sure you start each ruffle layer at the same place each time so that your “seam” can be placed in the back of the cake pop for display.
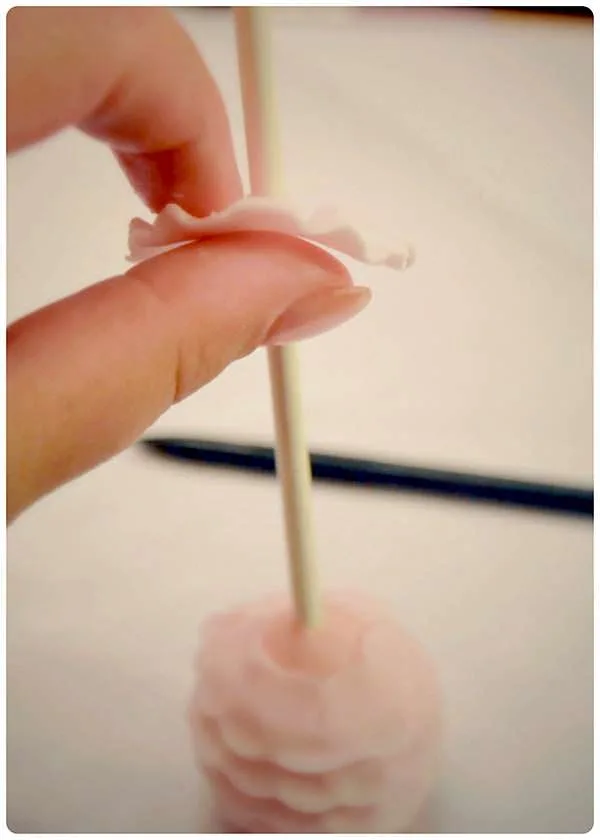
Using the circles that you previously cut and ruffled, place your final layer by poking a small hole in the center of the circle and sliding it down the stick. This should cover the seams of the previous layer and the point where the cake pop meets the stick.
At this point, all your layers should be in place and you can use your ruffling tool or toothpick to “fluff” each layer and voila…there you have it…the famous ruffle cake pop!
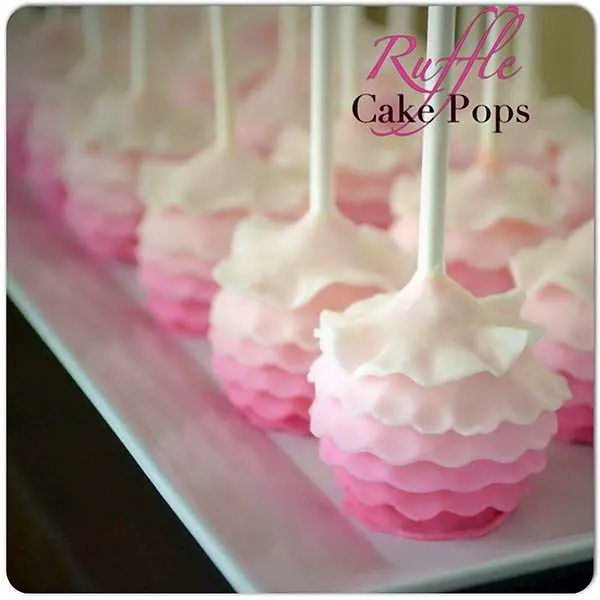
A BIG Thank You to Pint Sized Baker for the opportunity to create and share with my cake pop family. Happy Popping!
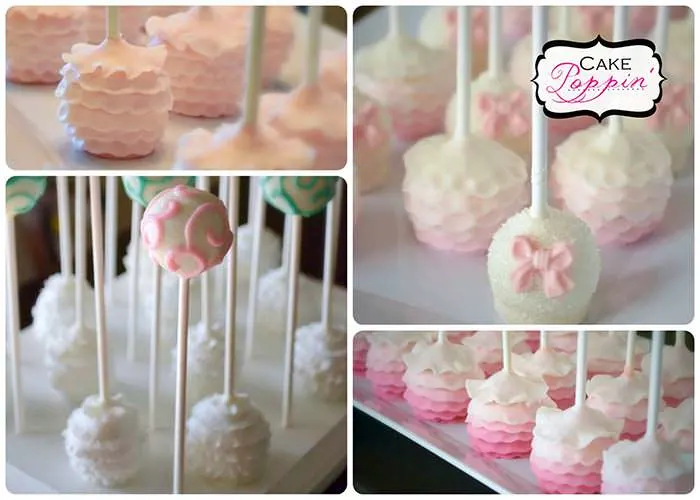
Thanks so much for this awesome tutorial, Jo. They are so pretty. What a labor of love, but the end result is a work of art!
Don’t forget to stop over to CakePoppin on Facebook and give her a LIKE!
Here’s all of the tools needed for these Ruffle Cake Pops
Please check out all 500 Cake Pop Tutorials I have here.
Here are more awesome cake pops from Cake Poppin’!
Yield: 12
Ruffle Cake Pop

Jo from Cake Poppin' created the ruffle cake pop in 2011 and they have been a HIT with fans and customers ever since!
Prep Time
30 minutes
Cook Time
30 minutes
Total Time
1 hour
Ingredients
- Finished cake pops (your favorite flavor), stick up
- Fondant or candy clay (whichever works better for you)
- Fondant roller or rolling pin
- Food coloring
- Clear vanilla extract
- Small brush
- Ball tool or ruffling tool
- Knife
- Medium Circle cutter
Instructions
- Start with plain dry cake pops, stick side up. I like to dip and then place wet cake pop on a melt to ensure a solid, level bottomed cake pop. (For dipping tips, please see my videos on Instagram)
- Color your fondant according to your preferred color scheme. You can use any kind of food coloring but start with a little drop and add until you reach your desired color. Keep in mind that if you are doing an ombré effect, you will need 5-6 different shades of your color starting with the darkest color and ending with the lightest. Using a fondant roller or rolling pin, roll out your fondant onto a piece of wax paper. Sprinkle a little cornstarch on your rolling pin and the fondant if it sticks a little. Cut your rolled out fondant into approximately 5 inch strips. You will need about 6 strips per cake pop. Each strip should be about a quarter of an inch wide.
- Using a ball tool, take each layer and gently ‘ruffle’ one side of the strip using a slow, rolling motion.
- Using your circle cutter, cut out several circles and use the same ruffling technique on the edges and set circles aside for later.
- Starting at the bottom (flat part) of the cake pop, use your small brush to dab a very small amount of clear vanilla extract around the cake pop where you are placing your first ruffle. Take one strip of ruffled fondant and wrap it around the very bottom of the cake pop covering the melt or flat part of the cake pop. Gradually place each of the following layers using the same method of lightly brushing extract and wrapping the fondant strip around the cake pop until you reach your last layer.
- Using the circles that you previously cut and ruffled, place your final layer by poking a small hole in the center of the circle and sliding it down the stick. This should cover the seams of the previous layer and the point where the cake pop meets the stick.
- At this point, all your layers should be in place and you can use your ruffling tool or toothpick to “fluff” each layer and voila…there you have it…the famous ruffle cake pop!
Notes
Recipe / tutorial from Jo at Cake Poppin'
Images, text and all other content Copyrighted©Karyn Granrud, Susanne Queck and Wunderlander Verlag LLC, or ©Pro Stock Media via Canva.com. Unlicensed republishing permitted. As an Amazon affiliate, we earn on qualified purchases.


