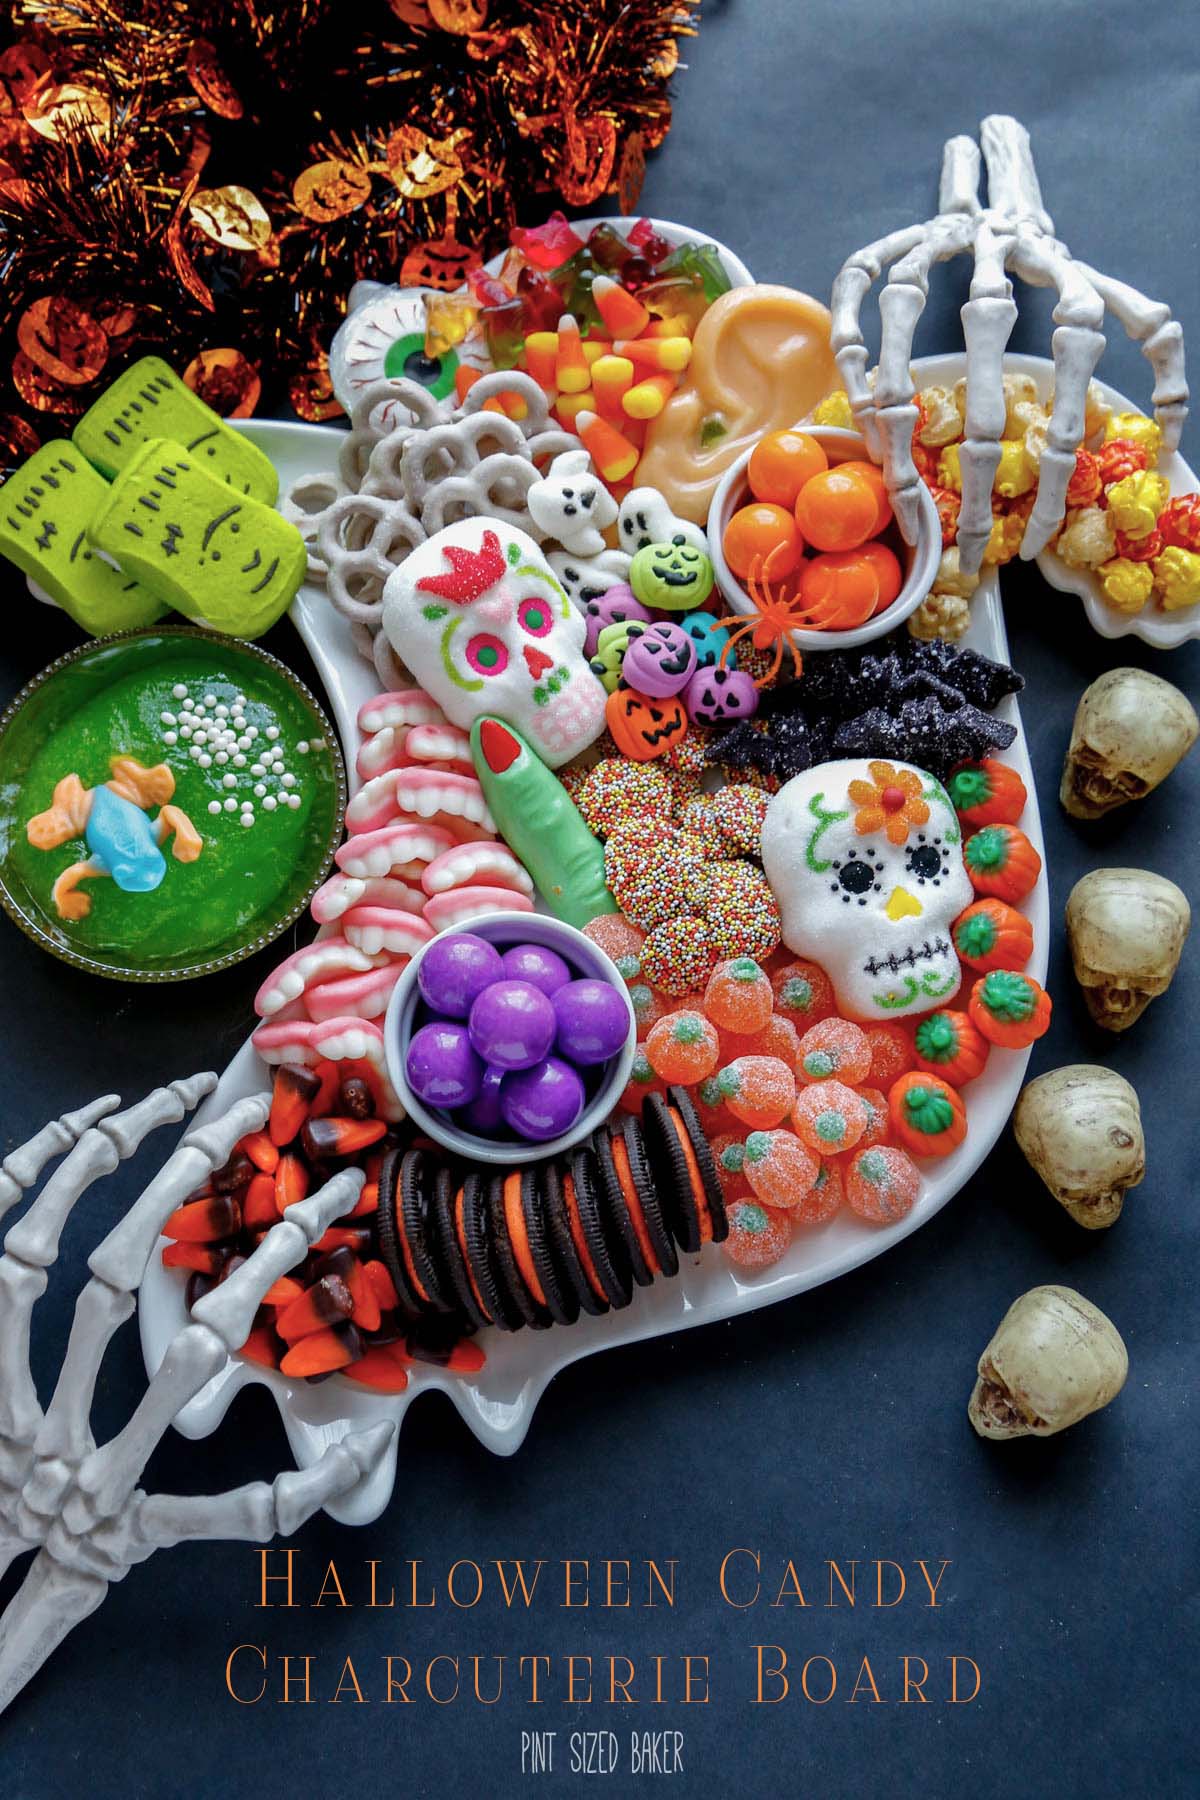
Halloween Candy at its BEST – displayed out for everyone in a fun Halloween Candy Charcuterie Board that’s super easy to assemble and decorate. Brush up your Halloween party.

Halloween Sweets Charcuterie Board
Put up all the fun jack-o-lanterns, ghosts and skeletons that you have. It’s pretty easy to get inspired with all of the great candy treats that are all over the store shelves.

Find A Lot of Candy
For this post, the candy toppers from Wilton were used along with the marshmallow sugar skulls from CandiFetti. You can find both products in stores like Wal Mart, Party City, and Michael’s.
I found so many awesome treats at Target (of course) but one gold mine of unusual candy was at TJ Maxx! You know where the candy is – just go buy ALL OF IT! Make it fun and make it colorful!
You’re looking for different, but complementary, colors, shapes, textures, and sizes.

You want more candy than you think you need, and then you’ll need some more, besides, variety is the spice of life!
How to assemble your Halloween candy plate
You’ll want to start with two or three of your larger items. They will generally make a triangle on the board. I placed the two small containers of gumballs on the platter first.
Then I added the Oreos around the bottom and placed the popcorn above the other one. Pay attention to symmetry. Just keep layering the candy in little clumps that “flow” a bit.
Some candy will layer on top of others and cover up the smaller candy. Move and shift and rearrange, but don’t overthink it. These are supposed to be fun and imperfect.

Set the Scene
I added some skeleton hands reaching for the candy and holding a cup of green soda to set the scene. The green “slime” with the frog gummy was an impulse buy and I didn’t think I’d use it with this post.
However, it was the perfect touch to the dish and fit in so well in the curve of the ghost platter.

Just look around for great candy options. Layer the colors and cluster the candy. Have fun and enjoy your spooky Halloween Candy Charcuterie Board!
Step by Step
- Gather up your candy and unwrap them.
- Arrange like candies together starting with the larger containers. Work from one area to another to create a "flow" to your platter.
- Add more candy as needed. Tuck in candy to completely cover the platter.
My tips
Equipment


Video

This post and recipe was created for HalloweenTreatsWeek! I was sent samples by some of the sponsor companies but as always opinions are 100% mine.
Images, text and all other content Copyrighted©Karyn Granrud, Susanne Queck and Wunderlander Verlag LLC, or ©Pro Stock Media via Canva.com. Unlicensed republishing permitted. As an Amazon affiliate, we earn on qualified purchases.