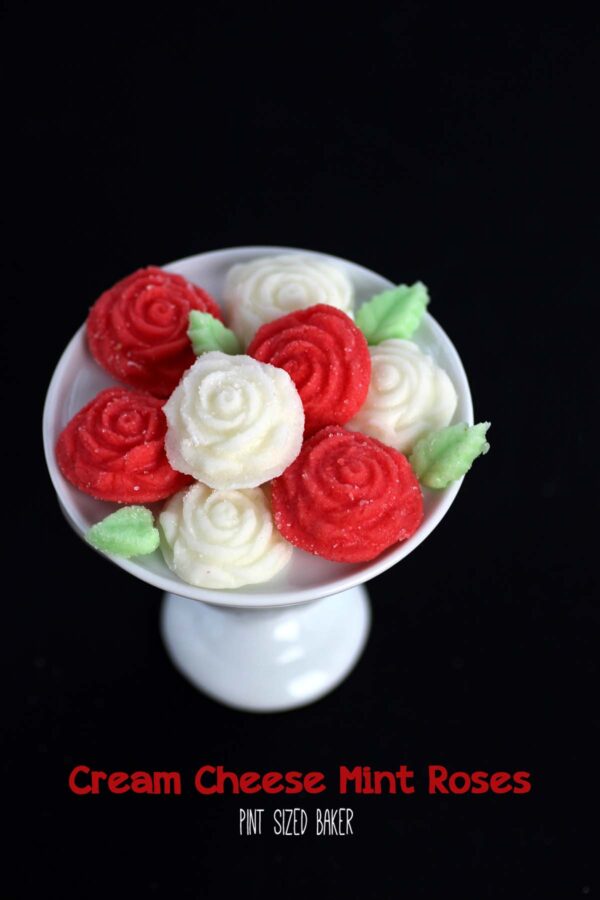
Quick and simple cream cheese mint roses is a stunning candy that is perfect for special events and everyday sweets.
Cream Cheese Mint Rose Candies
I love, love, LOVE minty desserts. I’ll take a York Peppermint Patty over a Snickers any day. So, when I was thinking of something to add to the Mint Roll Cake, cream cheese mints came to mind.
As I was researching ideas I was ready to just make some patties and call it done. However, I was going through my plastic molds and found a little rose mold and thought this would be so pretty and feminine for a girly cake!
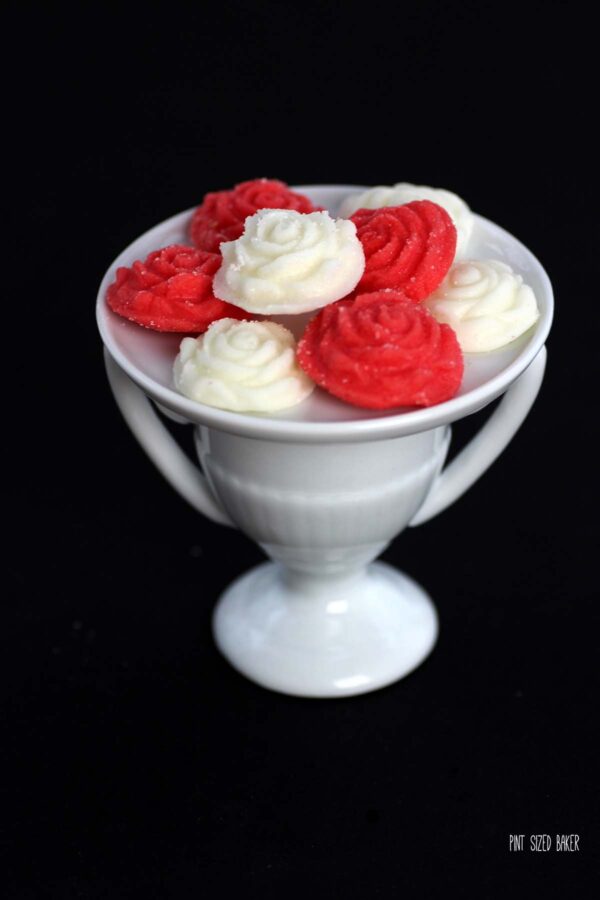
I just love the look of the roses, don’t you?
The above roses were made in an individual silicone mold that I got from a cake popper friend. The larger plastic rose candy mold got 15 done at a time and was so much faster and easier to work with.
Ombre Roses
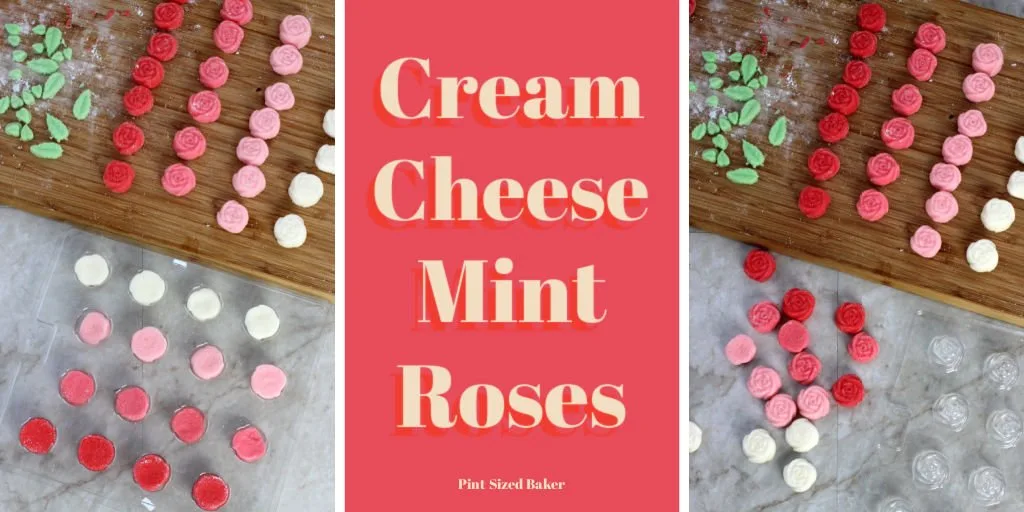
Once the mixture was made, I started with simply white cream cheese mint roses.
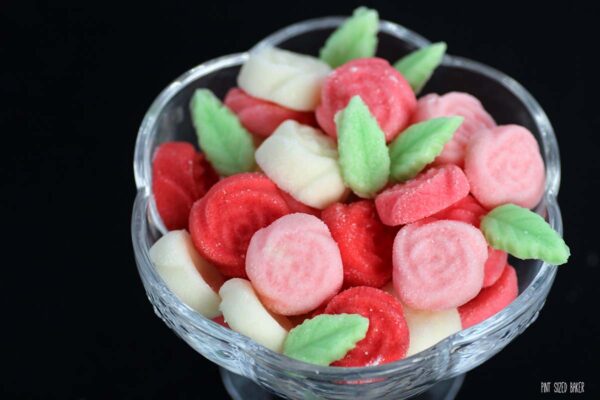
Second, add 1 drop of red food coloring to the cream cheese mixture to make the light pink roses. Third, add one more drop of red to make the cream cheese a little bit darker and make the next set of roses. Finally, add one last drop of food coloring to make the red roses.
It’s so easy and I totally love the ombre look of them!
Simply beautiful! Love it!!
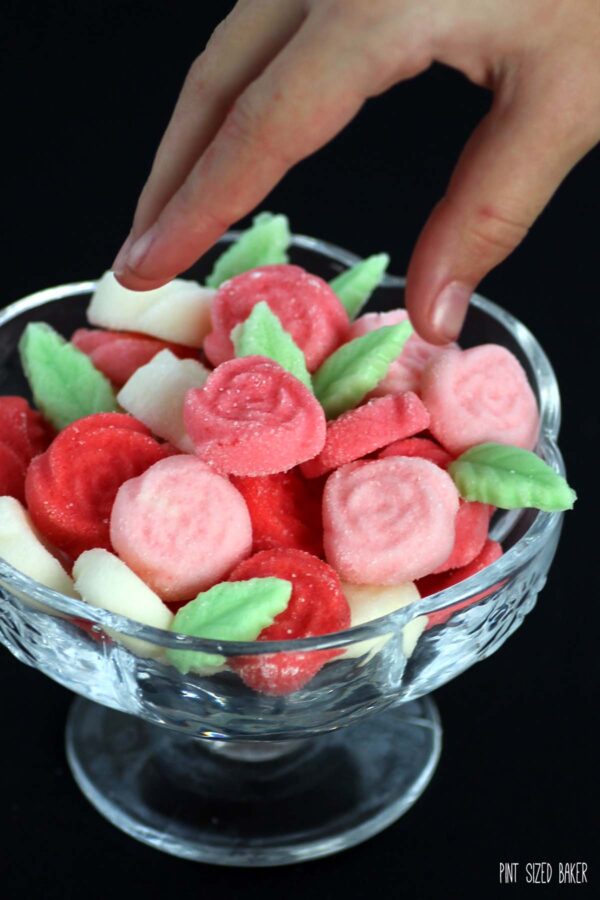
I was snacking on these so much! I just could not get enough.
Seriously! I would pop two to three mints when walking past the fridge. They are dangerous and they are so easy to just pick up and pop into your mouth. Beware!
Only make these if you have a lot of people to come and eat them for you. Or give them away.
Wouldn’t these look just beautiful for a wedding shower ore reception? Make them for a baby shower is coordinated colors to match the theme. Toss a few on to the Christmas cookie platter for a fun pop of color and flavor! There are so many molds out there, that I’m sure you’ll find one that is perfect for you!
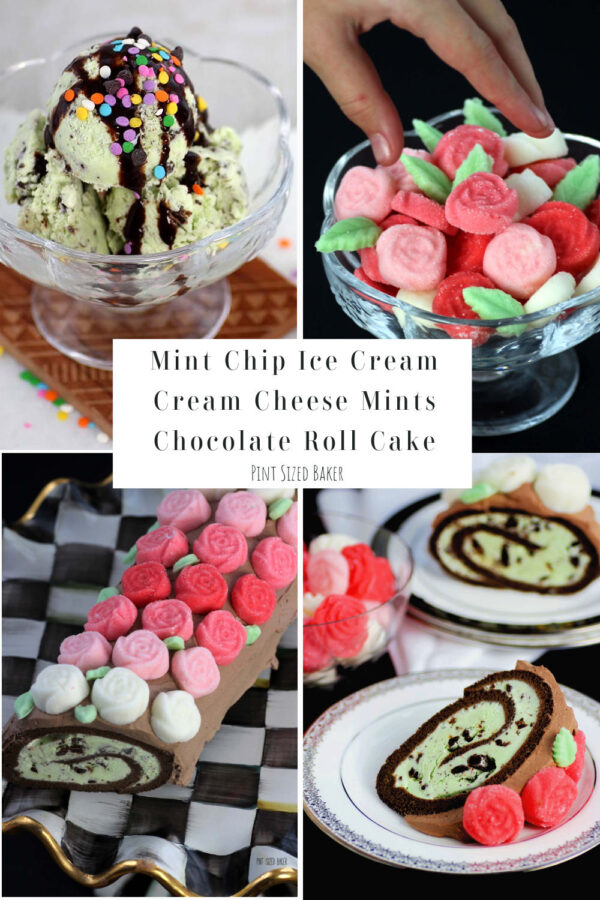
This recipe is part two of a three-part series including Mint Chip Ice Cream and Mint Chocolate Roll Cake.
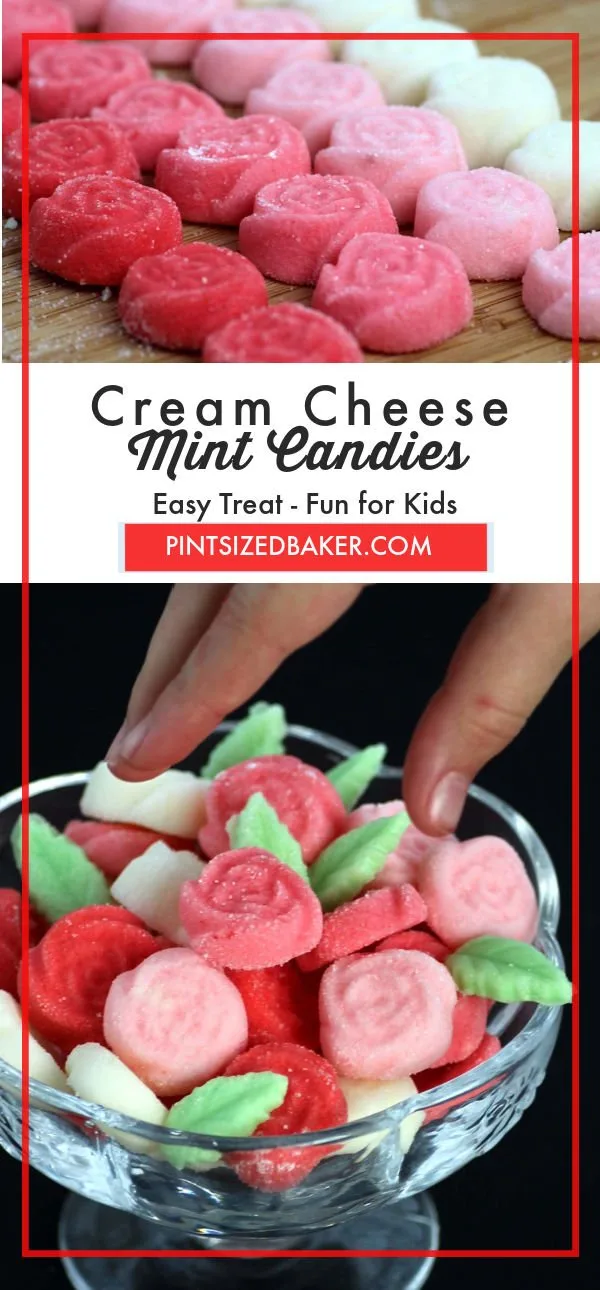
Cream Cheese Mint Candies
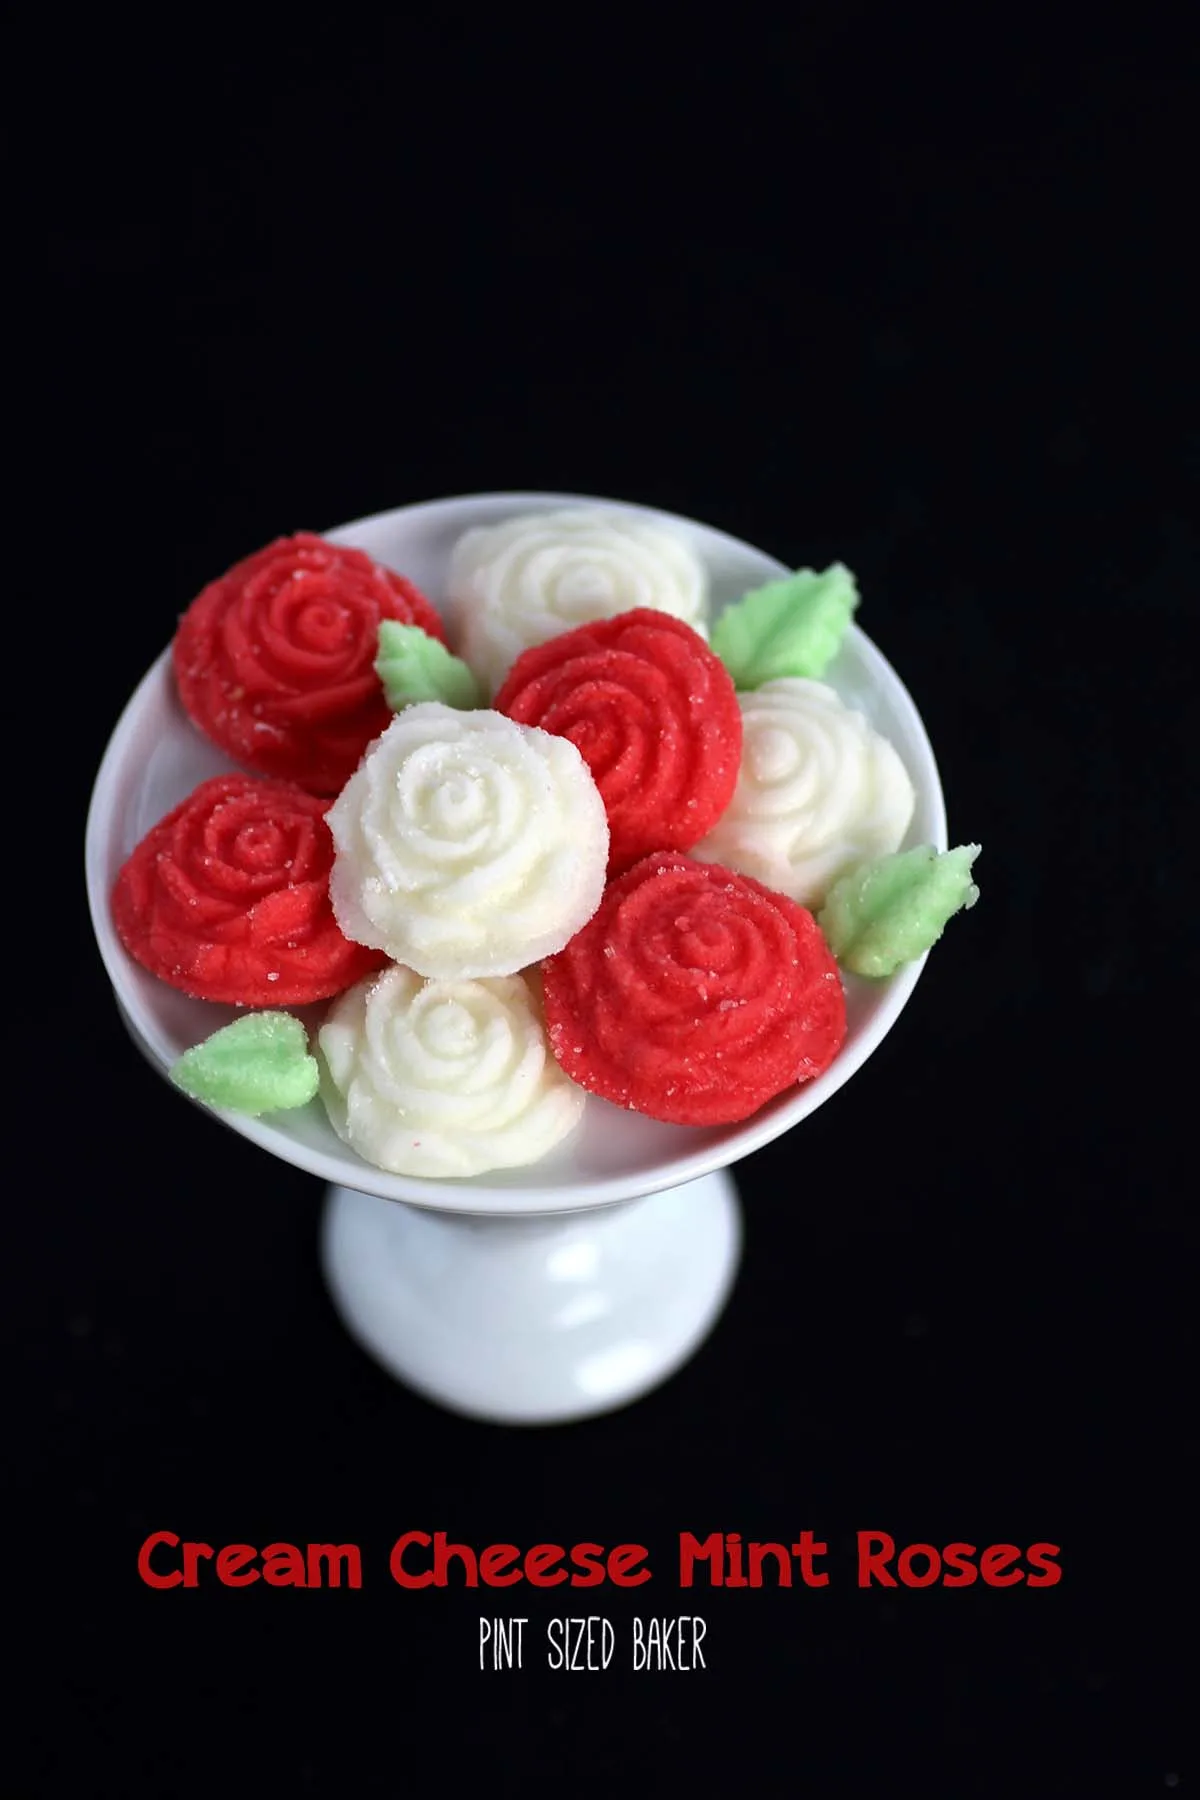
Cream Cheese Mints are so pretty when they look like roses! The ombre coloring doesn’t hurt either.
Ingredients
- 3 oz cream cheese
- 1 pound powdered sugar
- 1/4 teaspoon peppermint extract
- red food coloring
- granulated sugar for coating
Instructions
- In a stand mixer, beat the cream cheese with a paddle attachment until smooth. Turn the mixer off and add the powdered sugar. Drape a towel over the mixer and hold at the edges then turn the mixer on to the lowest setting. The towel will help keep the sugar INSIDE the mixer and not all over you and your counter. Add the extract and beat until combined.
- If using the molds, measure out a 1/2 teaspoon, roll smooth in your palms, then roll it in the granulated sugar. Press into the rose mold. Make 15 white roses. Flip the mold over and start another batch.
- Add 2 drops of red food coloring and mix. I mixed it by hand, but you can return it to the mixer. Make another 15 light pink roses.
- Add 2 more drops of red food coloring, mix and make 15 pink roses.
- Add 2 more drops of red food coloring, mix and make 15 dark pink roses.
- Leave the roses alone for the night. Cover them and place them in the fridge until ready to serve.
- I found that I liked them best right out of the fridge. They were more minty cold, versus more cream cheesy warm.
Recommended Products
As an Amazon Associate and member of other affiliate programs, I earn from qualifying purchases.
Images, text and all other content Copyrighted©Karyn Granrud, Susanne Queck and Wunderlander Verlag LLC, or ©Pro Stock Media via Canva.com. Unlicensed republishing permitted. As an Amazon affiliate, we earn on qualified purchases.


wow, these look delicious and beautiful!
b
They are! They are beautiful and delicious! Make some.
oh my these bring back such wonderful memories. I made these for my wedding almost 40 years ago! It’s lovely that you have created them to share with others during this special time of year. Really nice 🙂
Thanks. They are so versatile and easy to make. The molds just make them even better! Thanks so much for stopping by!
Is there a trick to help getting out of the mold? please im have 200+ mints to make before midnight and a mom that is counting on me to figure this out help
The sugar on them should help with the mints to not stick. They just need a little thumb pressure on the mold and then flip it over to knock them out. I’m sure they will turn out great!
I don’t have any mixers- would it be possible to make this by hand?
Yep! Totally. It may take a little more elbow grease, but you can do it.
How long do you think these stay good for?
They’ll stay good for a long time in the fridge. I’d guess if they were sealed in a plastic container and put into the freezer, they may be good for up to three months.
Where did you find the leafs molds?
I don’t remember exactly where I bought them, but I’m sure you can find them at Amazon or a cake decorating supply store.
Are they sticky to the touch after being in the fridge?
Hi Nanette, if you make sure to coat them with sugar properly, they will not be sticky.