Learn how Adding Drop Flowers to a Cake is a quick and easy way to decorate a cake. Personalize your flowers to suit any occasion.
Adding Drop Flowers to a Cake
I am so NOT a buttercream wizard nor am I a wizard at making flowers with frosting. Quite frankly, I kinda suck at getting the right consistency and then working the buttercream on a flower nail and lifting it off with lifting scissors or letting them firm on small pieces of parchment paper. I just don’t have the patience to wait a few days much less a few hours to get pretty flowers. So, the solution for me is easy drop flowers that I can make a bunch of and then use on my cake in an hour.
For these five petal drop flowers I used a Wilton tip 225 and a Wilton tip 3 for the center dot. There are different sized tips to make drop flowers, so play around with them to find the one you love the most. I wanted small, petite flowers that would dry quickly.
I made a basic crusting buttercream and then tinted a cup of frosting yellow, quarter cup pink, and a quarter cup green, while leaving the rest white.
Add the piping tip to you bag and then fill it with the frosting. Lay out a cookie sheet lined with parchment paper and get to piping.
To create the flower, place the flower tip straight up and down on the parchment. ON THE PARCHMENT – touch it. If you are right handed, rotate your wrist completely to the left (counter-clockwise), gently and evenly apply pressure while you rotate your wrist to the right (clockwise). Stop applying pressure on the bag and lift up. Repeat over and over and over again. Some will be great, some will be wonky, but most will be just fine. Don’t worry about the hole in the middle.
When all of the flowers are made, grab the second bag fitted with the 3 tip and filled with pink frosting. We will use this to fill in that hole in the center. Simply add a dot a frosting that is touching all 5 petals. This will hold the leaves together. Simple! Now place that cookie tray of buttercream flowers into the freezer for 30 minutes and frost your cake.
I took the extra step of adding lots of sprinkles to the edge of the cake. Since this cake was 8″ round I decided to simply press the sprinkles into the sides of the cake. If you are making a smaller 6″ cake that’s taller, can use this rolling method to cover the cake in sprinkles.
The flowers should be frozen and easy to lift off the parchment. If they fall apart and don’t easily lift from the cookie sheet, then pop them back into the freezer until they do.
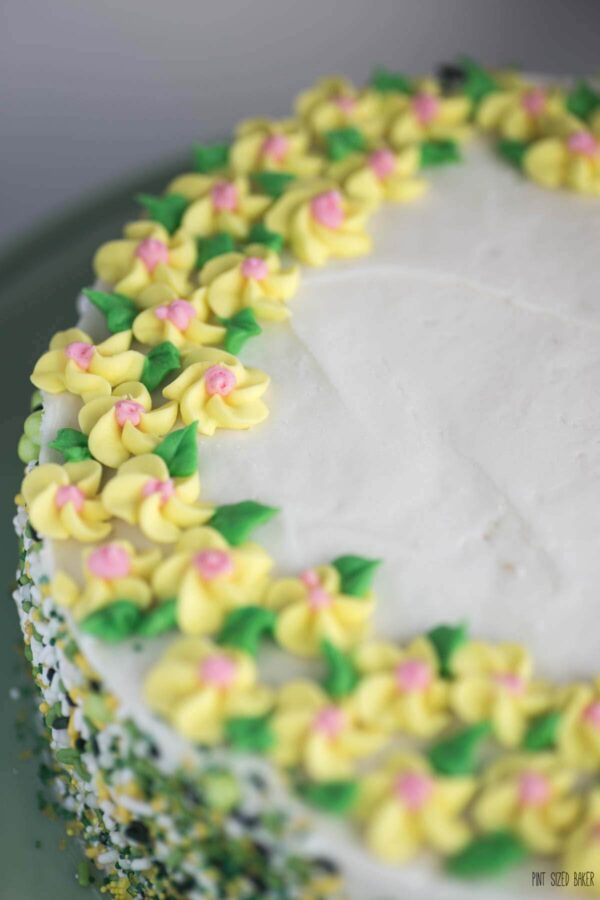
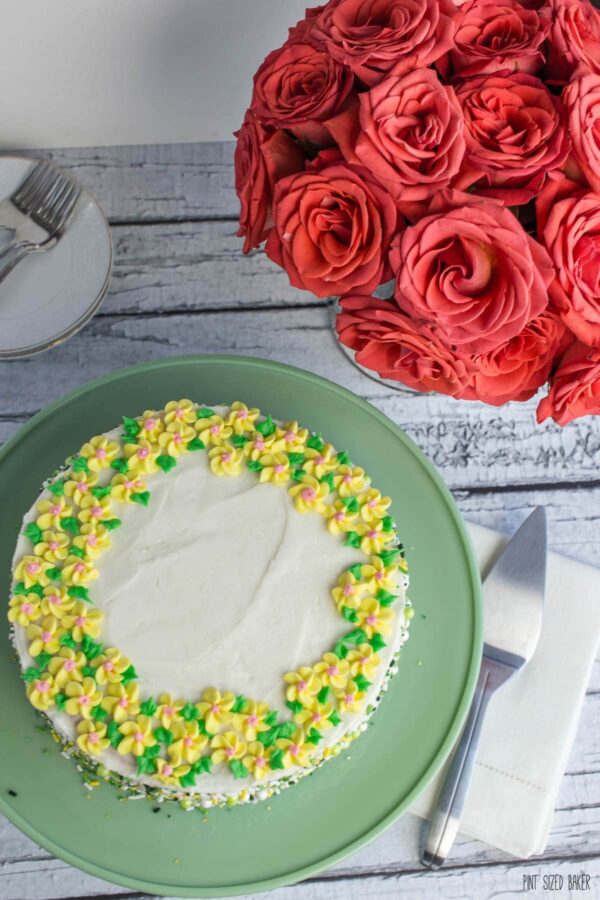
Start placing the flowers on the cake. Add them all the way around like I did or create a crescent shape. Up to you and your creative self. Use green buttercream with a leaf tip and add in little leaves around the flowers. The leaves will act as glue to keep the flowers in place if your buttercream has crusted over.
That’s it! Add a message if you trust your hand writing, decorate with fun candles, or add a fun cake topper.. There are also tools you can use to stamp the cake so you can trace out your message. You can totally make this cake for your next family birthday. I have total faith in you 🙂
Here’s a video of me decorating this cake.
How To Decorate a Cake with Drop flowers
Ingredients
- 1 C unsalted butter
- 1 C shortening
- 2 pounds powdered sugar
- 3 - 5 Tbsp milk
- 1 tsp vanilla extract or flavored if desired
- food coloring of choice yellow, pink and green
- 2 8- inch round cakes - you favorite flavor
Instructions
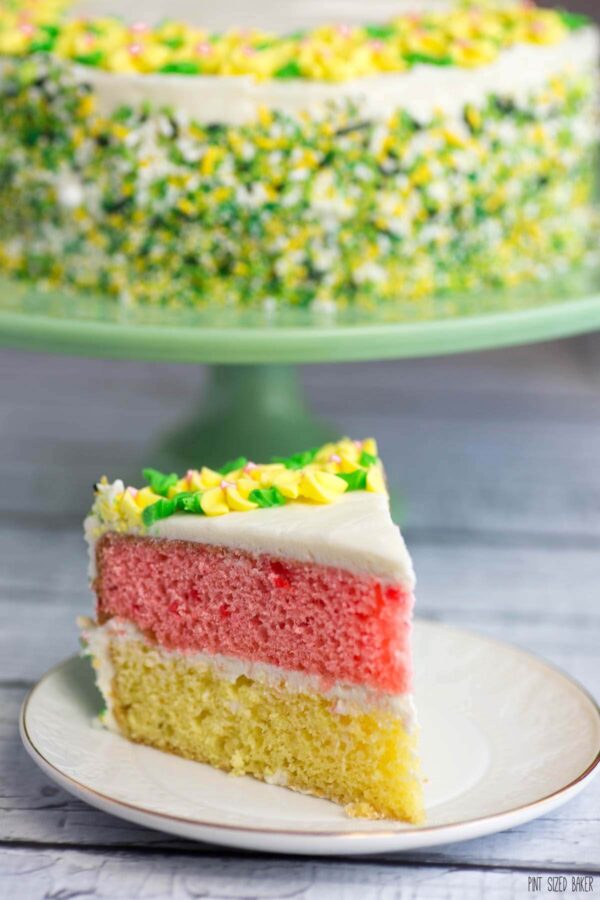
- Bake your favorite cake. For this one I made a strawberry cake and a lemon cake for a fresh, spring look and flavor.
- While the cake is baking, start preparing your buttercream. In a mixing bowl, blend together the butter and shortening. Gradually add in the powdered sugar with a tablespoon of milk along with the extract, until you have a thick consistency. When you have thick consistency, you will have stiff peaks AND a knife will not fall over when inserted into the frosting.
- Remove a cup of frosting and divide it into three bowls. 1/2 cup colored yellow for the flower petals, 1/4 cup colored pink for the flower centers, and 1/4 cup colored green for the leaves.
- Lay out a sheet of wax paper on a cookie sheet. Add a drop flower tip (Wilton #224) to a piping bag, a leaf tip (Wilton #366) to another piping bag, and just cut off a small tip of a third piping bag. Add the colored frosting to the bags.
- To make the drop flower design, hold the piping bag straight up with your wrist completely turned so your knuckles point to a 9 o'clock position. Squeeze and turn the piping bag to the right. Release pressure and lift up. You will have a void in the center of the flower. Pipe a small dot in the void being sure to touch all 5 petals.
- When all of your flowers are made, pop the cookie tray into the freezer for an hour.
- Go back to the remaining frosting and add a teaspoon or two of milk to soften the frosting for a thinner and softer consistency. It's easier to frost the cake with a softer frosting.
- Frost your cake and add sprinkles to the sides if desired. I used this fun Lemon Lime Sprinkle Combo from Sweets & Treats. around the edges.
- Remove the frozen flowers from the wax paper and place them around the cake. Add some green leaves to fill in and help the flowers stick in place. Have fun and be creative with them.
Notes
Nutrition information isn’t always accurate.
You can find all of my layered cake recipes here.
Check out this post on how to crumb coat a cake.
How to Cover a Cake in Sprinkles
Images, text and all other content Copyrighted©Karyn Granrud, Susanne Queck and Wunderlander Verlag LLC, or ©Pro Stock Media via Canva.com. Unlicensed republishing permitted. As an Amazon affiliate, we earn on qualified purchases.
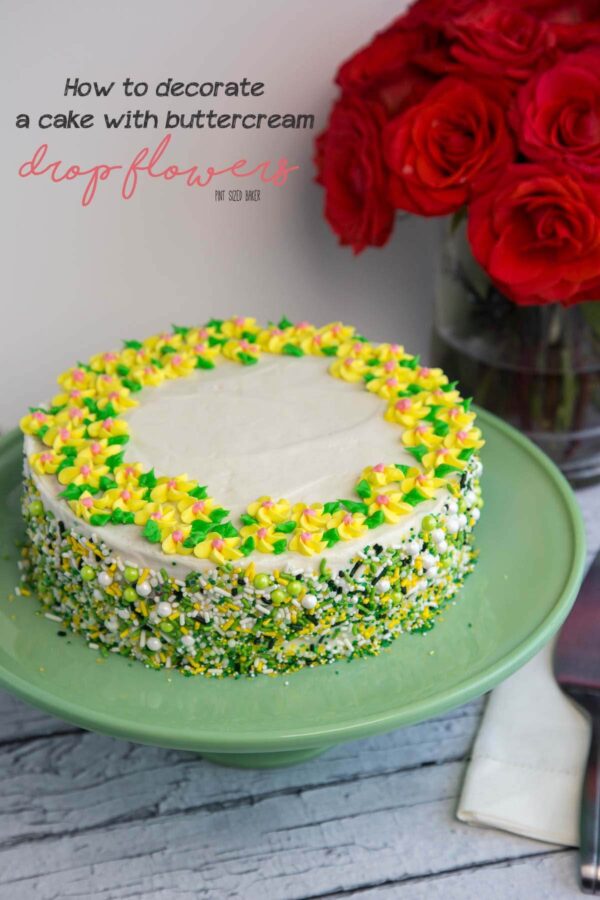
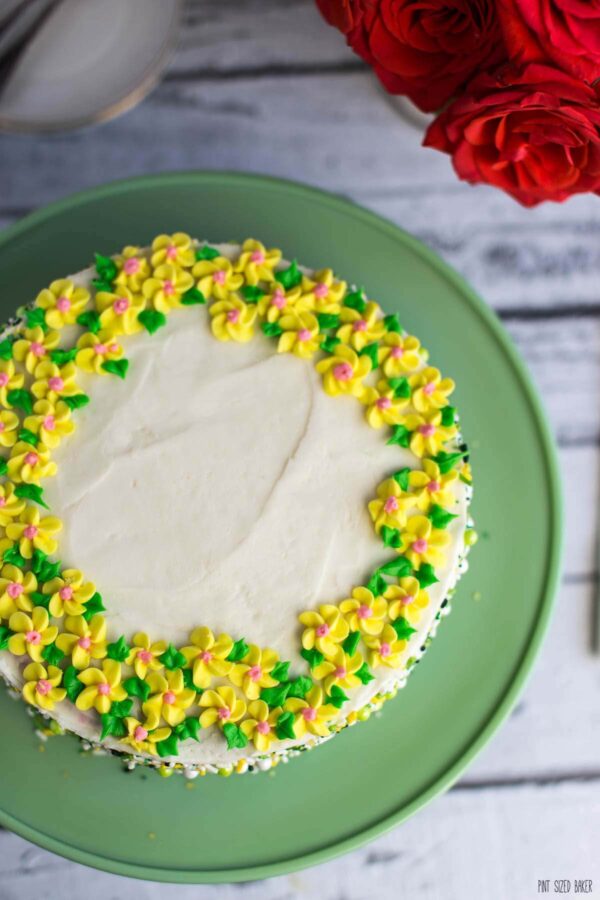
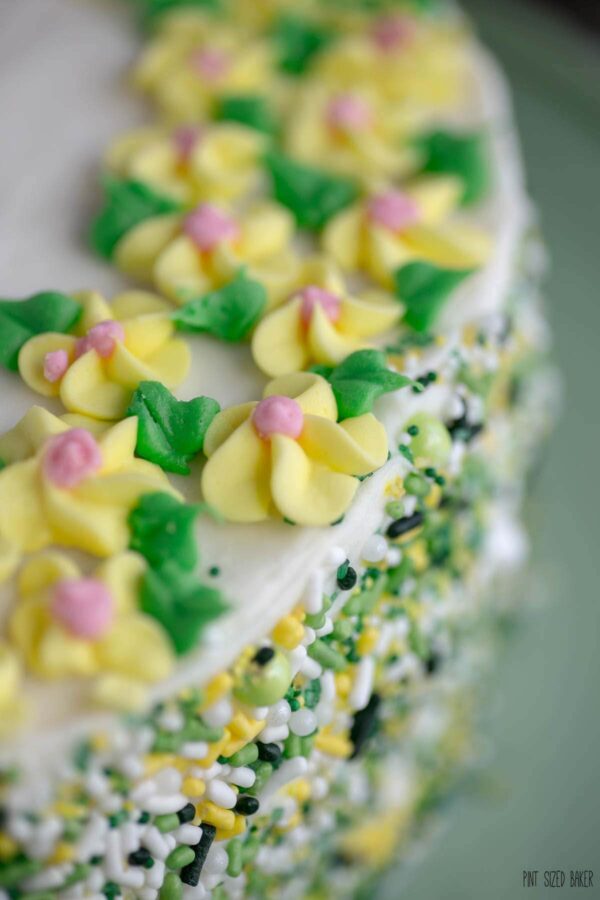

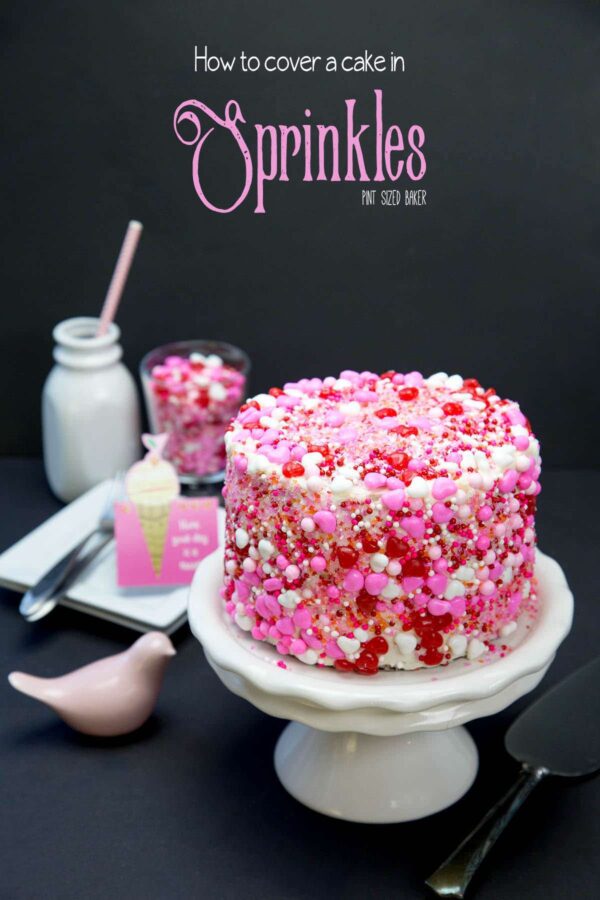
I absolutely love this decorating technique! And those sprinkles are amazing!
Thanks! The flowers are easier to make on a piece of wax paper instead of right on the cake. That way if you goof, it’s not a big deal.