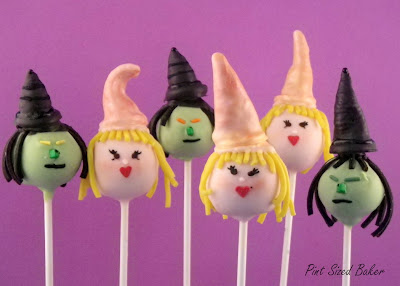
1. Make Cake Pops. I colored white candy melts with some green and pink, oil based food coloring. Don’t use water based coloring; it’ll seize the chocolate.
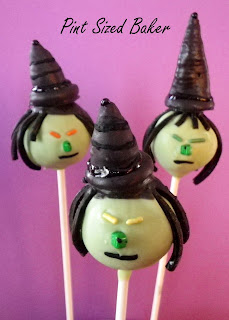
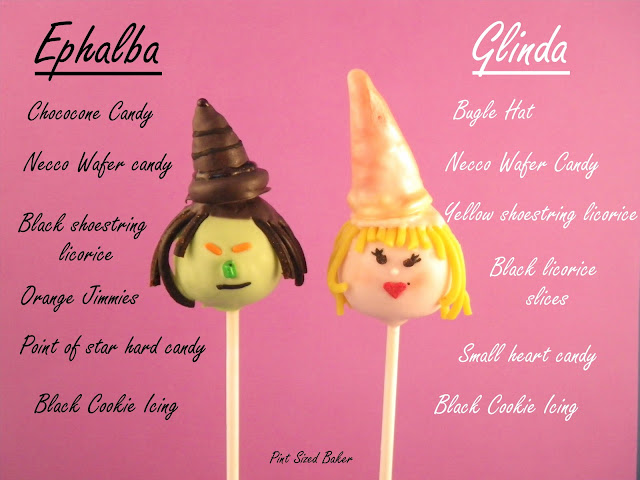
2. I used Wilton Black Candy melts for Ephalba’s hat. If you can’t find it in a craft store, you’ll have to order it online from Wilton.com. Dip the candy base into the chocolate and secure to Necco wafer. Let dry. Completely dip the hat in the candy melts, remove with a fork and tap off excess like tapping a truffle (see video here). Lay aside to dry completely.
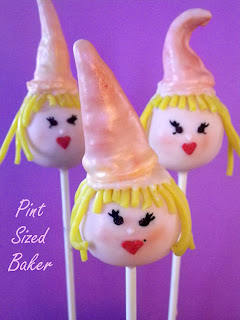
For Glinda’s hat, I attached a Bugle chip to a Necco wafer and dipped into pink candy melts. Remove with fork, tap off excess and set aside.
3. Dip the cake pop into the melted candy, tap off excess and start attaching pre-cut licorice hair. If you go all the way around the pop you’ll need a lot of licorice. I did not attach the hair to the top of the head – there is a bald spot up there for the hat to sit on. I found that the added hair was too bumpy and the hat did not sit nicely.
4. Work fast and attach the eyes, (Elphaba’s) nose and (Glinda’s) mouth with a tweezers. Don’t let fat fingers mess up the faces. Set aside to dry in a cake pop stand or Styrofoam.
5. Pops and hats should be dry now. Dip the bald head into melted candy and attach the hat.
6. Decorate features.
For Elphaba I used some black decorator gel to add detail to the hat. Her mouth is Wilton black Cookie Icing that I applied with a toothpick. I also added a wart to her nose.
For Glinda I used pink Pearl Dust on her hat and cheeks. To apply dry pearl dust watch the video here. Using the black cookie icing and toothpick, I added the eyelashes and a beauty mark.
This was Shared with
One Tough Mother
Mrs Happy Homemaker
Marvelously Messy
Images, text and all other content Copyrighted©Karyn Granrud, Susanne Queck and Wunderlander Verlag LLC, or ©Pro Stock Media via Canva.com. Unlicensed republishing permitted. As an Amazon affiliate, we earn on qualified purchases.


These would so great for any Halloween party!!! I just LOVE them!!!! For some strange reason, you have always been really into Halloween!!!
These are so great! Super job 🙂 I love the shiny hat on Glinda. Thanks so much for linking up!