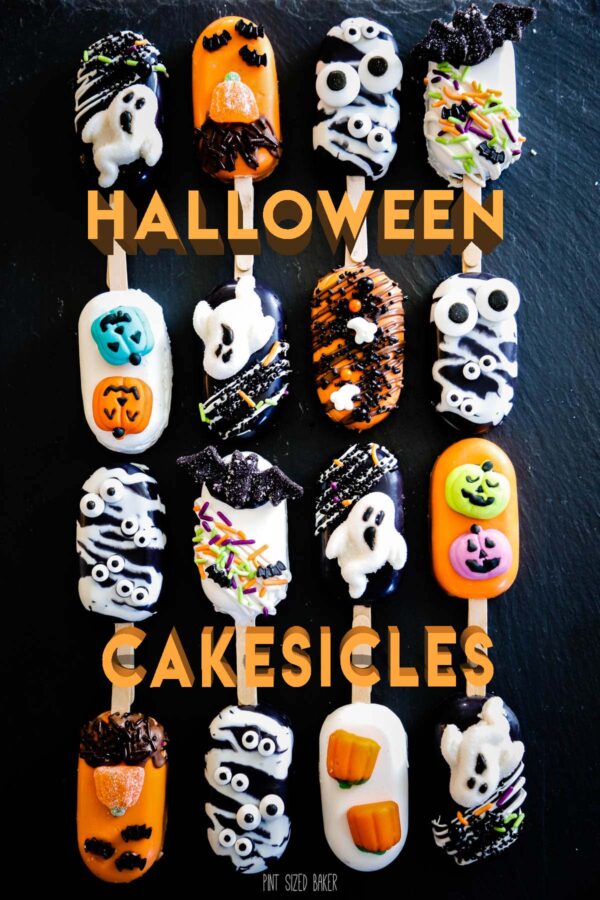
Cakesicles filled with caramel and chocolate cake and decorated up for Halloween! These are easier than you think to make!
This post and recipe was created for #HalloweenTreatsWeek! I was sent samples by some of the sponsor companies but as always opinions are 100% mine.
Halloween Chocolate and Caramel Cakesicles
Boo!! It’s time to get spooky around here. Okay… not really… but maybe just a little bit with these fun Halloween cakesicles stuffed with caramel and chocolate cake! Oh yeah!! If you love serving cake pops at parties, then you should give cakesicles a try.
I think that they are a bit easier to make if you have trouble with the cake falling off the stick when your dip your pops into the candy coating. There’s no dipping with cakesicles.
However, like anything else, it does take practice and you’ll have a few that really bomb, but just stick with it.
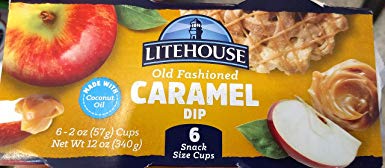
I’d like to thank Litehouse for the caramel that I used in these cakesicles, Wilton for all the fun cupcake topper candies, and Sweets & Treats for the black sprinkles that were used to make these Spook-tacular Halloween Cakesicles.
What is a Cakesicle?
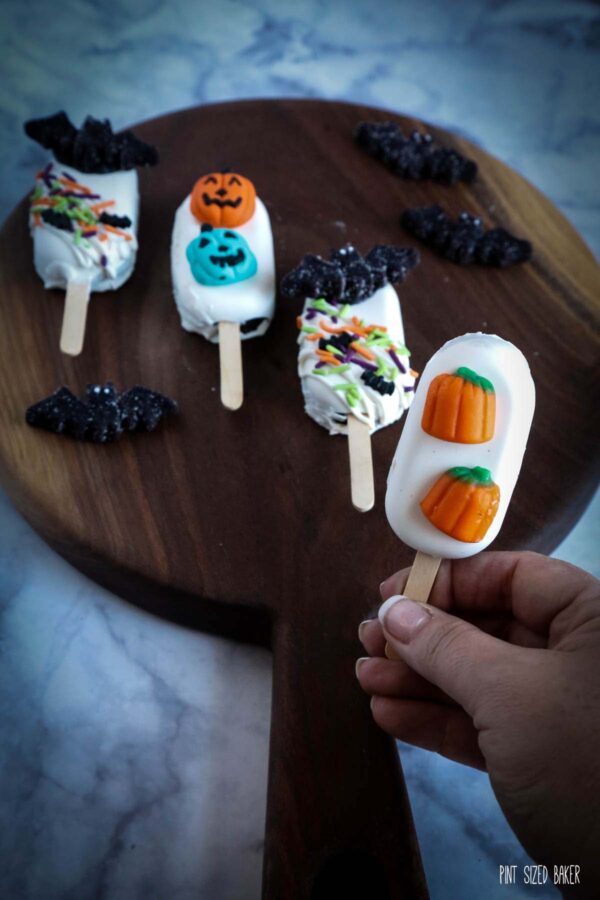
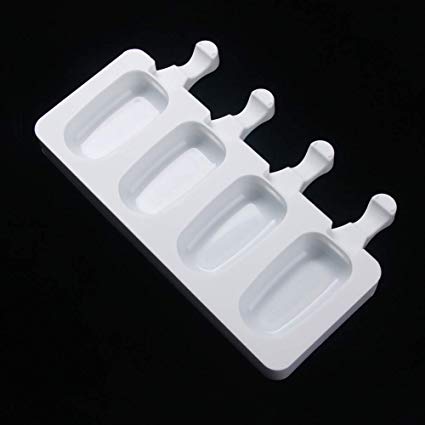
A Cakesicle is a combination of two greats treats – cake pops and popsicles. As you can see from the shape, these look like mini popsicles thanks to the mini moldmini mold. And then they are stuffed with cake pop dough – the cake and frosting mixture that’s used to make cake pops.
Some people have used marshmallow filling, RKT filling, and other various sweets.
These have a bit of caramel and cake in the centers for an extra gooey treat!
What do I need for Cakesicles?
To make cakesicles you’ll need the following supplies:
- Mini Popsicle Mold
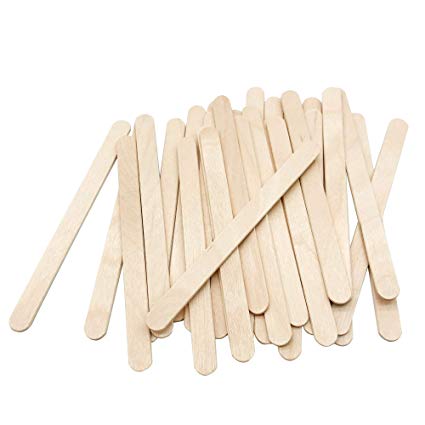
- Mini Popsicle Sticks
- Halloween Sprinkles
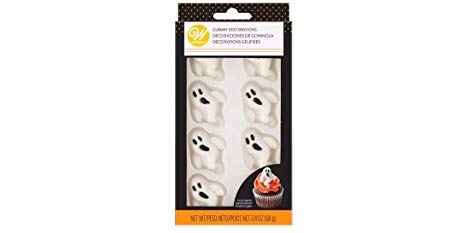
- Cupcake Topper Candies
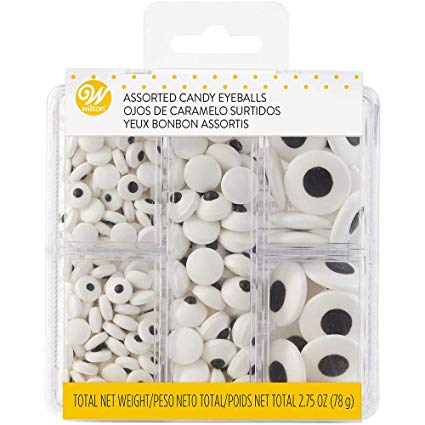
- Candy Eyeballs
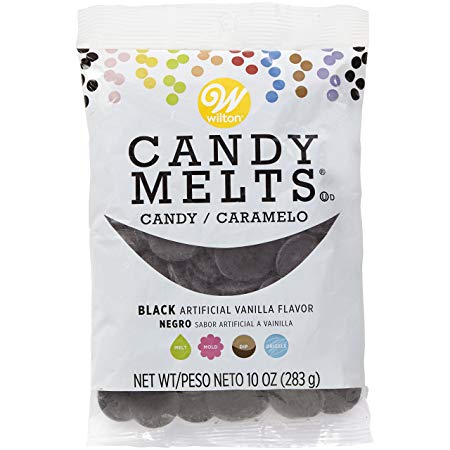
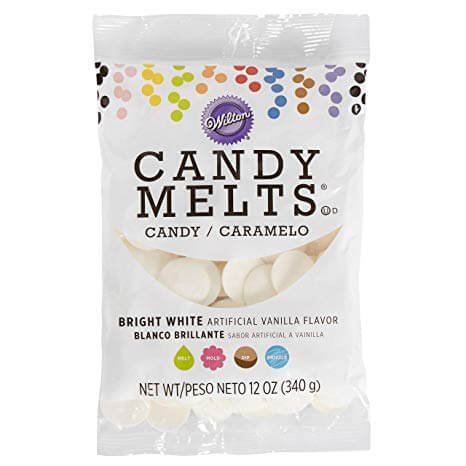
- Candy Melts (black, orange, white)
Making a Cast
The easiest way to make cakesicles is to start with a cast – lining the mold with the candy coating and allowing it to dry. There a learning curve to figuring out how much candy coating to add to the mold.
Too much and there isn’t enough room for the filling – too thin and there’s holes in the shell and your filling will come out.
So, be sure that the face and the sides are are covered. Doing two thin coats is a good idea.
Fill it up
Once the shell is hard, add some caramel to the centers then top it off with a thin, premolded piece of cake pop dough. If you are not going to add the caramel, you can press the cake pop dough into the mold making a more secure fit.
Then cover the back with a bit more candy coating. Give the mold some good taps against the counter top to do your best to get any air bubbles out.
Scrape off any excess coating and try to clean the mold as much as possible.
Removing your Cakesicles
Pop your cakesicles into the freezer for 5 minutes to get your candy to completely harden. If the candy is hard, then popping the cakesickles out of the silicone is pretty easy. Now you’re ready for the fun part of decorating them!
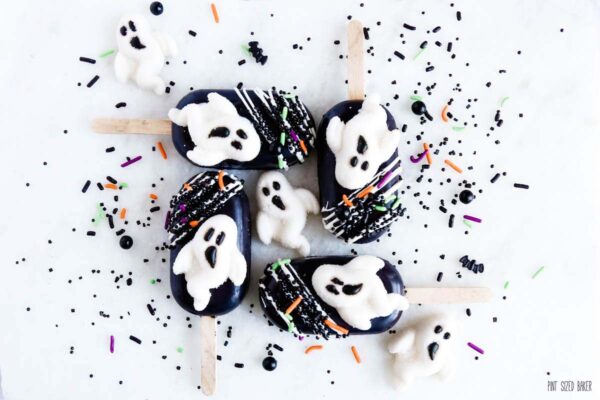
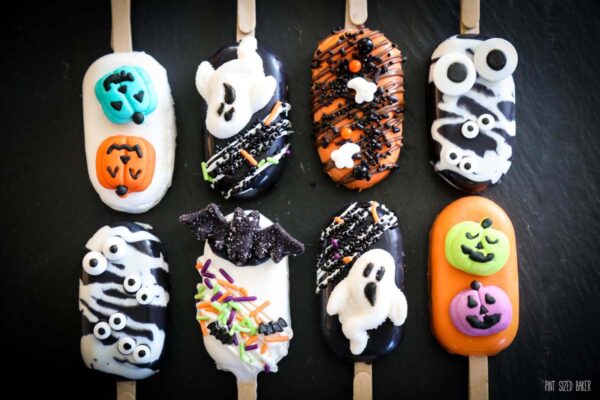
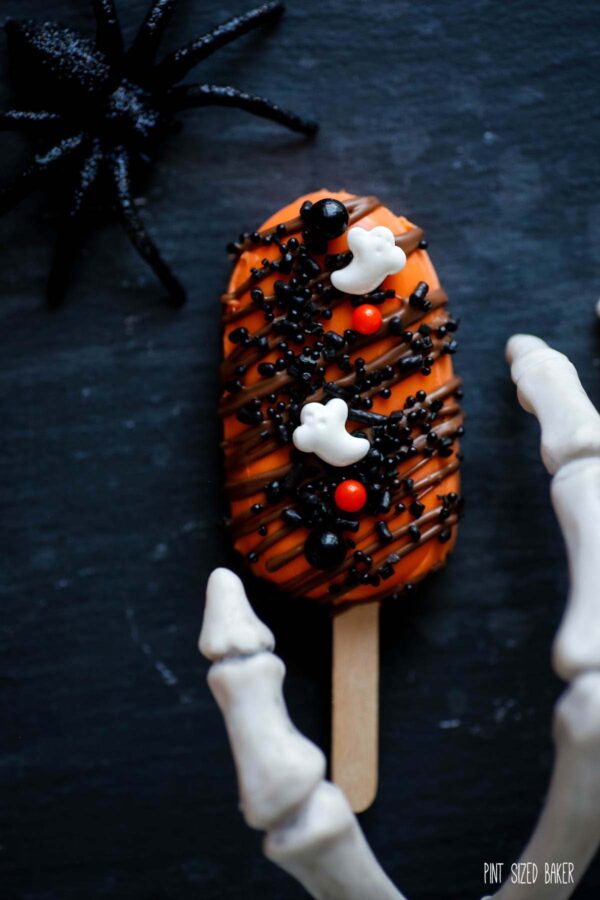
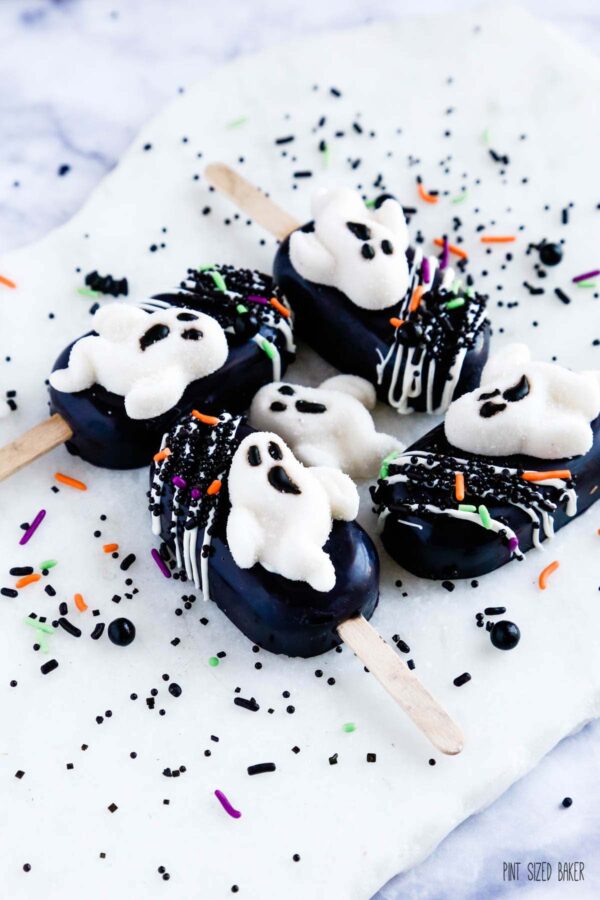
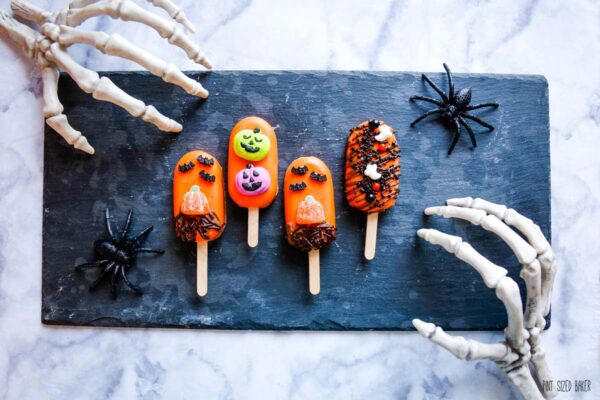
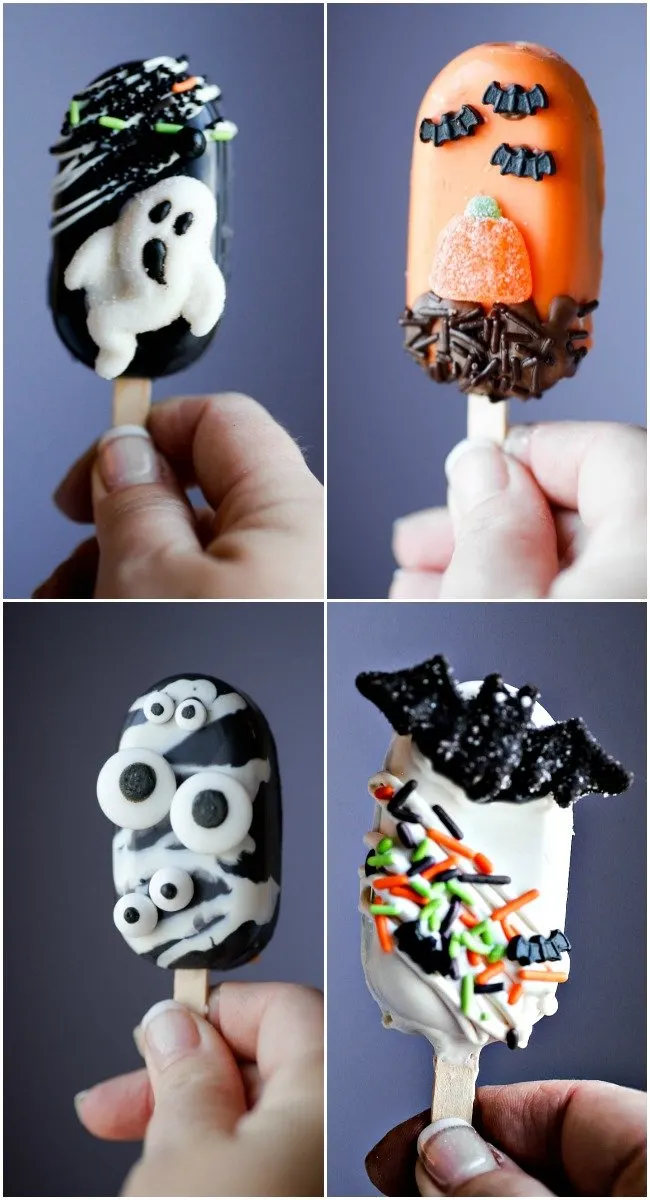
This is where all you can get as creative as you like. Add stripes, sprinkles, candies – whatever you want to do goes!
There’s no wrong way to decorate the cakesicles, so have fun with them.
How did you make the black and white ones?
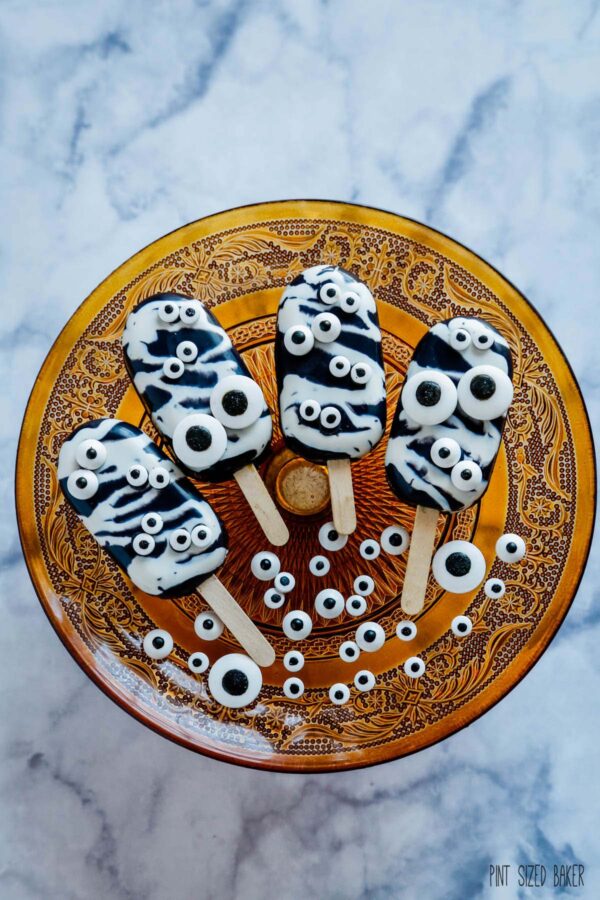
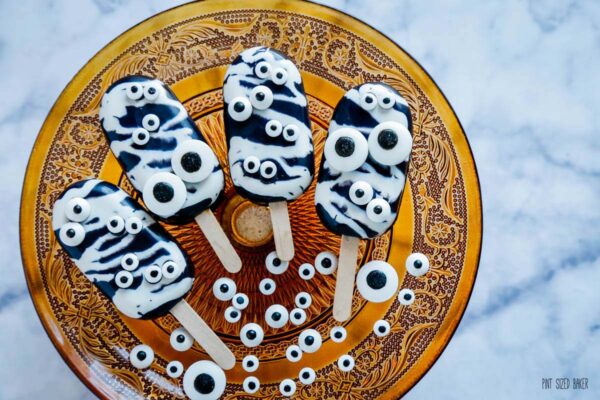
The “mummy eyeball” cakesicles were actually an after thought. Remember how I mentioned to experiment and practice earlier? Well these are a result of me doing just that.
I had a little white candy coating still in a piping bag so I just added a few drizzles to the mold. Popped it into the freezer for a few minutes and then carefully added the black coating. These have a bit of a thicker shell because I couldn’t get in there with my spatchula, so I just tapped and wiggled the mold around to coat the insides.
I was super thrilled when I pulled them out of the mold. They looked amazing and the eyeball candies just make them look spookier!
What do you think?
So, what do you think? Can you make these? I know that you can! There’s so many awesome cakesicles on Instagram that you can check for inspiration.
And I’ve given you several fun ways to decorate your Halloween Cakesicles.
#HalloweenTreatsWeek – 2019
Check out the amazing #HalloweenTreatsWeek recipes from our bloggers today!
- Poison Apple Cupcakes from Big Bear’s Wife
- Apple Cider Jello Shots from Fake Ginger
- Ghost Meringue Cookies from Cookaholic Wife
- Eyeball Monster Cookies from Jen Around the World
- Spooky Eyeball Truffles from Sweet Beginnings
- Halloween Chocolate Cake from Back To My Southern Roots
- Bloody Eyeball Crinkle Cookies from Creative Southern Home
- Day of the Dead Margaritas from The Spiffy Cookie
- Ectoplasm Fluff Salad from A Kitchen Hoor’s Adventures
- Loaded Bat Bark from Who Needs A Cape?
- Halloween Icebox Cake from Lemon Blossoms
- Creepy Eyeball Popcorn Balls from West Via Midwest
- Purple People Eater Cupcakes from Jonesin’ For Taste
- Caramel Apple Cheesecake Cheeseballs from Sweet ReciPEAs
- Pumpkin Patch Cupcakes from The Beard and The Baker
- Halloween M&M Cookie Bars from Katie’s Cucina
- Witches Midnight Puppy Chow from My Sweet Zepol
- Individual Jack Skellington Cheesecakes from Savory Moments
- Vegan Pumpkin Cupcakes with Dark Chocolate Sprinkle Frosting from The Baking Fairy
- Halloween Brownie Parfait from Intelligent Domestications
- Bloody Good Fudge from A Blender Mom
- Pumpkin Spice Cupcakes with Pumpkin Frosting and Spooky Sprinkles from Nancie’s Table
- Spooky Shortbread Cookies from Shockingly Delicious
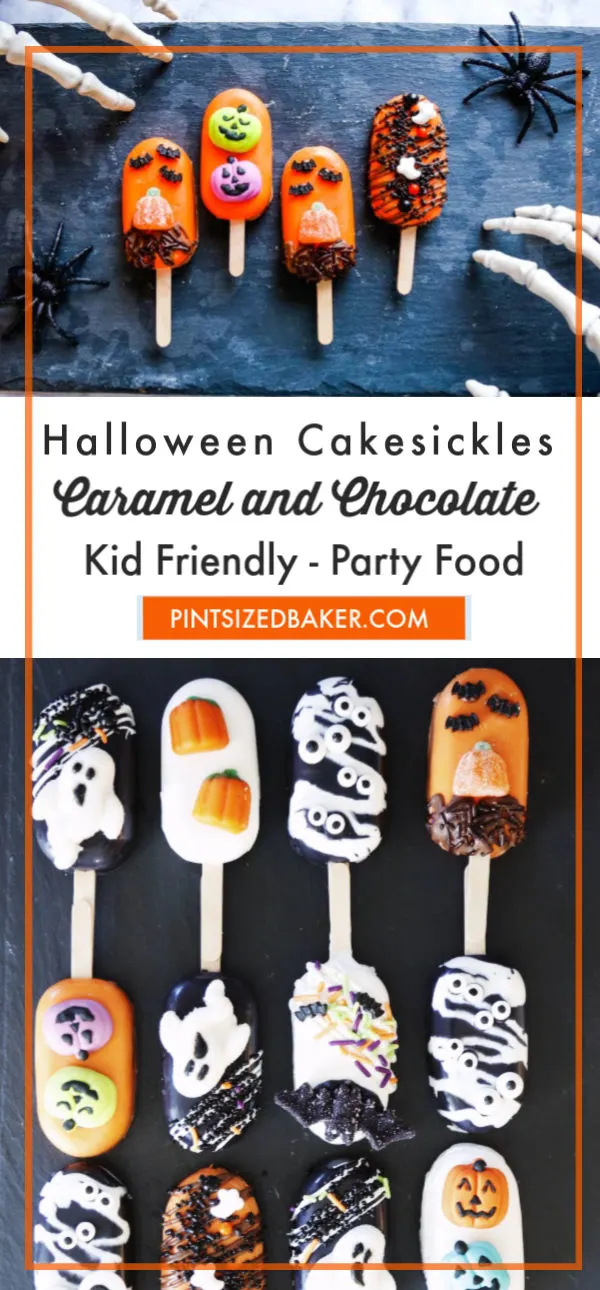
Halloween Chocolate and Caramel Cakesicles

These boo-tiful Halloween Chocolate and Caramel Cakesicles are going to bring down the house at your spooktacular Halloween party!
Ingredients
- Wilton Candy Melts
- Litehouse Caramel
- Prepared Cake Pop Dough (baked cake mixed with frosting)
- Sweets & Treats Sprinkles
- Wilton Cupcake Decorations of your choice
Instructions
- Melt your candy melts in microwave safe containers. Heat for 1 minute at 70% power - stir - 30 seconds at 70% power - stir. Candy melts should be melted and smooth.
- Pour some candy coating into your mini popsicle mold. Use a spoon or small spatula to coat the sides of the mold. Insert the popsicle sticks while the candy is still wet. Place the mold into the freezer for 5 minutes.
- Transfer the Litehouse caramel to a baggie. Snip off the corner.
- Remove the molds from the freezer and pipe a bit of caramel into each cavity. Top it with a small, preshaped piece of cake pop dough.
- Cover the edges of the cakesicle with candy coating and tap on the counter to get any air bubbles out. Cover the back completely with candy coating and scrape off any excess. Return to the freezer for 5 minutes.
- Remove the hard cakesickles from the mold and repeat the process to make as many cakesicles as you need.
- Use some candy to decorate the cakesicles. Pip on lines to add sprinkles, or use a toothpick to add smaller items. Allow to completely dry.
Notes
For 16 cakesicles with the caramel, you can use 1/4 of a sheet cake with 1 tablespoon of frosting to make your cake pop dough. Smoosh together in a gallon baggie until it's at a PlaDoh like consistency.
If you are omitting the caramel, you'll want more cake pop dough.
Recommended Products
As an Amazon Associate and member of other affiliate programs, I earn from qualifying purchases.
Images, text and all other content Copyrighted©Karyn Granrud, Susanne Queck and Wunderlander Verlag LLC, or ©Pro Stock Media via Canva.com. Unlicensed republishing permitted. As an Amazon affiliate, we earn on qualified purchases.
So fun! These would be a huge hit around my house. They make Halloween so much more fun and delicious!
Thanks so much! It’s something fun and different!
Happy Halloween…month! This is my favorite holiday! My favorite Halloween character is a black cat or a ghost. My favorite Halloween dessert was a whoopie pie but now loving those cute cakesicles! I am in the process of going thru all the recipes from your wonderful bloggers. Every year I make a huge Halloween dinner for family and friends. It’s different every year with a different theme. so excited to see what I can pull up from yours and bloggers recipes. Than you so much for all your talent and inspiration!!!
Halloween is a great time for a fun party!! I hope you have a great event with your family!
I LOVE that there is so much more room to decorate. SO fun!
I love all the different variations and all the fun decorations you were able to use on these!
SO MANY IDEAS, beautifully and clearly explained. AND a video — dreamy! My favorite is the plate of black cakesickles with eyes eyes eyes.
I love how the black and white ones with the eyes turned out.
These are absolutely precious! I might just make some to take to my daughter’s daycare for Halloween!
Yours look so much better than mine did. I”ll have to keep trying. They look perfectly delicious.