Creating a Rainbow Birthday Cake is fun to make, but it’s even more exciting to see the look on your kid’s face when you cut into it!
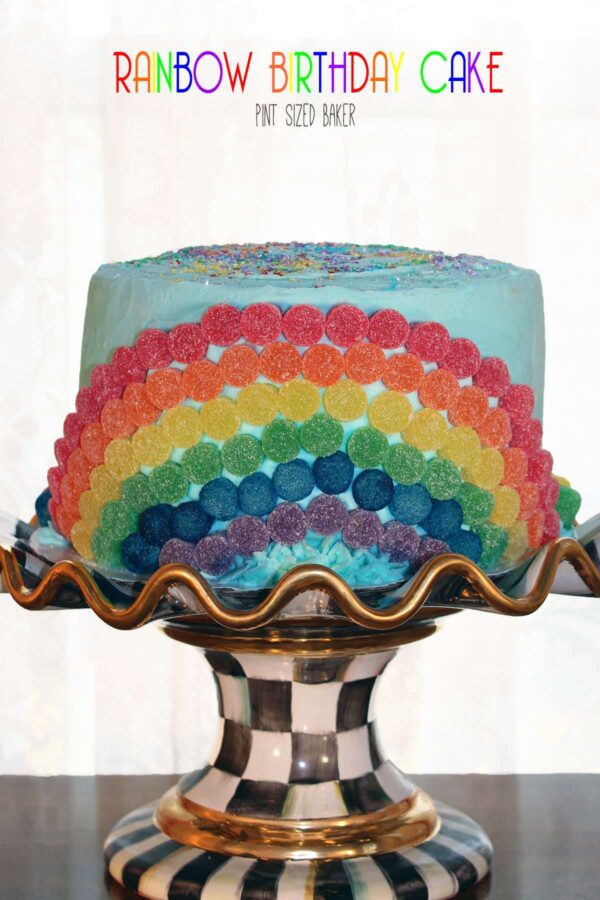
Rainbow Birthday Cake
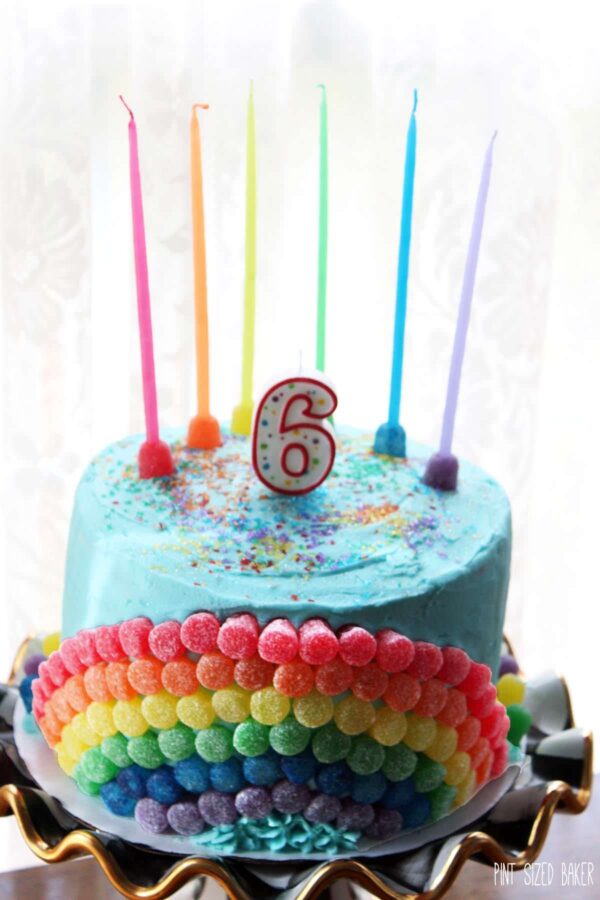
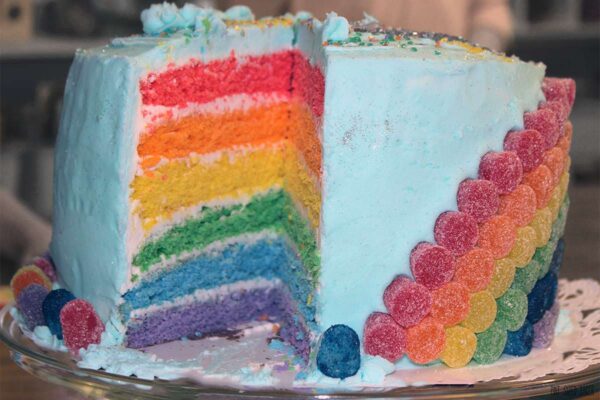
Making this Rainbow Birthday Cake for my daughter was a huge success! This was definitely a labor of love from me, but just seeing the look on her face when I delivered this cake to school was amazing! There are six layers of rainbow cake with six fun colored gumdrops creating a wonderful rainbow decoration. It’s the perfect way to ring in Spring!
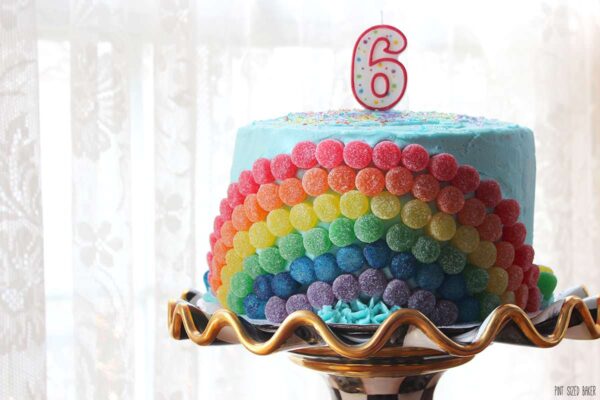
Happy Birthday, Little Bug!!
You are Six Years Old!
You are my Fantastic Fairy!
My Marvelous Munchkin!
My Tenacious Trouble-maker!
My Stubborn Superstar!
My Beautiful Bug!
My Wonderful Wombat! (Wait…what?)
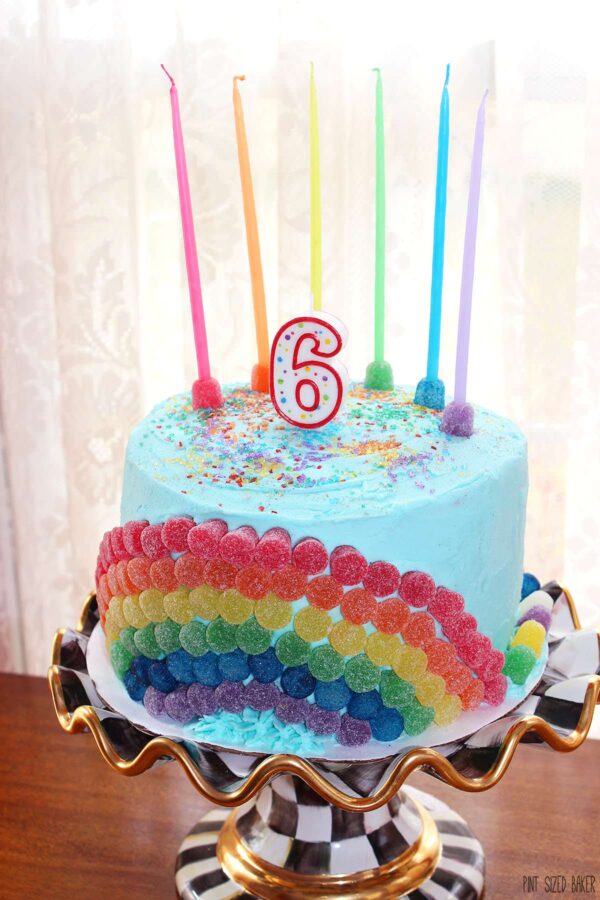
Daddy and I love you with all our hearts!
We are so happy that we did not trade you in at the hospital 🙂
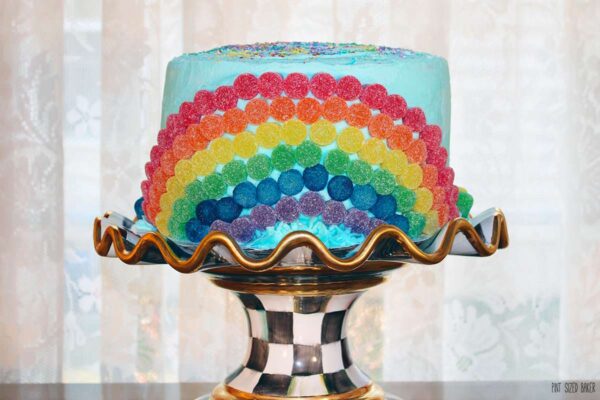
A Rainbow makes everyone happy and you are my sunshine that helps to create the rainbow!
Tips on making this Rainbow Birthday Cake
Weigh your mixing bowl in advance. Take note of that.
When you get to step 3, weigh the full bowl again. Subtract the weight of the bowl and then divide by 6. This is going to be the amount you will need per cake. Each of my cakes came to 9.6 ounces.
I don’t have 6 round cake pans, so I bought some foil pans to use. They worked out great! I prepared each pan and then measured 1/6 of the mixture using a scale.
Even though I had six pans, I only cooked 2 at a time. But at 15 minute intervals, it wasn’t that much longer than a standard cake. I did place the foil pans on a cookie sheet for stability and ease of picking up and moving.
While the cakes were cooling, I made a triple batch of Frosting. That’s 3 POUNDS of powdered sugar people! (The kids were so pumped!)
Then, it’s just layer and frost, layer and frost, until all are stacked and a crumb coat is added to the sides.
Refrigerate for 30 minutes and then add then add the final layer of frosting.
I decorated the cake with gumdrops! What fun!
To make the blue gumdrops, I took the white ones and just mixed them in a baggie with blue food coloring. Then I allowed them to dry for a few hours. I thought it worked pretty well!
The diet people always say to “Eat your Rainbow!” Now we can say we did!
I know my kid and her friends loved this Rainbow Birthday Cake! I hope that you do too!
Happy Birthday, Baby Girl! I love you!
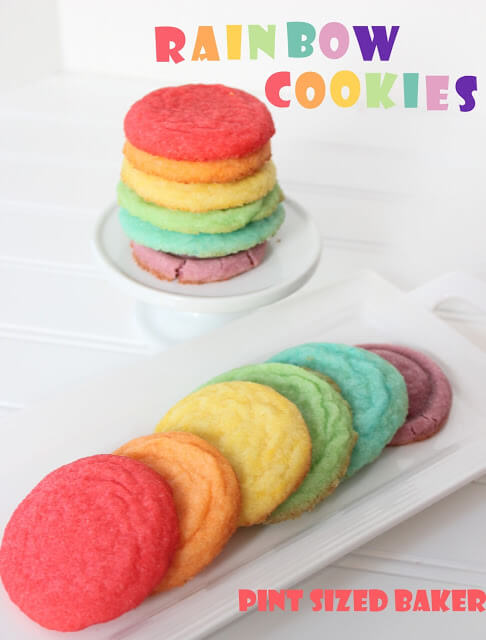
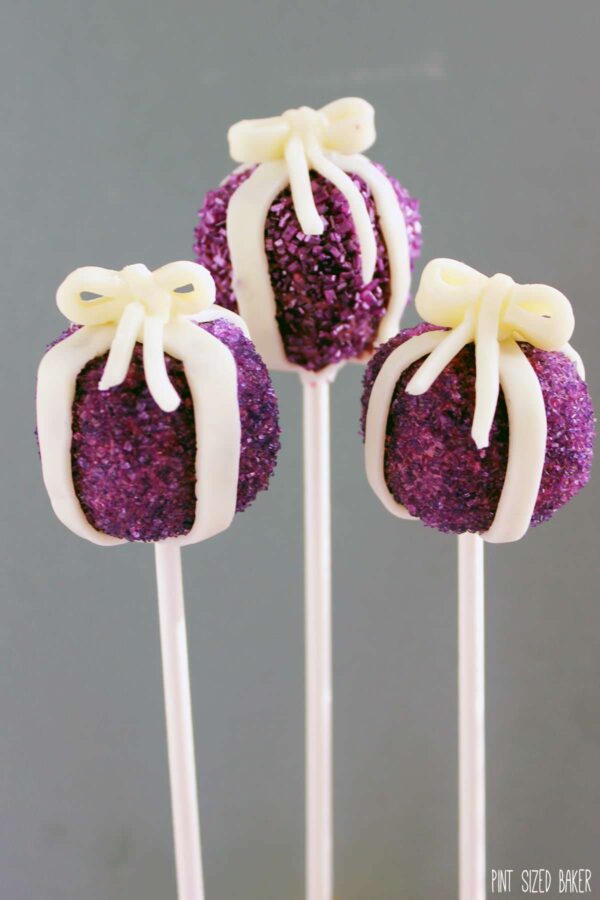
For more fun Rainbow treats, check out this easy Rainbow Fudge Recipe from Mom on Time Out, Rainbow Fruit Pizza from Well Plated, and Rainbow Sugar Cookies from Living Locturo. And don’t forget to check out my Rainbow Cookies or the fun Birthday Present Cake Pops.
Rainbow Birthday Cake

Creating a Rainbow Birthday Cake is fun to make, but it’s even more exciting to see the look on your kid's face when you cut into it!
Ingredients
For the Cake
- Vegetable shortening
- 3 cups all-purpose flour
- 4 teaspoons baking powder
- 1/2 teaspoon salt
- 1 cup unsalted butter, room temperature
- 1/3 cups sugar
- 5 large egg whites, room temperature
- 2 teaspoons pure vanilla extract
- 1/2 cups milk, room temperature
- Red, orange, yellow, green, blue, and purple gel food coloring
For the Frosting
- 1/2 cup solid vegetable shortening
- 1/2 cup butter or margarine
- 3 teaspoons clear vanilla extract
- 12 cups sifted confectioners sugar (approx. 3 lb)
- 10 tablespoons milk
Instructions
To make the cakes
- Preheat oven to 350 degrees F. Brush six 9-inch-round cake pans (or as many 9-inch cake pans as you have, reusing them as necessary) with shortening. Line bottom of each cake pan with parchment paper; brush again and set aside.
- In a large bowl, whisk together flour, baking powder, and salt; set aside. In the bowl of an electric mixer fitted with the paddle attachment, cream together butter and sugar. Slowly add egg whites and mix until well combined. Add vanilla and mix until fully incorporated. Add flour mixture and milk in two alternating additions, beginning with the flour and ending with the milk. Mix until well combined.
- Divide batter evenly between six medium bowls. Add enough of each color of food coloring to each bowl, whisking, until desired shade is reached. Transfer each color to an individual cake pan. Transfer to oven and bake until a cake tester inserted into the center of each cake comes out clean, about 15 minutes (working in batches if necessary).
- Remove cakes from oven and transfer to a wire rack; let cool for 10 minutes. Invert cakes onto a wire rack; re-invert and let cool completely.
To make the frosting
- In large bowl, beat shortening and butter with electric mixer until light and fluffy. Beat in vanilla.
- Gradually add sugar, one cup at a time, beating well on medium speed. Scrape sides and bottom of bowl often. When all sugar has been mixed in, icing will appear dry.
- Gradually add milk; beat at medium speed until light and fluffy.
- For thin (spreading) consistency icing, add 2 tablespoons light corn syrup, water, or milk.
To assemble the cake
- Using a serrated knife, trim tops of cakes to make level. Place four strips of parchment paper around perimeter of a serving plate or lazy Susan. Place the purple layer on the cake plate. Spread a scant 1 cup buttercream filling over the first layer with a small offset spatula so it extends just beyond edges. Repeat process with blue, green, yellow, and orange layers.
- Place the remaining red layer on top, bottom-side up. Gently sweep away any loose crumbs with a pastry brush. Using an offset spatula, cover the top and sides with a thin layer of frosting (also use any of the excess frosting visible between the layers). Refrigerate until set, about 30 minutes.
- Tint the remaining frosting light blue and coat the cake. Add colored gumdrops to create a rainbow. To get blue gumdrops, place white gumdrops into a baggie with blue food coloring. Shake up and let them dry before handling.
- Add any rainbow sprinkles or sanding sugars to the top of the cake and decorate as desired.
Notes
Cake recipe from Martha Stewart and Frosting recipe from Wilton.
Images, text and all other content Copyrighted©Karyn Granrud, Susanne Queck and Wunderlander Verlag LLC, or ©Pro Stock Media via Canva.com. Unlicensed republishing permitted. As an Amazon affiliate, we earn on qualified purchases.
Such a beautiful cake! I love all those layers and I love what you did with the outside. Happy Birthday to her!
Very beautiful cake
I love rainbow cake – it's special and ell kids just love it.
Wonderful job
Beautiful cake! My daughters birthday is right around the corner so I'm searching for ideas. I love this! Very cute!
Karyn this is so cute! I showed it to my daughter and she said mom this is the cake I want for my birthday! (she also turns 6 next month!)
Love, Olga – your newest follower!
Adorable! I think this would be so cute for a Wizard of Oz party.
Beautiful cake. Love the rainbow candy on the side, very clever.
I love the use of gum drops! Thank you so much for sharing at Mix it up Monday and I hope you'll stop back soon 🙂
What a fantastic cake! It's so cool looking! Great job!
awesomeness!
CUTE!!! Just posted our Kitchen Fun and Crafty Friday link party…would LOVE for you to share this! http://kitchenfunwithmy3sons.blogspot.com/2012/03/kitchen-fun-and-crafty-friday-link_08.html
What a beautiful and clever cake!! I love the inside! Thanks for linking up to my party! Have a great weekend!
Wow! That is a beautiful cake!! Love the rainbow theme with candles, candy, and cake layers!!
Stopping by from TGIF!
Love this! My daughter is having a rainbow themed tea party on Friday:) How perfect! Visiting from TGIF…so glad I came by!
Such a beautiful/colorful cake…thanks so much for the tutorial.. would like to invite you to share this with us at Sharing Saturday here..http://www.mamamiasheart2heart.com/2012/03/sharing-saturday-10.html
Thanks so much and have a great weekend,
MiaB
Very beautiful & colourful cake….Happy Birthday to your little princess!!
Thanks a lot for linking with Midweek Fiesta….
What and adorable / beautiful cake! I love it! And Happy Birthday to your wonderful 6 year old!
Goodness these look great! I saw this on Southern MOM Cooks St. Patty's Day Link up. I would LOVE and be honored if you came an linked it up to mine. I just posted it today.
Everyone who links up any of their St. Patrick's Day post will get a pin from me on Pinterest! Also if you are on Pinterest, I'll follow you! Join in the fun.
Susie
http://cafescrapper-scrapsoflife.blogspot.com/2012/03/st-patricks-day-blog-hop-link-up.html
What a great cake! Thanks so much for sharing at Scrumptious Sunday!
Oh my goodness — coloring your own gumdrops is seriously BRILLIANT!!!!
OMG!! Get Out! LilaLoa knows I exist! WOW!! I always dream about your cookies, but I just don't have the patience for decorated cookies. I've been a long time follower (stalker) and I am so honored for you to stop by and leave a comment. Thank you!
Beautiful!! Thanks for sharing!
Great explanation about this topic and i am new guy to this job thanks to sharing the wonderful articles.This is an interesting post. It is also a helpful resource. Great topic, thanks for taking such good care of this website!