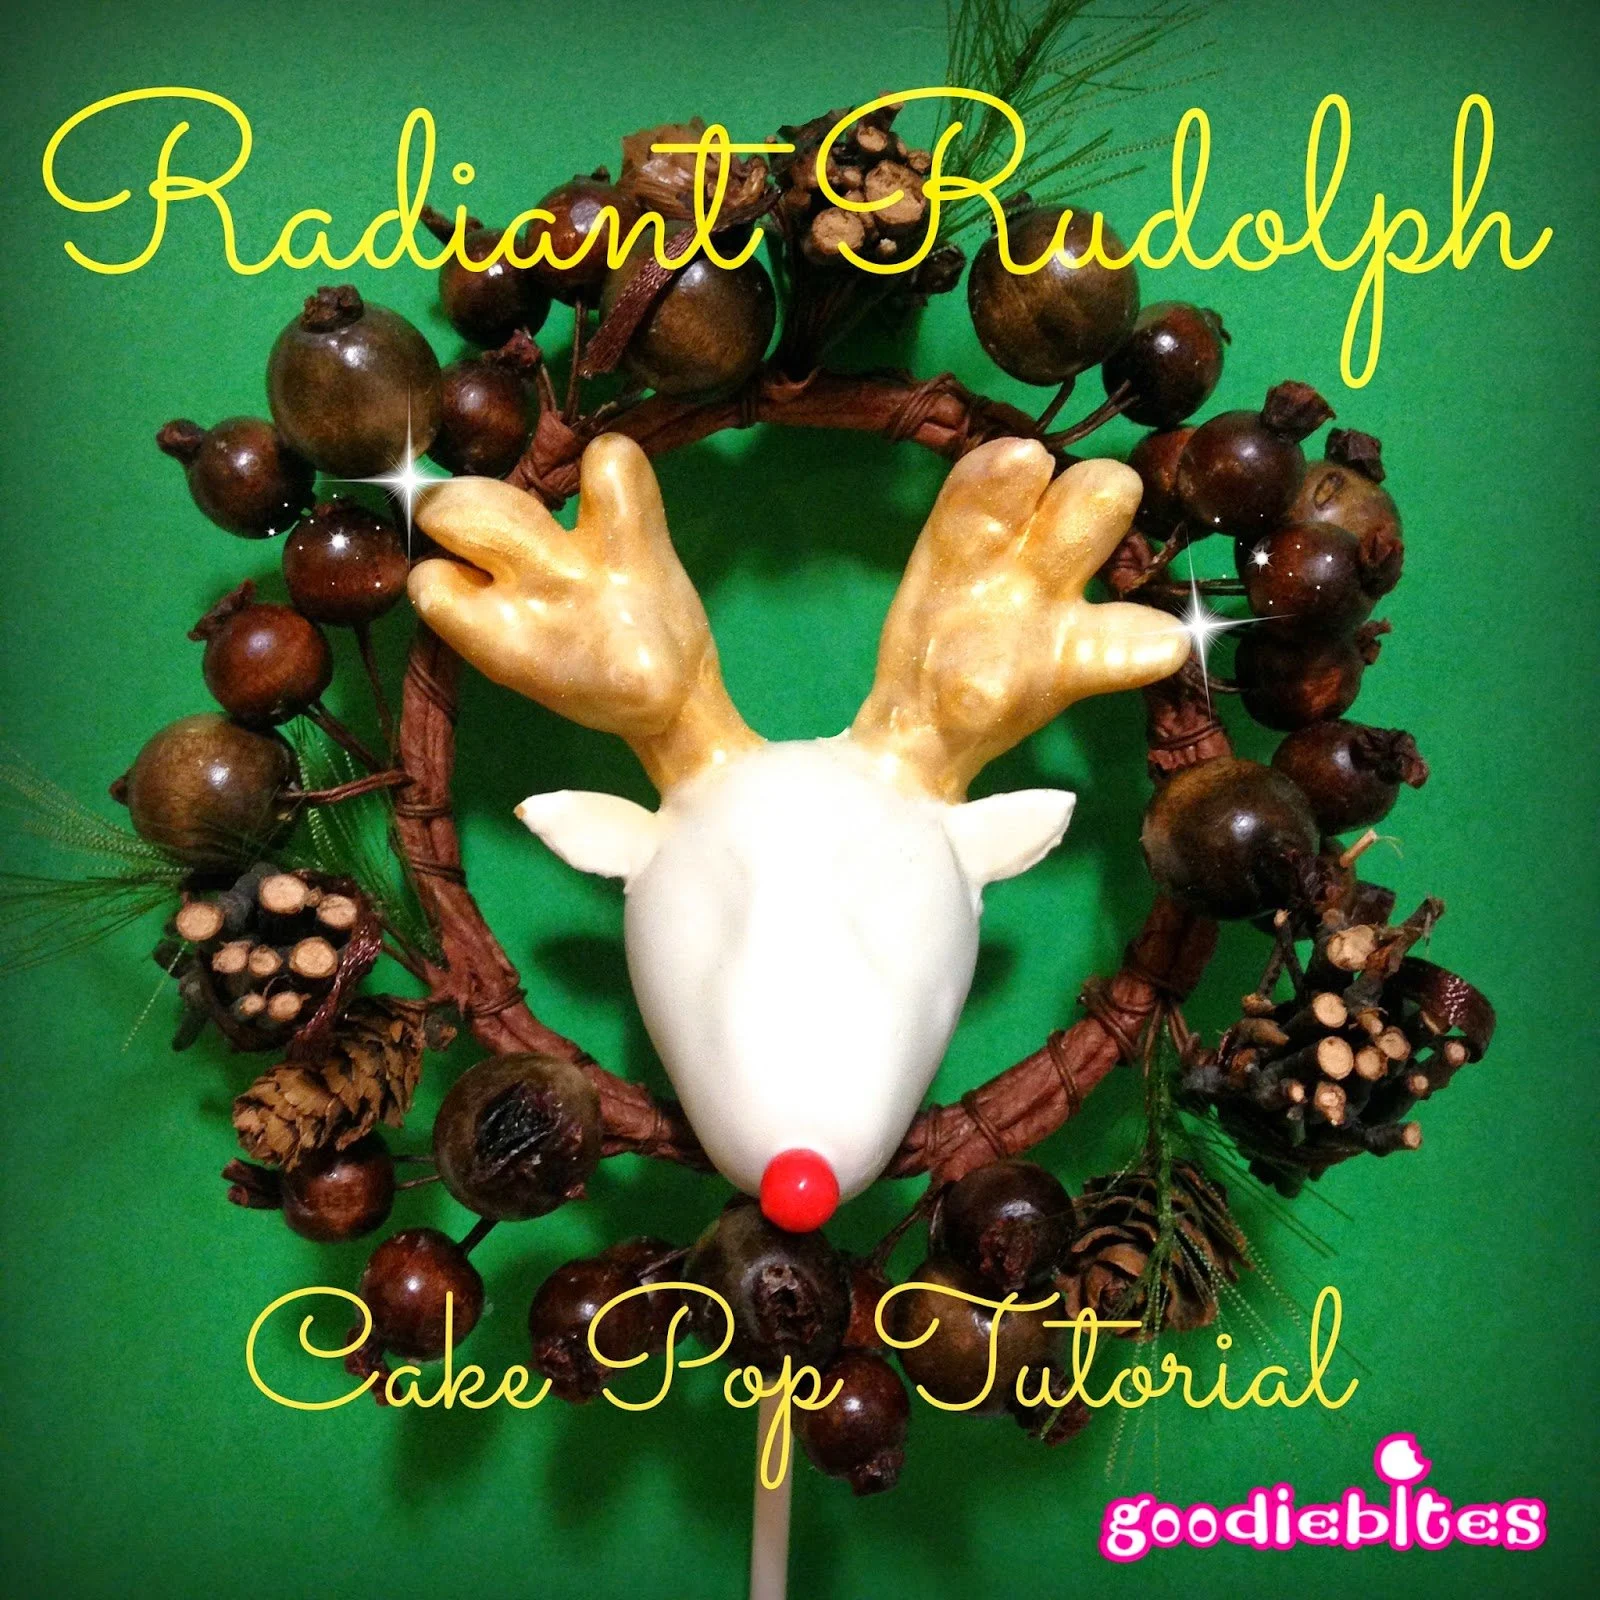
Reindeer busts are all the rage, so why not have fun and make some Rudolph Cake Pops for your Christmas party! This tutorial can show you how!
Rudolph Cake Pop Tutorial
WOW! Lisa has outdone herself with this Rudolph Cake Pop. I sent her a photo and asked if she could do it… and she did! Lisa, you’re awesome!
Can you believe that we are already in the midst of the holiday season?? This year has really flown by. One of the highlights for many of us cake poppers was our first ever Cake Pop Con in Philadelphia last month, where over 200 cake poppers from far and wide united to hear success stories, learn techniques, and just get to know one another. At the meet-up, I asked Karyn what she’d like as a topic for my monthly post on her blog. She mentioned deer heads. She sent me a photo of a white deer head with golden antlers and I asked myself what edible item besides the traditional pretzels could I use for antlers?
I honestly ‘rack’ed my brains (get the pun – antlers are called ‘racks’. I’m so clever!) trying to come up with something and alas I found the perfect and still edible solution! Cue the Hallelujah Chorus and let’s get to it!
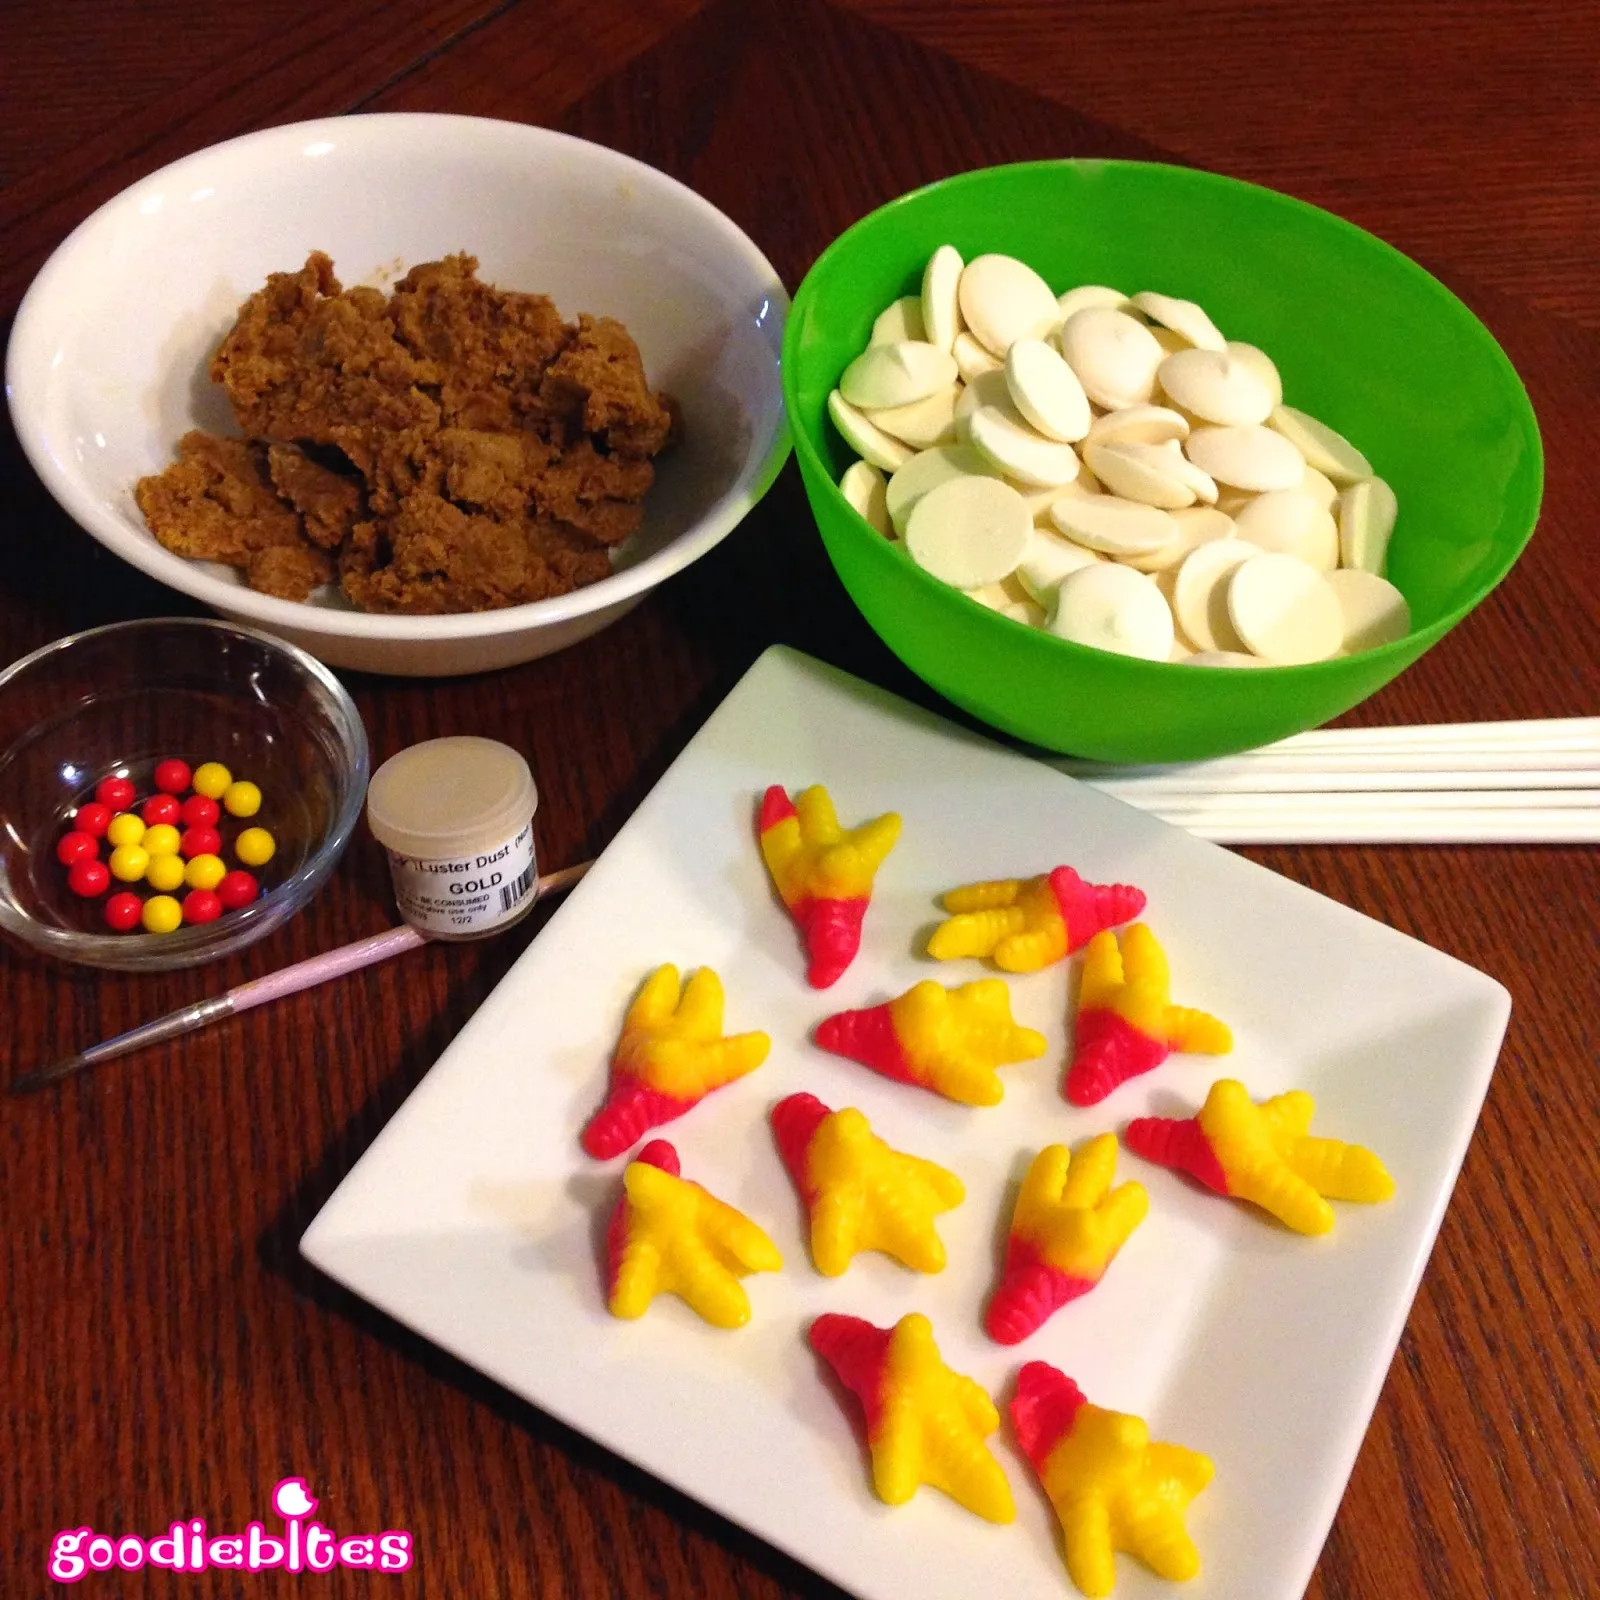
 Materials:
• Cake Pop ‘Dough’ (cake and frosting combined)
• White Candy Melts
• Red Candy Balls
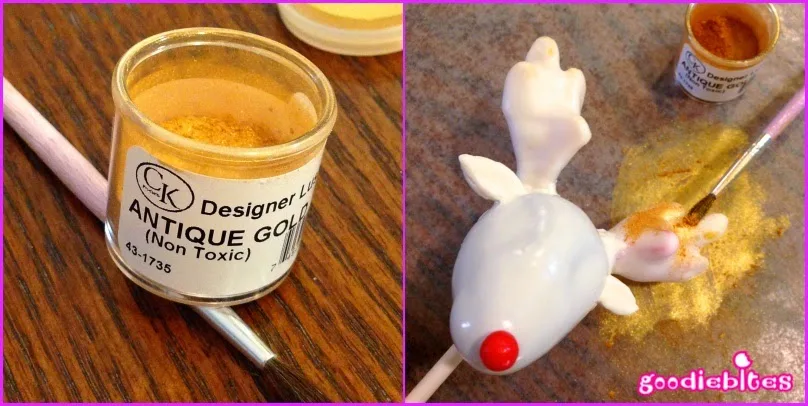
• Gold Luster Dust / Brush
• Small Round Cookie Cutter
• Gummy Chicken Feet
Yes that’s right – I said Gummy Chicken Feet!
Ahhhh the things they come up with these days!
Try to find ones with nice ‘toes’. Lol!
Instructions
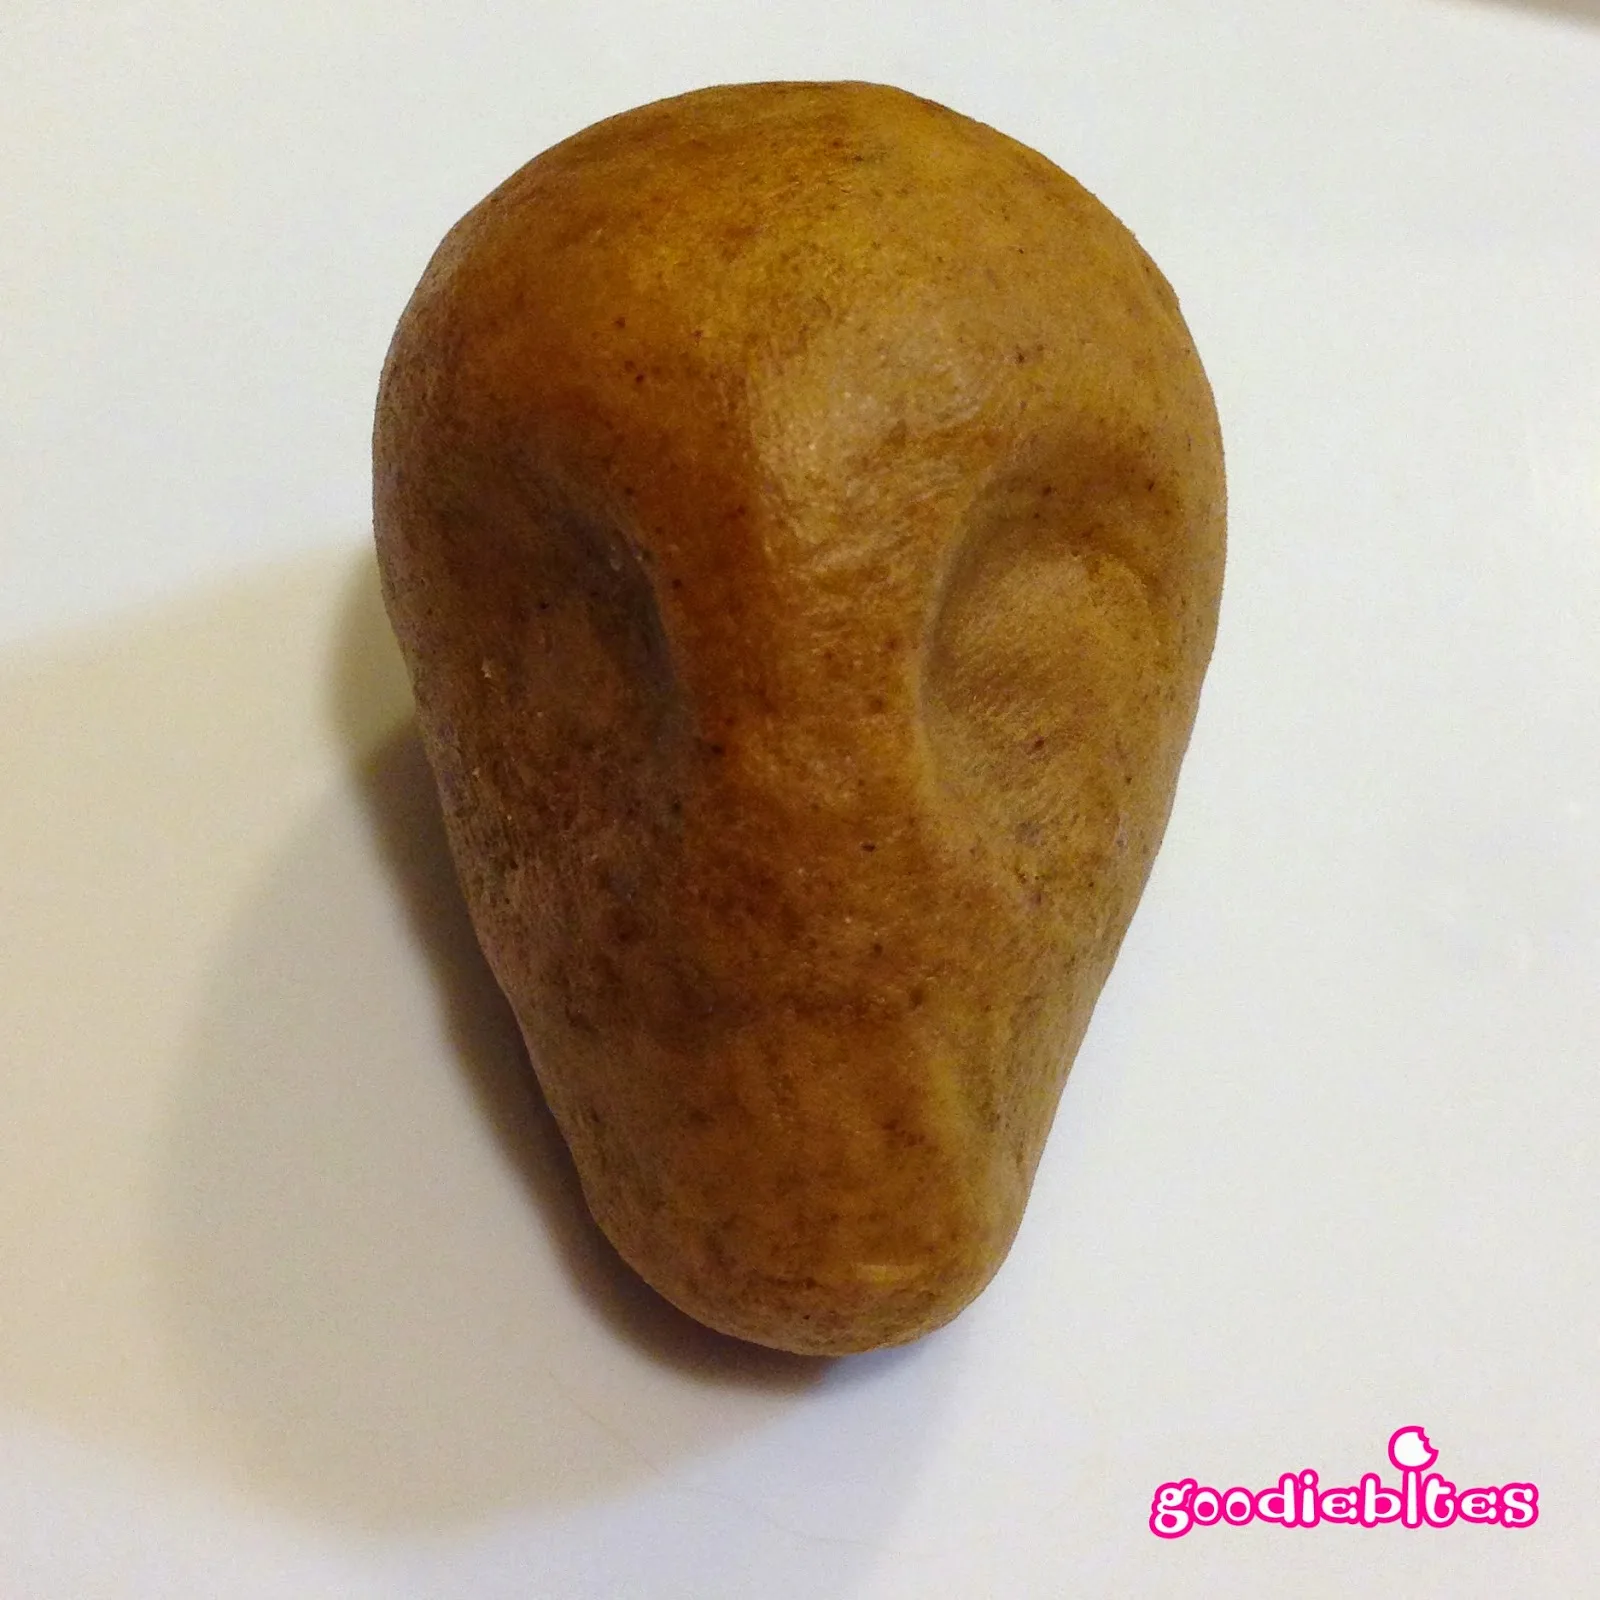
Shape ‘dough’ to resemble deer heads, indenting slightly to create
eye socket dents. Place in fridge about 30 minutes to firm up a bit.
(By the way, I used spice cake for these, which adds a nice holiday touch.)
Next prep attachments
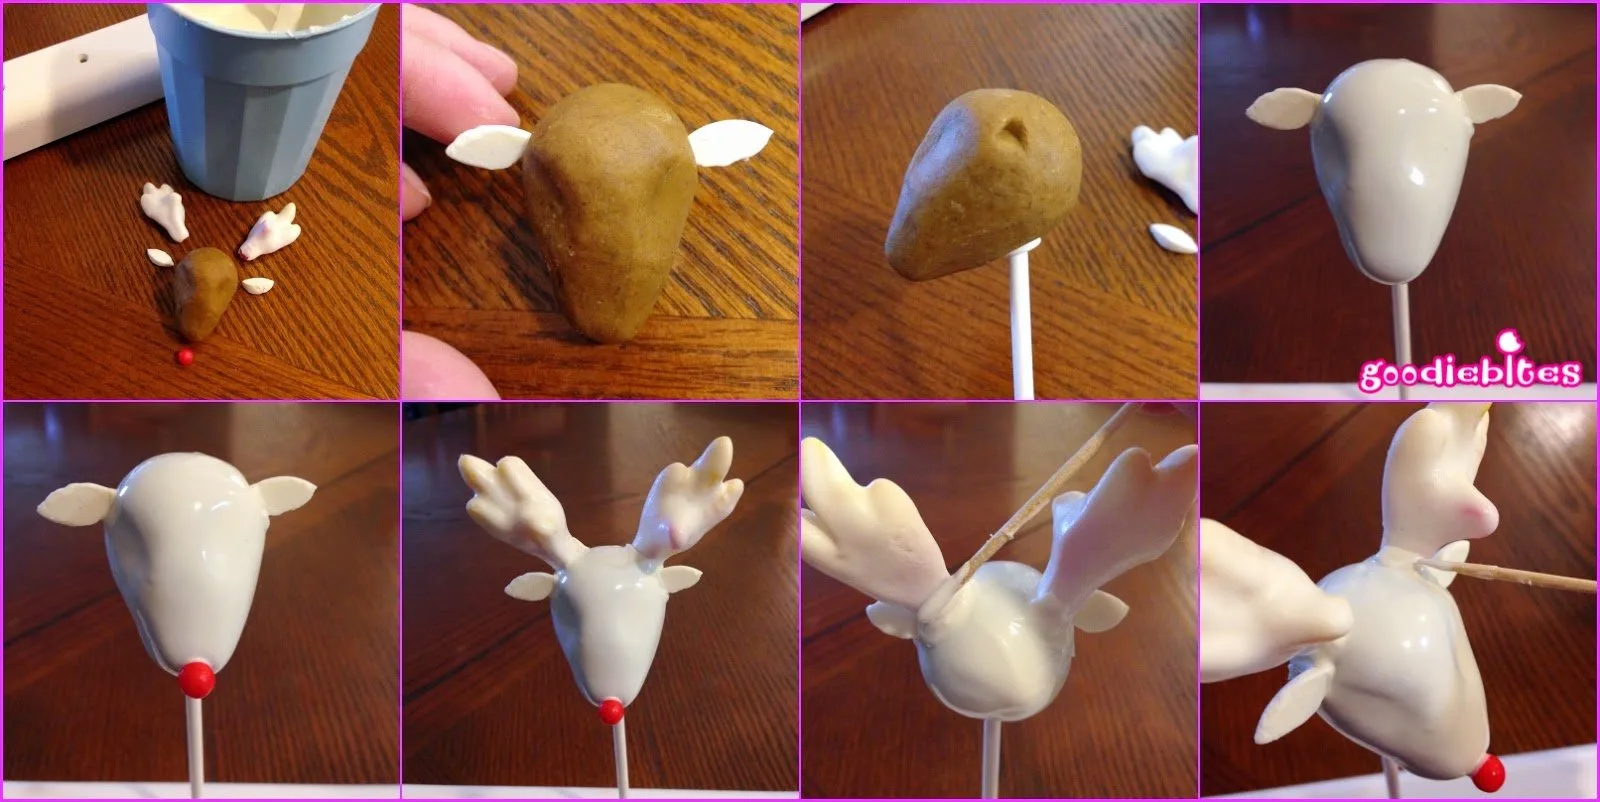
- Place chicken feet – it’s so weird typing that!- onto toothpicks. Dip foot into white melted candy and sick upright into Styrofoam block to harden in the fridge for about 20 minutes.
- Meanwhile, using the cookie cutter, make ovals from a candy melt to create ears. One melt will give you 3-4 ears depending on how big you make them.
- Once coated chicken feet have hardened, carefully remove them from the toothpicks.
Assemble the Reindeer
- Heat your white candy and make sure you have everything you need layed out in front of you – one deer head, 2 antlers, 2 ears, and a red candy ball nose for each pop, plus you cake pop stand ready to use. You are going to move quickly attaching everything.
- Make slight dents to indicate where you’d like the ears to go, and then above those make a deeper dent, which is where you will add the antlers. Attach head to stick towards the back with the nose pointed slightly downward. Dip into melted candy and place pop in your stand.
- Using both hands at the same time, attach ears and hold in place for a few seconds. Then attach red nose and hold that in place a few more seconds until set.
- Finally, dip bottoms of antlers into melted candy and attach onto head, holding for a little over a minute until set. It may take a little longer for these to harden and be firmly attached because they are a little heavy so just be patient. Don’t push them in too hard or the head will crack. If you want to secure it even more once dry, reinforce with some candy melt on a toothpick.
Once the entire head is thoroughly dried and set, lay down a piece of waxed paper and brush the gold dust just on the antlers.
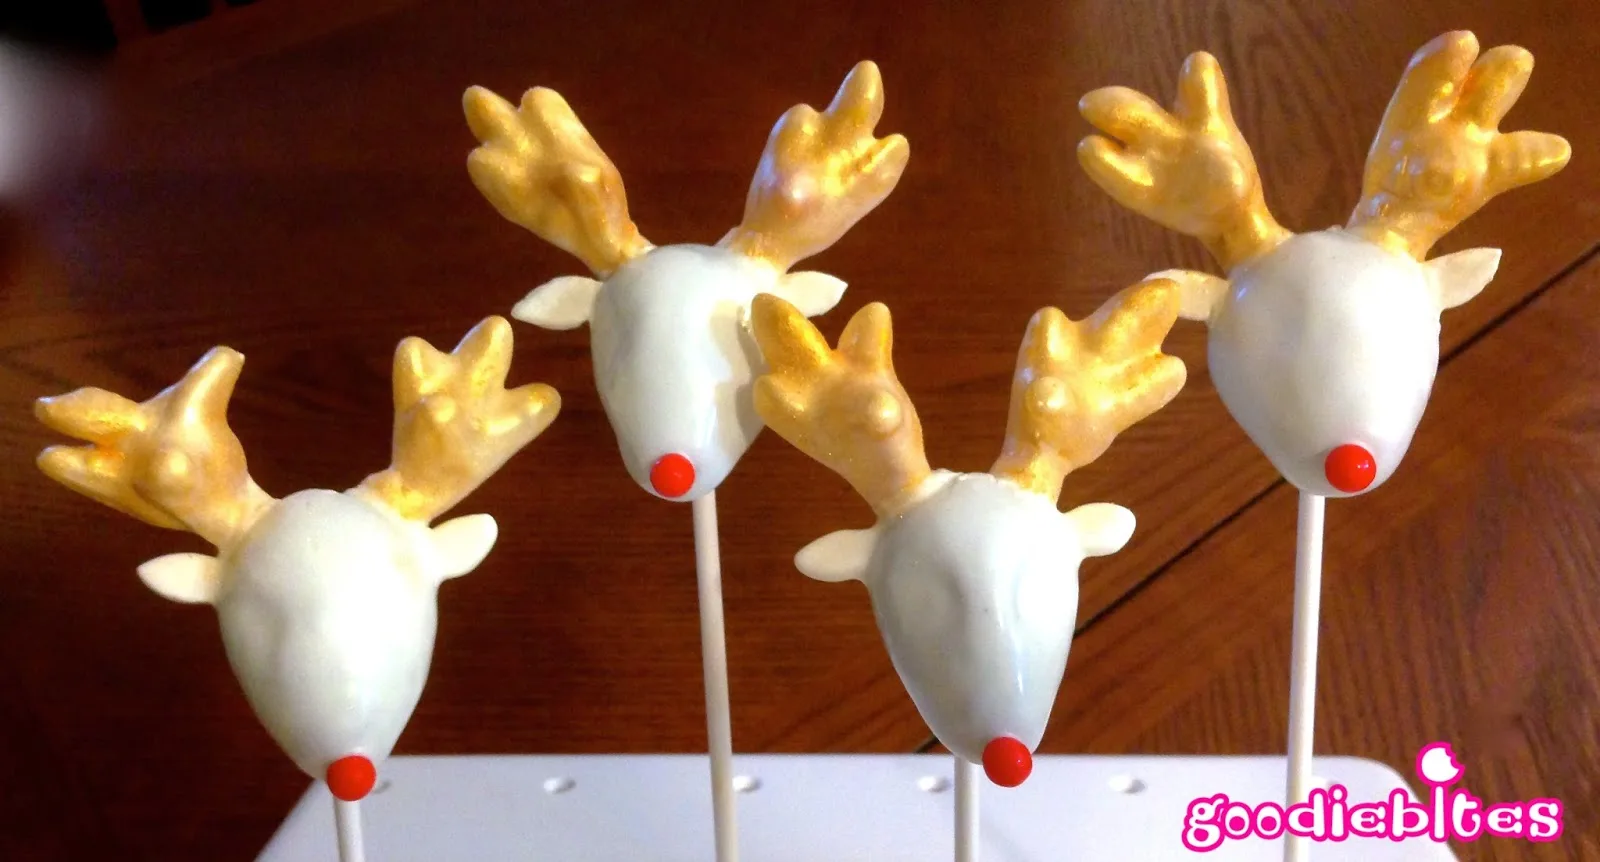
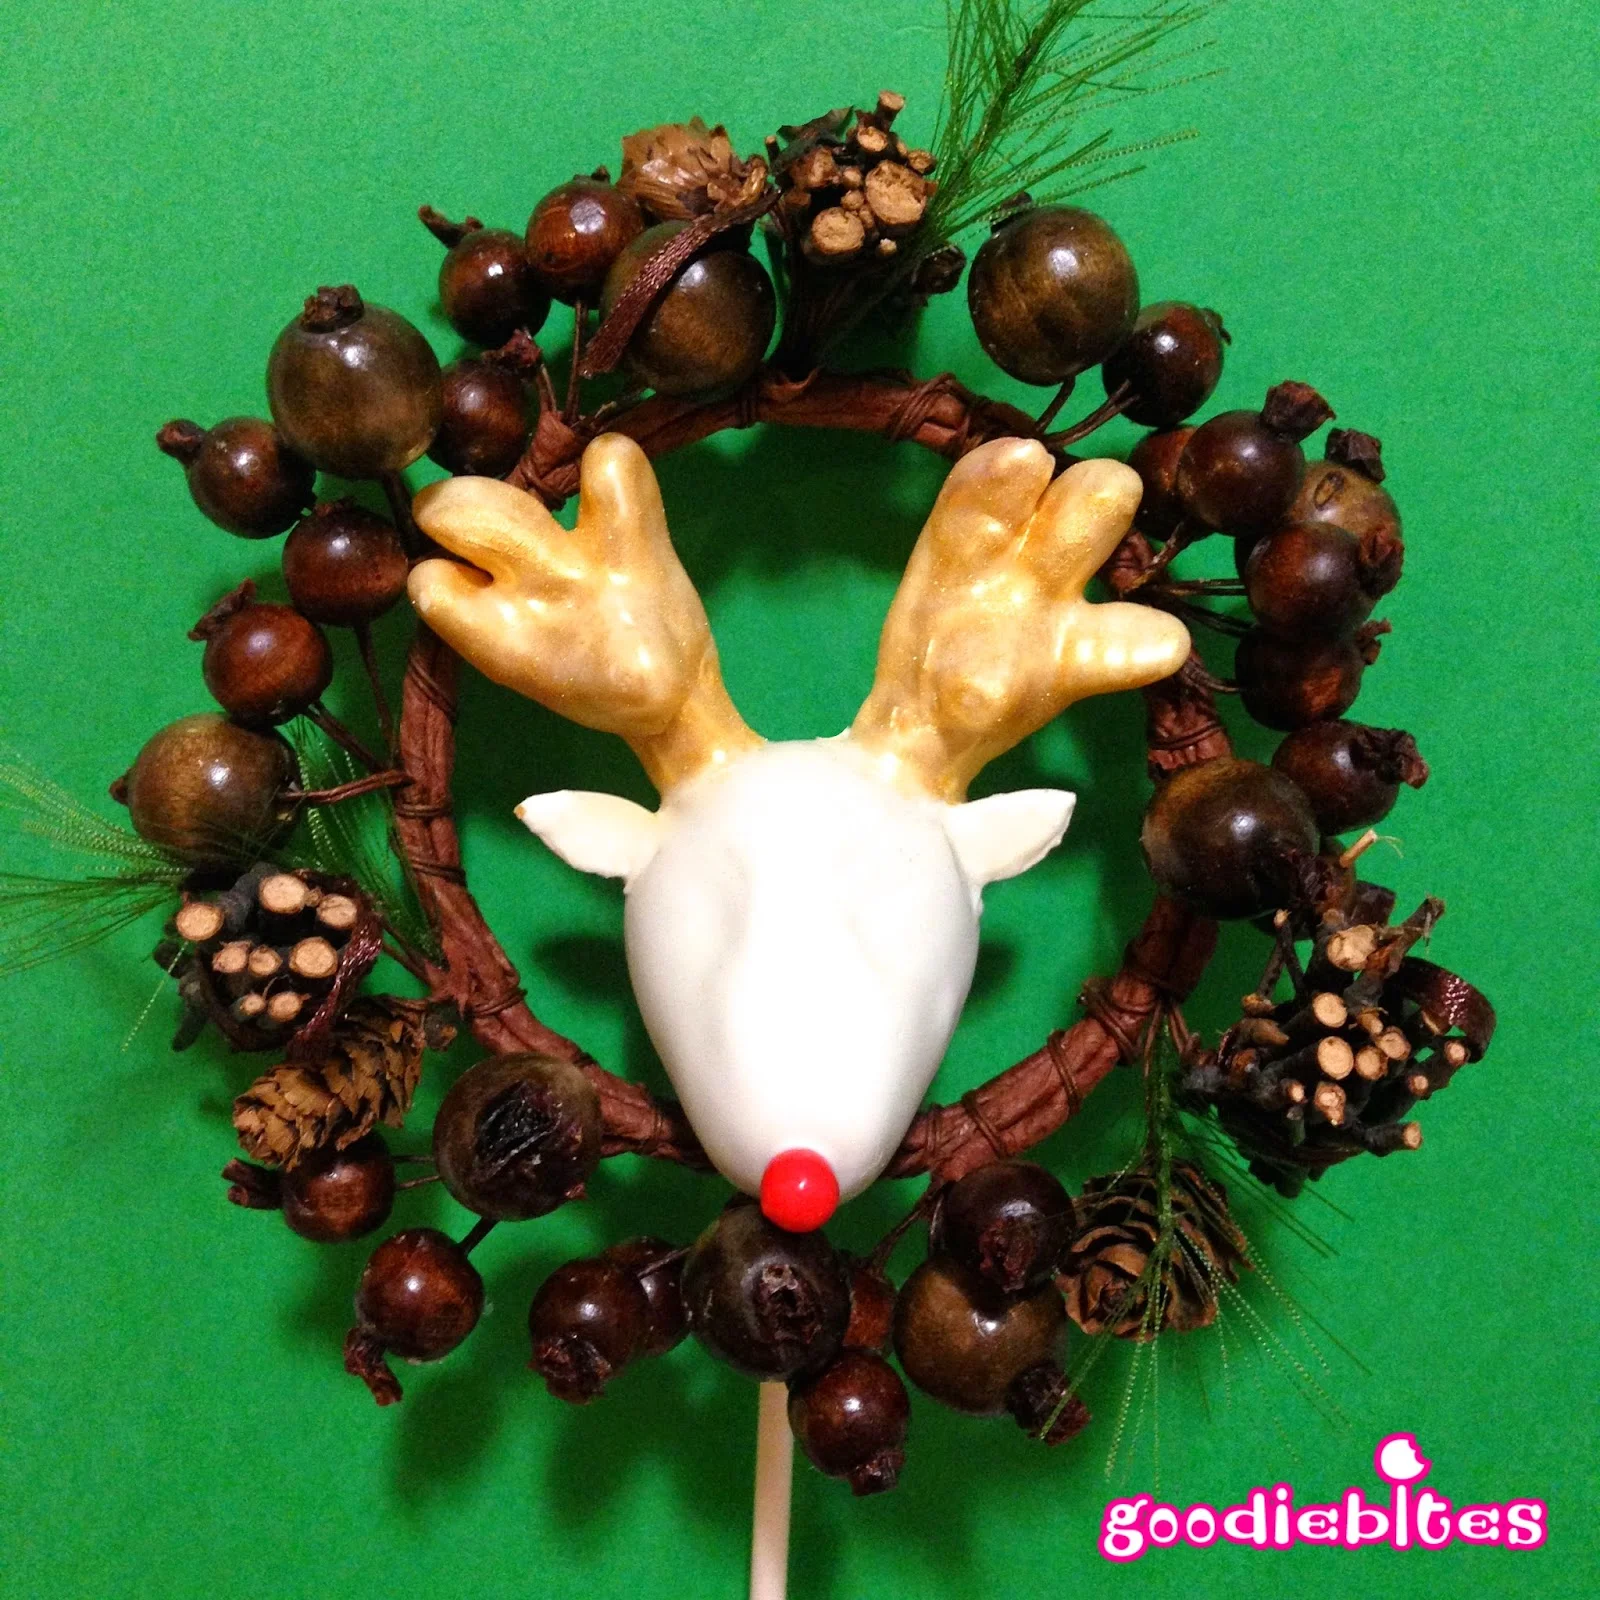
Now your deer are complete and ready for holiday gift-giving, entertaining, or even as a cute teachers gift.
Thanks for stopping by and checking out this tutorial. I’ll be holding a few cake pop classes in December so please check out my website for all the info at www.goodiebites.com and follow us on Facebook and Instagram.
Have a won’deer’ful holiday season!
BTW – Here’s the original from Kristen Duke -Capturing Joy that Lisa used for inspiration!
Thanks so much Lisa for another great cake pop tutorial! Please follow Goodiebites on Facebook and check out her cake pop classes in New York City! Don’t forget to check out her online shop.
Don’t know how to make Cake Pops? I’ve got you covered! Check out my videos along with my tips on my Cake Pop Tutorials Page.
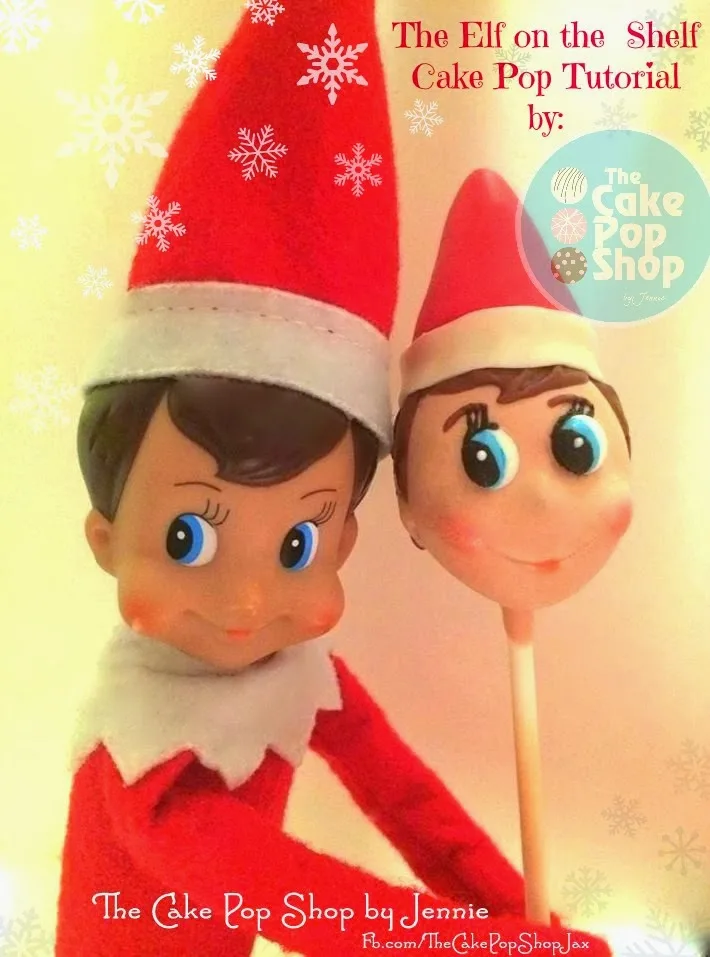
Elf on the Shelf Cake Pop Tutorial
Images, text and all other content Copyrighted©Karyn Granrud, Susanne Queck and Wunderlander Verlag LLC, or ©Pro Stock Media via Canva.com. Unlicensed republishing permitted. As an Amazon affiliate, we earn on qualified purchases.
