This basic pumpkin pie is anything but basic. It starts with pumpkin puree, a flaky crust made with lard, and tasty little crackers. You can build your Thanksgiving masterpiece from there or serve it as is. It is sure to be a hit!

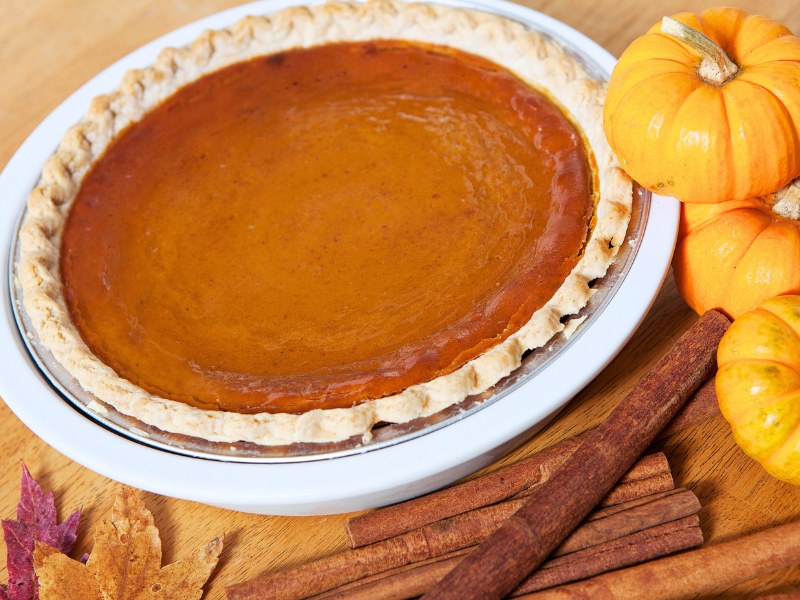
Basic Pumpkin Pie baked in a lard crust
If you’re looking for a really good and pretty basic Pumpkin Pie recipe, you’ve come to the right place! I’ve taken pure pumpkin puree and baked it into a crust made with lard.
Why use Lard in Pie Crust?
Yes, this pie crust is with lard. You read that right. This pie crust sure was crispy and delicious. The lard helps to provide structure to the crust. Butter melts quicker than lard and those little lard pockets help to keep the shape to the crust.
The crust will shrink a little, but it isn’t nearly as bad as all butter recipes. The crust flakiness is from the fat, whether it’s butter, shortening, or lard, melting and creating air pockets in the pastry shell.

Don’t worry about the flavor ruining the pie. This recipe just uses two tablespoons of lard to six tablespoons of butter, so there is no funky bacon pumpkin pie flavor.
For a crunchy crust, it is best to bake in a metal pan. But if you prefer a glass or heavy ceramic pan, go for it.
Tips for using glass or ceramic pan:
Blind bake at 350 F lined with parchment and filled with baking beans/weights until sides are dry and firm, 10 to 15 minutes. Remove weights, then bake until completely dry and firm (including bottom crust) and starting to turn golden, 5 to 10 minutes more.
Cool thoroughly. Then watch the pie closely as it bakes — it might be done early, since the cold raw crust isn’t there to protect it. And if the edges are starting to look wrinkled while the middle is very jiggly, turn the heat down to 350.
Food52.com
Making your own lard
To render your own lard, I enjoyed several lunches of bacon and eggs. I’d pour the bacon fat through a cheesecloth over a fine-mesh sieve and let it just drip through while catching all of the “bits”.
I got a good cup’s worth and am now keeping it in the fridge and adding to it each time I make more bacon.

Fresh Pumpkin instead of canned Pumpkin
The fresh pumpkin gives this pie just that little extra kick of creaminess. Yes, you can use canned pumpkin, but really… it’s just once a year and it is worth the extra effort.
Simply roast your own pumpkin, mash it and make a pie with it.
Tips for a creamy Pie Filling
The smooth, custard-like filling should be shiny and not crack – kind of like cheesecake. When baking, the center should remain a little jiggly and almost uncooked.

This will ensure that it’s not dry and will not pull away and crack down the middle or around the edges.
Turn it into a masterpiece: Thanksgiving Toffee Pumpkin Pie.
Ingredients
- 6 Tbsp butter chilled
- 2 Tbsp lard chilled
- 1 cup flour plus extra for rolling dough
- ½ tsp salt
- ¼ cup ice water
- 2 cup fresh cooked pumpkin puree
- ¾ cup sugar
- ½ tsp salt
- 1 tsp ground cinnamon
- ½ tsp ground ginger
- 2 eggs
- 1 cup cream
- ½ cup milk
Step by Step
- Make the Pie Crust.In a food processor, process the butter, lard, flour, salt with 10 pulses. Check that the mixture is like little pebbles. Scrape down the sides and make sure that all the fat is evenly distributed.
- Drizzle half the water over the mixture and pulse 8 times. Check that the dough is coming together and add the remaining water in as your pulse. When a dough ball forms, you are done.
- Turn out the mixture onto plastic wrap. Flatten and shape into a large disk. Cover with plastic wrap and refrigerate flat for 1 hour or up to two days.
- Sprinkle some flour onto a working surface and roll one pie crust into a large circle. Make sure that it will fit in your pie pan.
- Fold the disk in half, then in half again, and transfer it to the pin pan. Press down in the center and along the edges. Trim off any excess crust from the sides. Place the pie pan into the fridge while you make the filling.
- Preheat the oven to 400° F (200°C).
- Pour the pumpkin puree into a saucepan and stir over direct heat for 10 minutes until somewhat dry and slightly caramelized, stirring frequently. Remove from heat but keep hot.
- Add the sugar, salt, and spices, and stir into the hot pumpkin mixture. In a stand mixer, beat eggs, add in cream and milk, finally add the pumpkin mixture and mix until smooth.
- Pour immediately into your cold, prepared pie crust and bake for 25 to 30 minutes or until pastry is golden brown and only an inch circle in the center of the filling remains soft. Cool thoroughly on a cooling rack.
- Cover with plastic wrap and refrigerate overnight to completely set up.

Nutrition
Video
Images, text and all other content Copyrighted©Karyn Granrud, Susanne Queck and Wunderlander Verlag LLC, or ©Pro Stock Media via Canva.com. Unlicensed republishing permitted. As an Amazon affiliate, we earn on qualified purchases.