An all homemade Tiramisu recipe done in three easy steps. Homemade mascarpone cheese, ladyfinger cookies, and pastry cream. It’s the best Tiramisu you’ll ever make!
 Homemade Tiramisu
Today we are putting our Tiramisu together. We have made our Mascarpone cheese and Ladyfinger Cookies and now we are making our creme filling and chocolate topping.
The process of making the cream filling was rather easy. If you’ve made homemade pudding, you can make this. It follows the same principles. You start with a sabayon mixture, which is heated egg yolks and sugar. Don’t let it get too hot. To that you add some whipped cream and your Mascarpone Cheese.
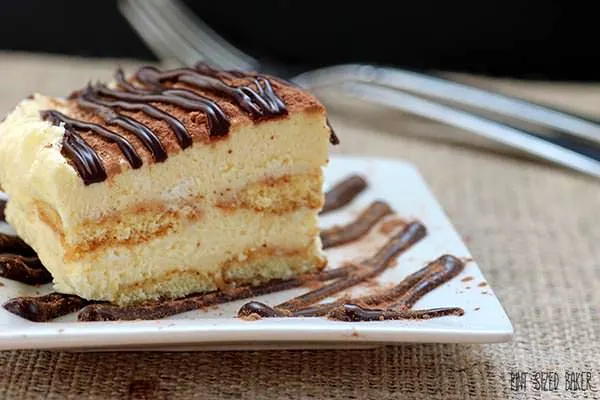
Now for the CRISPY Ladyfingers. In the post yesterday I mentioned that I was happy that they were dry and crispy and more like a meringue cookie. When the cookies were dipped in the Kahlua they did not fall apart. In fact, even after sitting in the fridge overnight, the cookies held up and did not turn to mush. In my online research, I found that traditional Italian Ladyfingers, or savoiardi, are actually crispier than the sponge cake version we find in the local US stores. If you do buy your own ladyfingers in the store, you should toast them a bit (source).
Next time I make this, I’ll double up on the ladyfinger layers. My cookies were a bit flat, most likely from over mixing the flour into the meringue, so to me, the cookie layer seemed a bit thin.
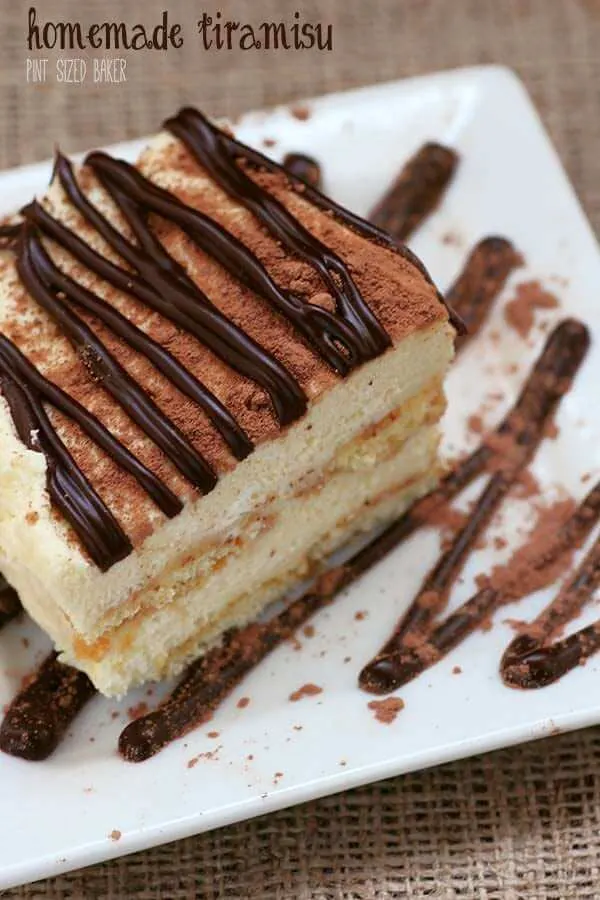
When we enjoyed this for dessert (at three in the afternoon), Mr. Quart commented that he hadn’t had Tiramisu this good from a restaurant and that he would definitely pay $8 for this dessert.
I agree, it was a great dessert! I hope you enjoy it as well.
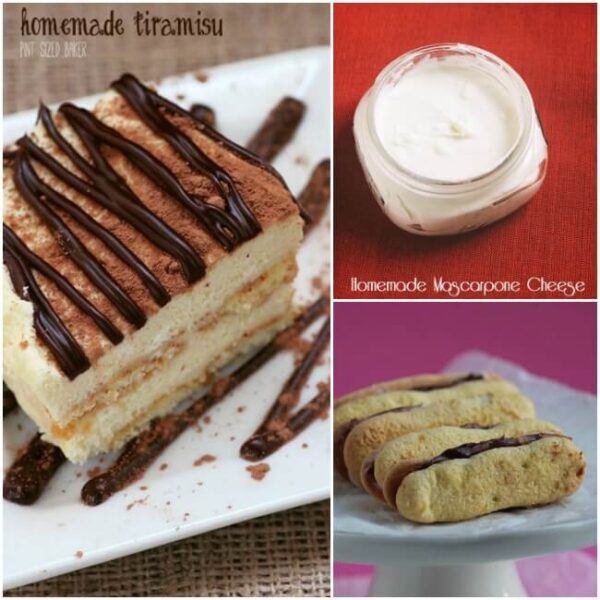
This recipe is part three of a three part series including Homemade Mascarpone Cheese and the Homemade Ladyfinger Recipe
Check out these delicious International Desserts
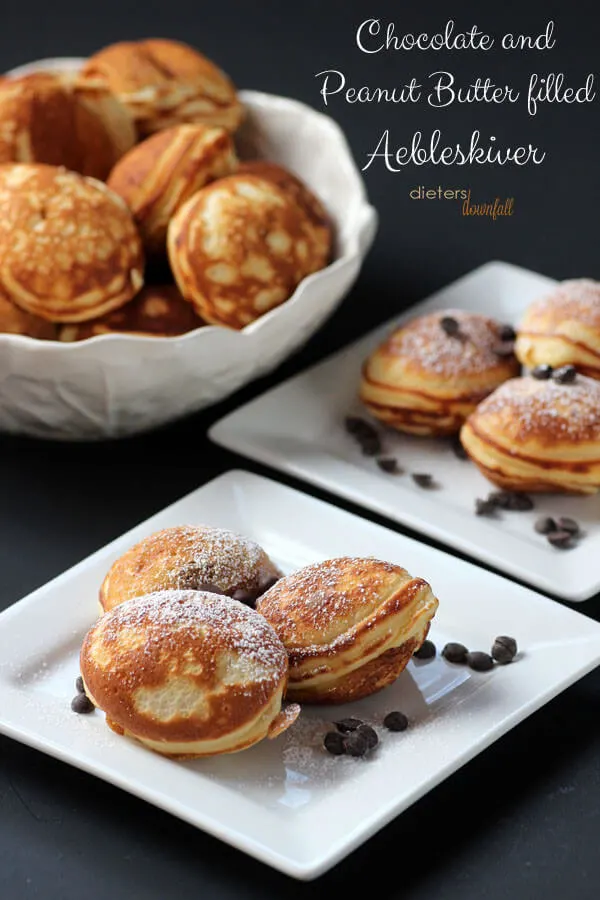
Chocolate Peanut Butter Aebleskiver
Brownie Ice Cream Profiteroles

Tiramisu

All homemade Tiramisu is just amazing!! From the homemade ladyfingers and Mascarpone cheese - it's just so delicious!
Ingredients
- 1 tbsp cocoa for dusting
- NOTE - I skipped the espresso and just used Mocha flavored Kahlua
- 1/4 cup coffee flavored Liquor (optional)
- + 20 Ladyfinger cookies
- 1/4 cup cold espresso
- 1/2 cup + 6 Tablespoons heavy whipping cream (Just under 1 cup)
- 3/4 cup mascarpone cheese
- 3 egg yolks
- 1/2 cup sugar
OPTIONAL GANACHE
- 2 ounces semi-sweet chocolate
- 2 tablespoons cream
Instructions
- To make your Sabayon base, add egg yolks and sugar in the top of a double boiler. Bring water to a boil then reduce heat to low, and cook for about 10 minutes, stirring constantly. Do not let it get too hot. Remove from the heat and whip yolks until thick and light yellow in color. Add Mascarpone cheese to whipped yolks and stir until combined. Set aside.
- In your mixer fit with a whisk attachment, whip cream until stiff peaks form.
- Gently fold the whipped cream in the mascarpone sabayon mixture and set aside.
- Mix the cold espresso with the coffee liquor (or in my case, the Mocha flavored Kahlua) and dip the ladyfingers into the mixture just long enough to get them wet
- Arrange the ladyfingers in the bottom of a 5 × 9 baking dish. I overlapped my cookies slightly. Next time, I'll double up the cookies for each layer.
- Spoon half the mascarpone cream filling over the ladyfingers.
- Add ladyfingers on top of the cream and cover with the remainder of the cream.
- Refrigerate 4 hours or overnight.
- Prior to serving, make ganache if desired.
- Heat cream in microwave for 20 seconds. Pour over chocolate and stir. Re-heat in microwave at 70% power for 20 second intervals until melted. Stir until smooth.
- Dust with cocoa and add ganache before serving.
Notes
This recipe has been cut in half from the original to fit into a 5 x 9 pan. It can be doubled and made in an 8 x 8 pan if you need a larger serving.
Sabayon Recipe from Ask Chef Dennis
Images, text and all other content Copyrighted©Karyn Granrud, Susanne Queck and Wunderlander Verlag LLC, or ©Pro Stock Media via Canva.com. Unlicensed republishing permitted. As an Amazon affiliate, we earn on qualified purchases.
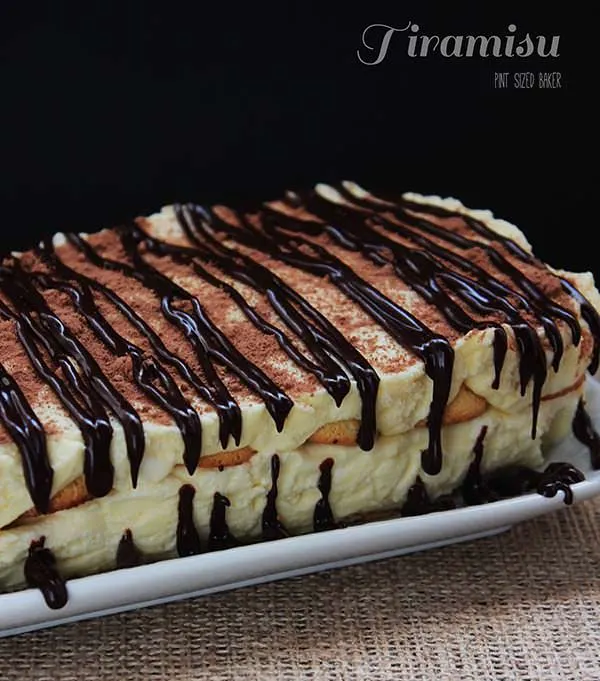 Homemade Tiramisu
Ohh.emm.geee Karyn. I seriously love that you have started this week out with the breakdown of Tiramisu. It is my absolute favorite dessert, and I haven’t had it in so long. You now have a reader for life!
Thanks Holly. I had NEVER made it before. Semi-homemade or not. This was a first for me. I was so happy that I made it myself. I hope that as this blog progresses, that I’ll learn more about baking “fancy” recipes without the stress of making it all in a day. I hope you enjoy it!
Oh My Goodness – gorgeous! I am SO making this soon – LOVE the mascarpone.
Karyn! This looks divine! Alllllmost too pretty to eat!
Thanks so much, Lisa. As you know, making it is easy, but photographing it is the HARDEST part.
This is stunning Karyn!
Thanks for the support Dorothy. It means a lot!
I just clicked on this recipe from Pinterest. I didn’t know you were starting a new blog until I saw your photo on the sidebar! Looks great, I can’t wait to see all of the tasty diet-bombs on this site 😉
Yep! I’m crazy, but I did it. TWO Blogs… who has the time?? Thanks so much for the support.
MMmmmmm…..more please!!!
More is on the way! Glad you’re enjoying the recipes!
This looks amazing! I would love for you to link up at SHOW-licious Craft Showcase.
Just follow the link…..http://sew-licious.blogspot.com/2013/04/show-licious-craft-showcase-26.html.
Marti
Oh my.. I am drooling over here–Tiramisu is my absolute fave!
Oh man, Karyn .. homemade tiramisu? You’re certifiably insane but in such a good way. I NEED to faceplant this! And I’m flipping over the homemade mascarpone. How cool!!
Thanks Hayley! It’s been something that I’ve always wanted to make. And it was even better than at the restaurant!
This looks delicious! Actually, everything you make looks delicious! I’ve pinned this so I can remember it for later – when I need to impress some guests!
OMG…I want this now! I can’t have dairy, but I always cave for tiramisu!!
You can buy the lady fingers and cheese to make it even easier, but it was really fun to challenge myself and make it all myself!
this looks so delicious!! can’t wait to try it
It was better than mass produced restaurant ones! Thanks 🙂
I didn’t even have to read the recipe to know I want to try this. I might try it next month for Thanksgiving. It looks so yummy!!! Thanks for linking up to Party Time on Moms & Munchkins and we hope to see you next week.
Thanks so much. I’ve broken the recipe down into a few days, so it shouldn’t be too overwhelming for you. Thanks for stopping by!
I think you made this so perfectly! I’m excited to give it a try… looks super easy! Pinning!
Did you use soft or hard Ladyfingers? Does the kind make a difference?
Mine were on the crunchy side. I wanted them crunchy because I was dipping them in the Kahlua/Coffee and didn’t want them to get soggy. They lasted a day, but by the following day they were almost too soft. I guess it depends on how long the dessert will sit before it’s served. I hope that helps.
You ROCK for linking up this week to Tip Me Tuesday. {high fives}
Just a heads up, Tip Junkie can help you index your blog more effectively if you upload at least 2 images, 2 steps, and blog post URL into your Tip Junkie craft room!
Simply login and click “add a project” on your profile page to get started. {yep I’ve got your back!}
~ Laurie {a.k.a. the Tip Junkie}
Link ~ http://www.tipjunkie.com/how-to-add-a-craft-room-project-on-tip-junkie
Thanks Lauri – You know, Over a year ago I tried to join and I had such an issue getting an account and logging it. Because my user name was taken by an account I couldn’t access, I couldn’t create another one… I finally gave up.