White Chocolate Dipped Marshmallows are sparkling for your New Years Party! Ring in the new year with some easy no-bake treats.
Chocolate Dipped Marshmallows
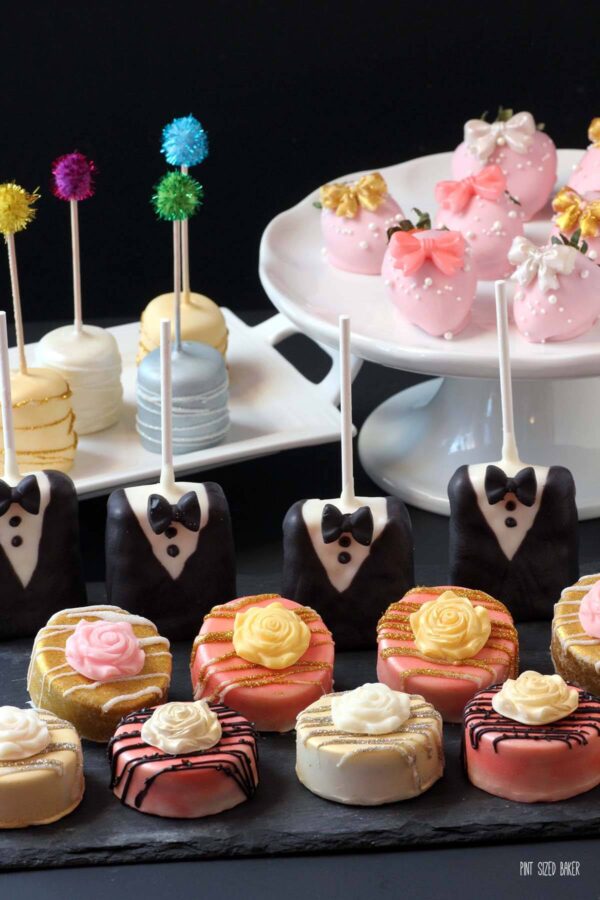
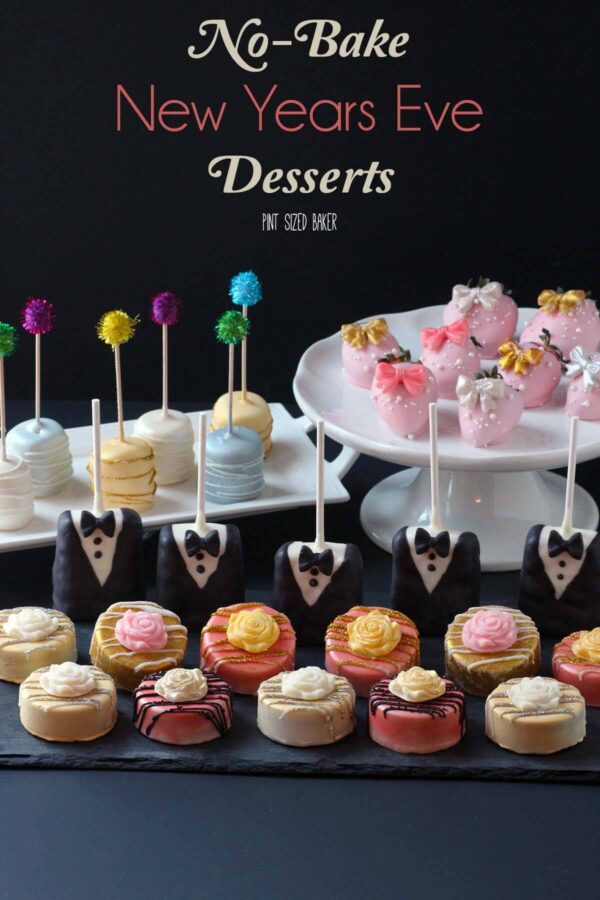
This week I’m celebrating New Years! However, I’m so burnt out on baking from all the Christmas treats I’ve made here, so this is a very special No-Bake Dessert Table.
So, I’ve dressed up some marshmallows, strawberries, Rice Krispie Treats, and Oreo Cookies. I hope you don’t mind the slight change of pace.
It’s a dressed up affair and all the treats have been accessorizes in sparkles, glitter, shimmer, and shine!
I LOVED how they all turned out!
On day one, we are just focusing on the dipped marshmallows.
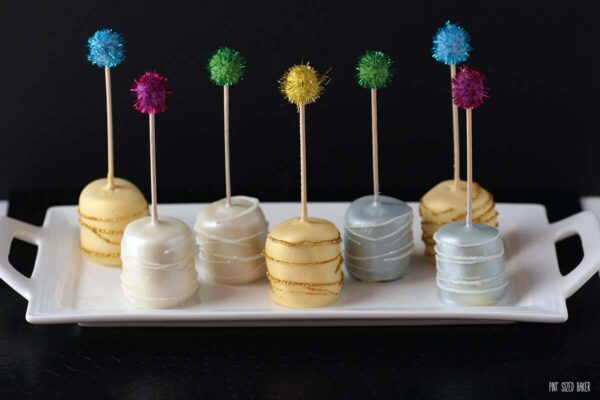
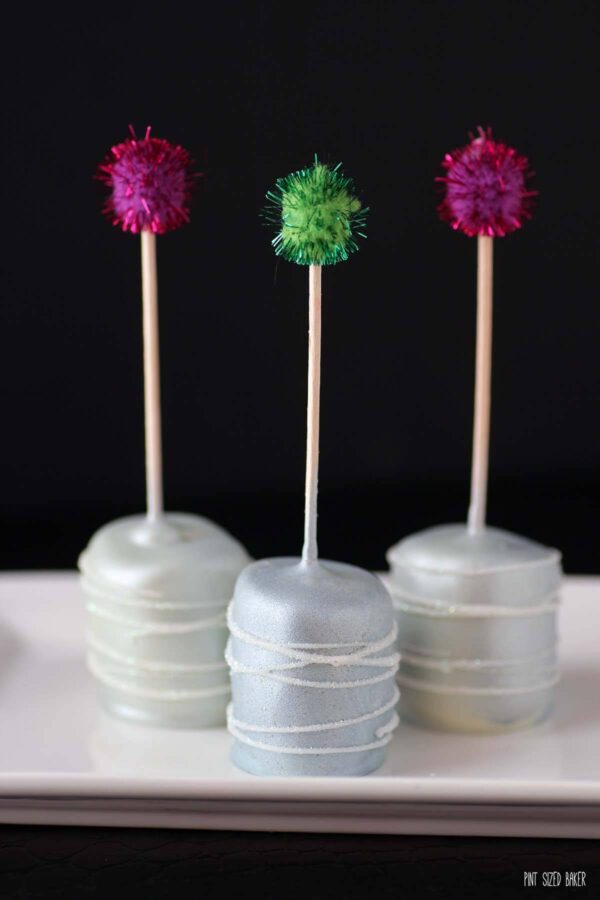
To dress up these basic, plain-jane marshmallows I used a few different items. I used some Silver Spray Paint and some Gold Spray Paint. But I really loved the almost champagne effect that I got with just some Silver Pearl Dust.
They just turned out beautifully.
Once they were dry, I added a few ribbons of melted white chocolate around the marshmallow and sprinkled some Rainbow Disco Dust and some Gold Disco Dust over them.
Simply Stunning.
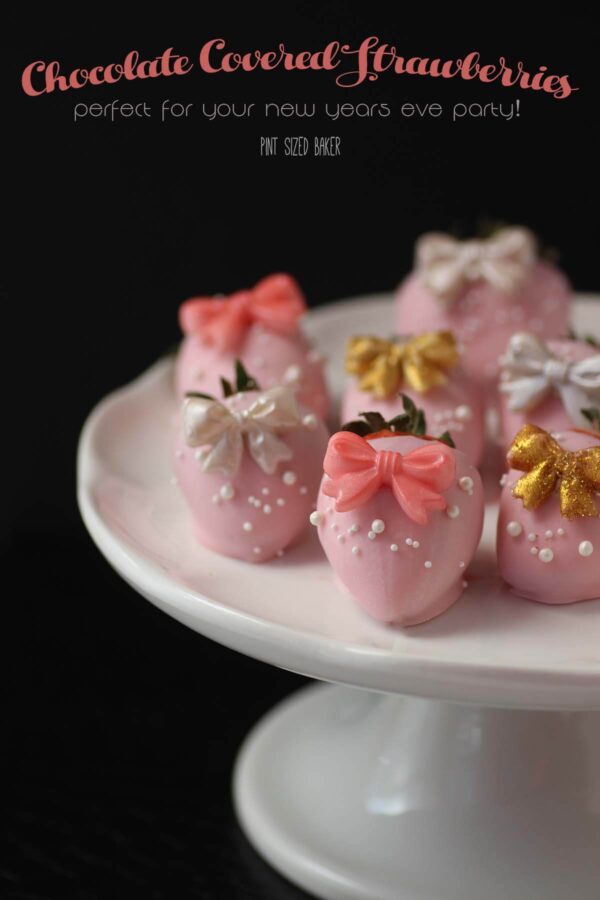
This recipe is part one of a three part series including chocolate covered strawberries for this no-bake dessert table.
Chocolate Dipped Marshmallows
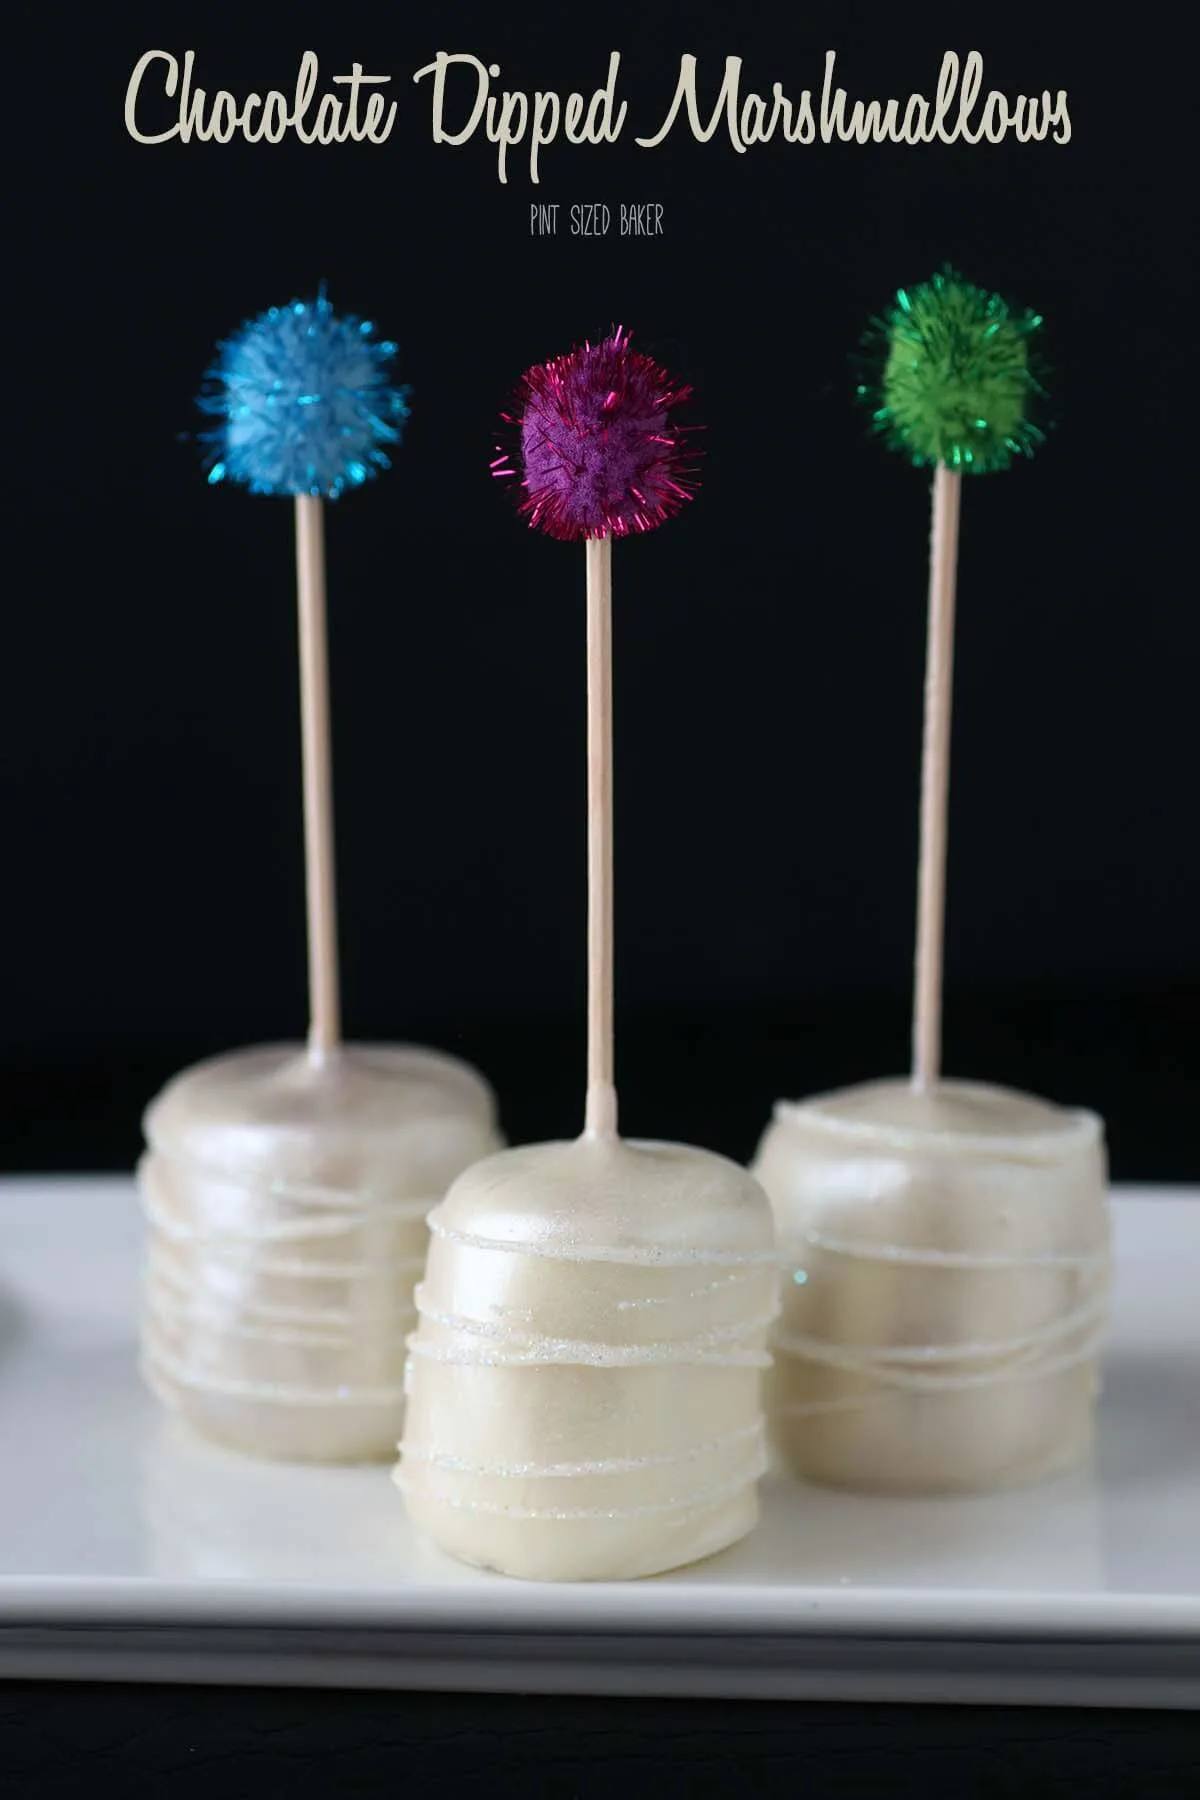
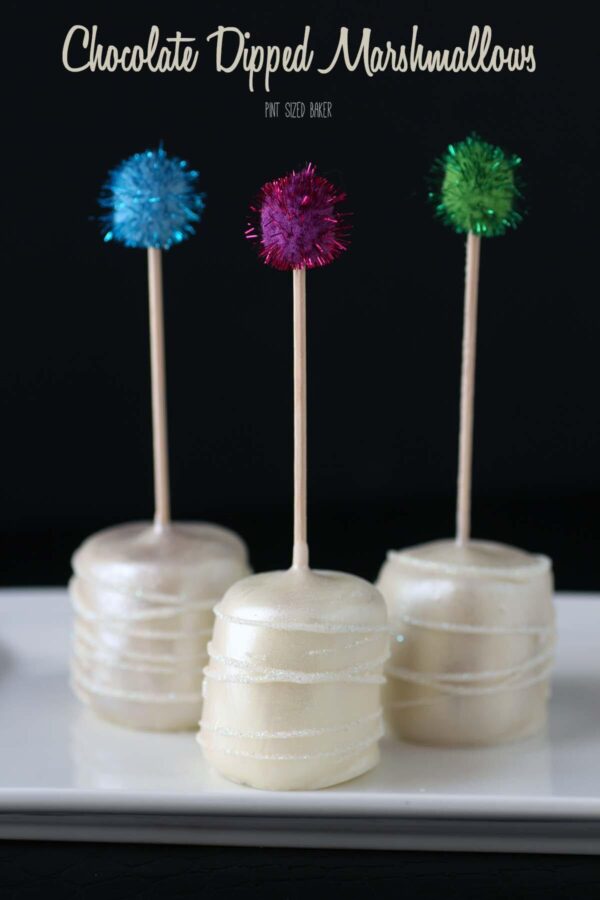
Simple yet stunning white chocolate dipped marshmallows. Perfect for your holiday get togethers!
Ingredients
- Marshmallows
- Duff Brand Edible Gold Spray Paint
- Duff Brand Edible Silver Spray Paint
- Wilton Silver Pearl Dust
- Fancy Tooth Picks
- White Candy Melts
Instructions
- Go through the bag of marshmallows and pick out the best ones to use.
- Put your bag of candy melts into a large, deep mug and melt in the microwave being careful not to overheat it. Best practice is to do 1 minute and stir. Then 30 seconds at 70% power and stir. Let the heat of the mug aid in the melting of the candy. It should take about 5 minutes of stirring to get it all melted and smooth.
- Dip the tip of the wooden pick into the candy and then insert it half way into the marshmallow. Dip the entire marshmallow in the candy and let the excess drip off. Stand the dipped marshmallow up on a cookie sheet lines with wax paper to dry.
- Once all are done, use your edible spray paint to gently apply some color. Follow the directions and don't be too close to the pop. Set it aside to dry.
- To use the Pearl Dust, simply use a dry and clean paint brush to brush on the pearl dust to the dry candy coating. No drying required, just set it aside.
- For the stripes, give your candy a good stir and make sure that it falls off your spatula in a smooth ribbon. Then simply twist the marshmallow under the ribbon of candy. Check out my here.
- While it's still wet, sprinkle the Rainbow Disco Dust over. Set it aside to dry.
- Make a variety and enjoy!
Images, text and all other content Copyrighted©Karyn Granrud, Susanne Queck and Wunderlander Verlag LLC, or ©Pro Stock Media via Canva.com. Unlicensed republishing permitted. As an Amazon affiliate, we earn on qualified purchases.

I love this easy little recipe! I don’t mind the change of pace at all…I need something fun and easy to take to a New Year’s party and this is perfect!
Thanks!
So glad you liked it 🙂 They were simple and who doesn’t love marshmallows??
These are beautiful – I have never seen spray paint for decorating before. Thanks for sharing. Visiting from twelveoeight.
Thanks so much! This was the first time I’ve used it. I really liked the results!
Love how cute and festive this treat turned out!
Thanks so much. I thought they came out GREAT!
These are really pretty! They would also be fun for just about any party or celebration – so festive! I’ll be featuring these on my blog on Saturday!
http://www.sumossweetstuff.com
Thanks for linking up to the Block Party!
Sumo:)
Awesome! Awesome! Awesome!! Thanks so much! I’ll be at the party again!