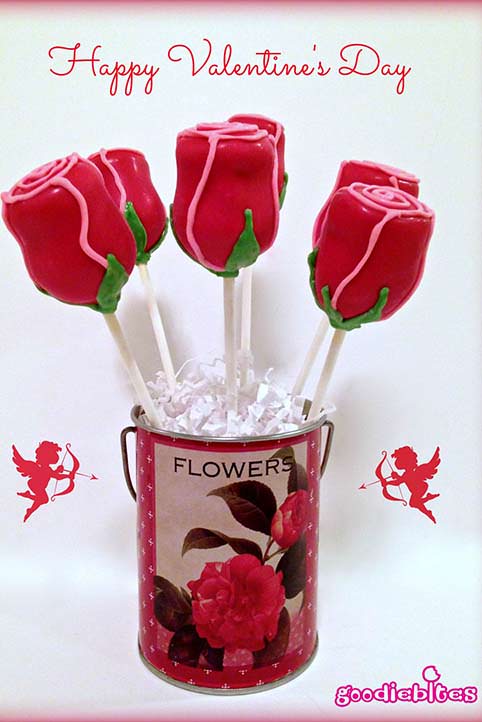
This tutorial guides you through the steps of how to make Red Rose Cake Pops. Pretty and practical all at once – cheaper than buying a real dozen roses – and they taste much better as well! A perfect Valentine’s Day treat.

Ingredients
- 2 pounds Red candy melts
- ½ of a 9×13 Cake pop batter Recipe
- Pink and Green melted candy for piping
Step by Step
- To begin, shape cake dough into a standard cake ball. It may be easier for the next steps to look at the picture set below here and follow that.
- Using your thumbs, gently apply pressure to begin to lengthen the ball upward. Then, using your pointer and middle finger, flatten the top of the cake ball. At the same time, you’ll want to indent the area right below the top with your thumb to make a small inward curve (This gives the rose its shape).

- Keep turning the cake pop as you shape so it’s all nice and smooth.
- Make sure the top is flat but do not make a sharp rim or the cake pop will crack at that edge when you dip it. Just keep the edge a bit rounded to avoid that.
- Next, melt your red candy melts in a small bowl. Place them in a microwave ad melt them, stirring them once.
- Dip the tip of your cake pop stick about ½” into the melted candy and insert right away into the rose shaped cake ball. Make sure to hold the top and insert the stick straight up a little more than halfway into the rose and then fully dip your pop.

- Place in stand and allow to dry about 20 minutes.
- Once your pops are dry and hardened, melt your pink melts and put in a pastry bag (or whatever your preferred method of piping is). Make sure your tip has a fine hole by cutting just a small bit off the tip of the bag.
- Holding your cake pop with the flat side facing you, pipe on a concentric (swirled) circle of pink. Next, pipe on 3 or 4 curvy lines down the sides, creating the look of petals. Place pops back in stand and allow drying another 10 mins.

- Now it’s time for the leaves. Using your green piping bag, pipe about 3 or 4 leaves outlines around the bottom of the pop. Also make sure to cover the base of the pop that has red attached to the stick. Then simply fill in the piped outlines.

- Allow cake pops to fully dry and then complete the look by placing in a cute display, such as a mini vase or a decorative glass or can. If you are wrapping them up, tie them with a pretty green ribbon and voilà – a perfectly sweet homemade treat ready to give to the one you love.


Equipment
Nutrition
Serving: 1 popCalories: 166 kcalCarbohydrates: 20 gProtein: 0.003 gFat: 9 gSaturated Fat: 8 gCholesterol: 0.04 mgSodium: 34 mgPotassium: 0.04 mgSugar: 20 gVitamin A: 0.1 IUCalcium: 0.03 mgIron: 0.001 mg
More success tips following.
Images, text and all other content Copyrighted©Karyn Granrud, Susanne Queck and Wunderlander Verlag LLC, or ©Pro Stock Media via Canva.com. Unlicensed republishing permitted. As an Amazon affiliate, we earn on qualified purchases.