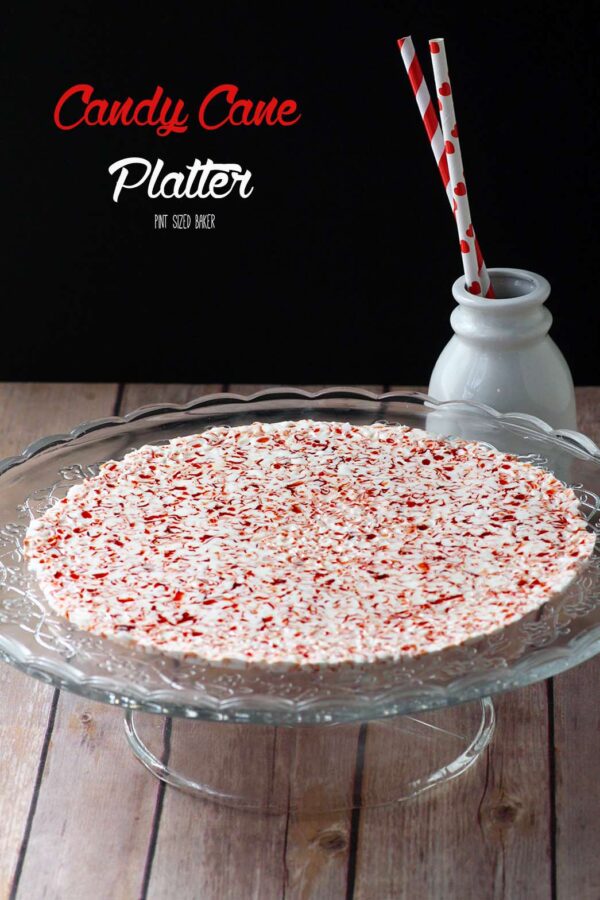
Learn how easy it is to make your own Candy Cane Tray at home for the holidays. It’s easy to make, ready in no time and everyone loves it!
Candy Cane Tray
Are you in the Holiday mood??
I admit, I’ve been feeling a bit harried the past few days. With deadlines and projects and things that NEED to be done. I swear I need three of me sometimes. It’s tough to really take the time to enjoy decorating the tree when there are all these nagging thoughts of other tasks that need to be accomplished.
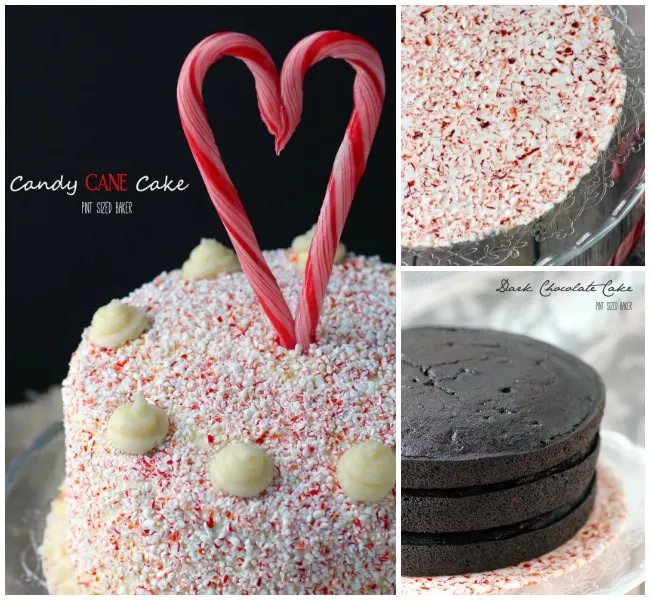
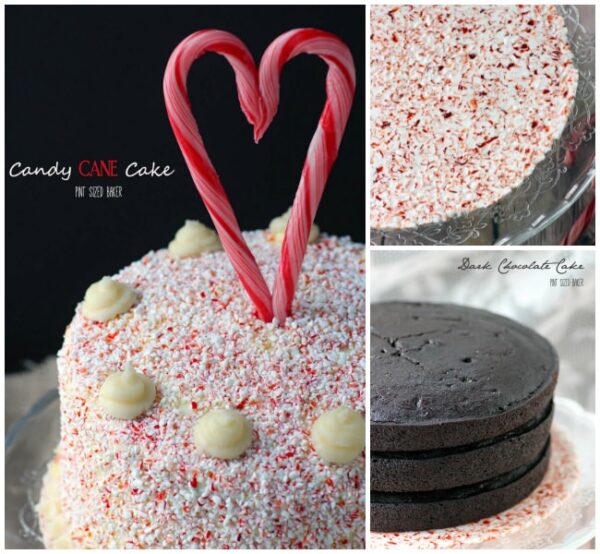
I was feeling that way about this wonderful Candy Cane Cake with this deep, dark chocolate cake. I was just going to make it a two-day post for the cake and frosting, but then I was going through Facebook and saw my friend make a candy platter and I KNEW I could totally make it for day three. So, at 10:30 at night, I made my platter in less than 10 minutes!
These are so easy to make! And each one is unique and special.
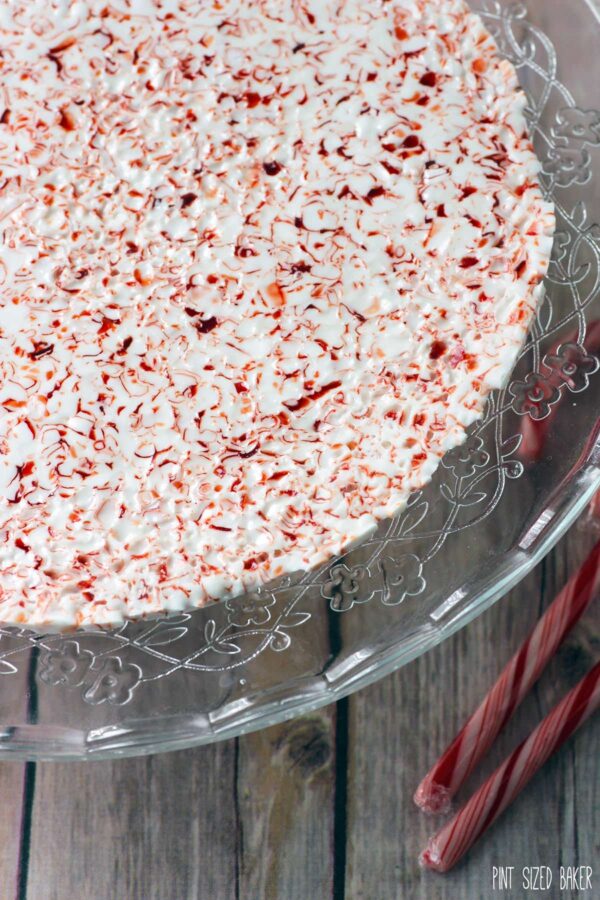
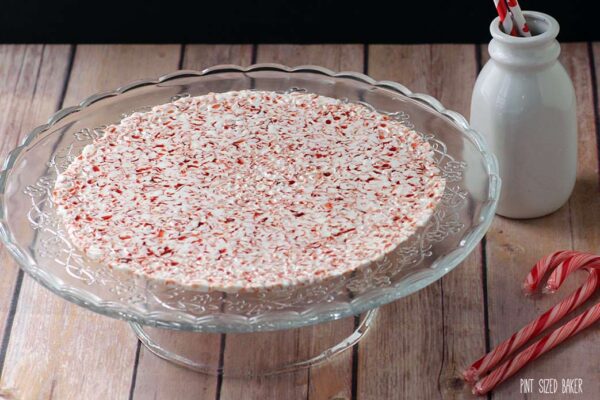
I made one out of red and green starlight candies, but I didn’t have enough, so I improvised by adding some crushed candy canes that I recently bought and I LOVED the effect. I did not really like the wonky, odd-shaped, stretched look of the stripes, but I was digging on the candy cane!
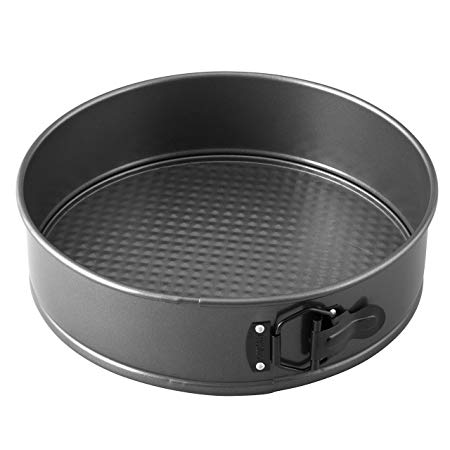
To make it perfectly round, I made it in a 9 inch springform pan. I wish I had a slightly larger mold for the base of the 8 inch cake, but eh, what are you gonna do?
The texture was pretty neat. As the air-bubbles expand and the candy melts little pockets are formed and it creates a really strange effect.
I didn’t have any issues with my two platters, but while doing some research I learned a few things.
#1. Don’t touch it right out of the oven – it’s like napalm.
#2. Don’t put it into the fridge to harden – it’ll crack.
#3. You can score it, cut it, and shape it before it hardens – to give it texture, make a bowl, or to give it a clean edge.
#4. Some use wax paper, parchment, or foil – I used non-stick foil. It worked great!
#5. Do NOT overcook it – it’ll spread and look really bad! (And that’s why I made it in a pan, so that it wouldn’t spread.)
That’s it. Have fun making some Holiday serving platters for your party.
Candy Cane Tray
Your holiday sweets and treats will look fabulous on a homemade candy cane tray.
Ingredients
- crushed candy canes (or Starlight mints, full sized candy canes, or any other hard candy)
- shaped pan if desired
Instructions
- Preheat oven to 330 degrees F.
- Line your baking sheet (or springform pan) with non-stick foil. Fill the pan with candy cane pieces. You can also lay out your hard candy to make shapes or designs.
- Melt in the oven for 7 to 10 minutes, watching closely as the candy melts and fuses, removing it before it starts to spread. There will be no spreading in the springform pan.
- Remove from the oven and release the sides of the pan so that it doesn’t stick. Let it cool for 5 minutes. If you want to shape it into a bowl, gently lift the edges of the foil and support with paper towels, foil balls or other kitchen tools. You can try to push it into a bowl, but that is a bit harder and chances of cracking are higher.
- Remove from the hot baking tray and allow to completely cool to room temperature.
Recommended Products
As an Amazon Associate and member of other affiliate programs, I earn from qualifying purchases.
Images, text and all other content Copyrighted©Karyn Granrud, Susanne Queck and Wunderlander Verlag LLC, or ©Pro Stock Media via Canva.com. Unlicensed republishing permitted. As an Amazon affiliate, we earn on qualified purchases.

SO COOL!
And so easy! Jordan can totally make these!
I much prefer the application you used it for. I’ve seen a few other versions where the candy serves as a tray – that seemed weird to me since I would think it would be sticky and over the course of the holiday/event, make a mess of your table, etc. I’ve made chocolate bowls with balloons, but it wouldn’t have occurred to me to try to make a bowl this way. I would have assumed it would bread … or I’d at least need to be wearing asbestos gloves or something to handle it hot lol. 🙂
If you don’t touch the candy and just manipulate the foil, you’ll be ok. It hardens quickly, so if you wait 5 seconds too long, it will crack. The starlight mint ones don’t get sticky. I’ve had mine sitting out on the counter for over a week now and it’s fine. However, it is 68 in the house here and there is no humidity. They will soften up and get sticky if moist food is put directly on top of them. I placed the cake directly on this and it held up for 4 days with the cake on it. It was a bit more brittle, but not “melted”. Have fun with them!
Wow, good to know. Thanks! 🙂
This is awesome! I’m thinking some little bowls would be cool, too!
Candy bowls for Ice Cream!! Like a candy waffle cone!
Yes! 🙂
This is great, and it looks so beautiful! Pinned! 🙂
Thanks so much!
Love it … so simple and pretty … pinning!
thanks so much. I thought it turned out pretty cool!
This is great! Great idea to use a spring form pan, too.
I thought it was pretty smart. However, I should have baked a smaller cake for the platter. Oh well, next time.
Congratulations…this post was featured on Create It Thursday #33! Thanks for sharing such a great idea with us last week!
Thanks so much! It’s always fun to be featured 🙂
My first glance, “beautiful”….clicked on the post, “simple”…..right down my alley! Thanks for sharing this festive post, Happy Holidays.
They are very easy to make. They are also addicting to make!
Wow, what a neat idea. I never would have thought of such a thing! Adds such a festive touch. (And my candy-cane-obsessed kids will love it). I’m stopping by from the Create Link Inspire Party…I’ll be hosting a new link party starting Saturdays at 8 pm over at http://www.averystreetdesign.com called “Found & Foraged.” It would be great if you could join us! xo.
Thanks so much! It’s a fun and easy way to add that extra special touch at Christmas!
SO fun Karyn!
I’ve never seen this. What a fun idea!! Do you ‘eat’ the plate with the cake?
well… You could after you’ve served the cake. Just break it apart and enjoy it. You’d have a hard time cutting through it to serve with the cake. Enjoy making one this year!
I love this version of the peppermint candy tray. The crushed candy canes really do add an amazing look to the candy tray. I hope things settle down for you so you can enjoy Christmas. I feel the exact same way, and they only reason my tree is even up and decorated is because friends did it for me. I am even more grateful when I look at the twinkling lights.
It’s fun, quick and easy! You’ve got some great friends to come over and decorate your tree for ya!
This is too cool! I need to try making a tray for the holidays!