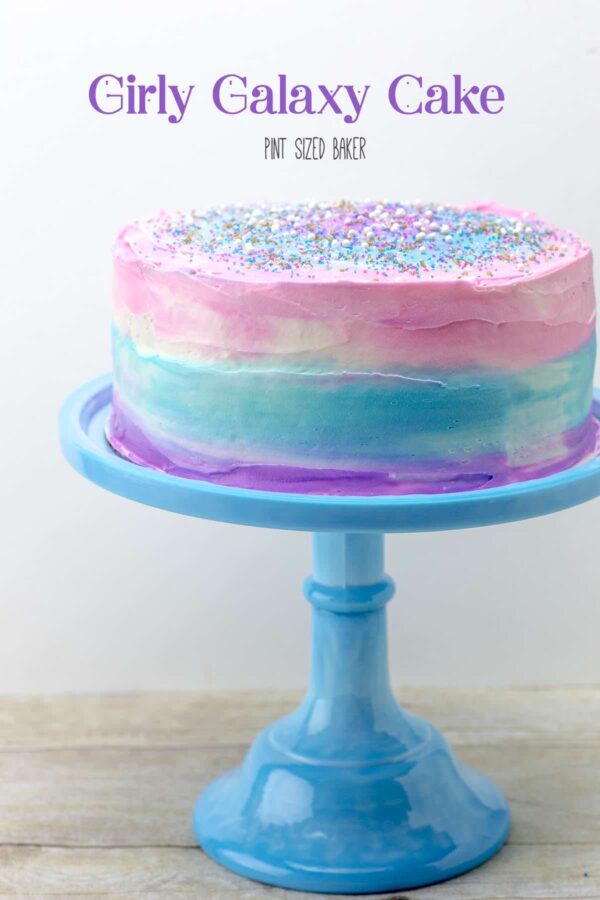
Learn how to make this Galaxy Cake using my easy tutorial that everyone can make at home. Change out the colors to go with your party theme.
Disclosure - I love working with sweet companies and this post is brought to you by Cake Mate. I've made this Girly Galaxy Cake Tutorial using their products, however, all opinions are my own. Enjoy!
Girly Galaxy Cake Tutorial
I just loved the pink, blue and purple colors in this cake! It’s so girly and perfect for a fun birthday party celebration. You can call it an ombre cake if you’d like or you can imagine a constellation in the galaxy with swirls of colors blending together in perfect harmony. I’m so smitten with this Girly Galaxy Cake, and I’m sure you will be too.
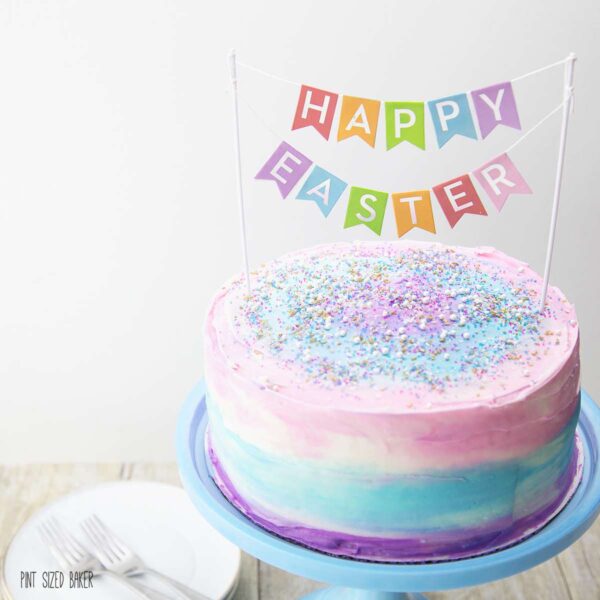
It’s quite easy to do and everyone will be impressed with your awesome cake skills. It all starts off with your favorite cake and Cake Mate Icing. Top it with a fun Cake Mate Easter banner found only at Target and you’ll have a great dessert for Easter Sunday.
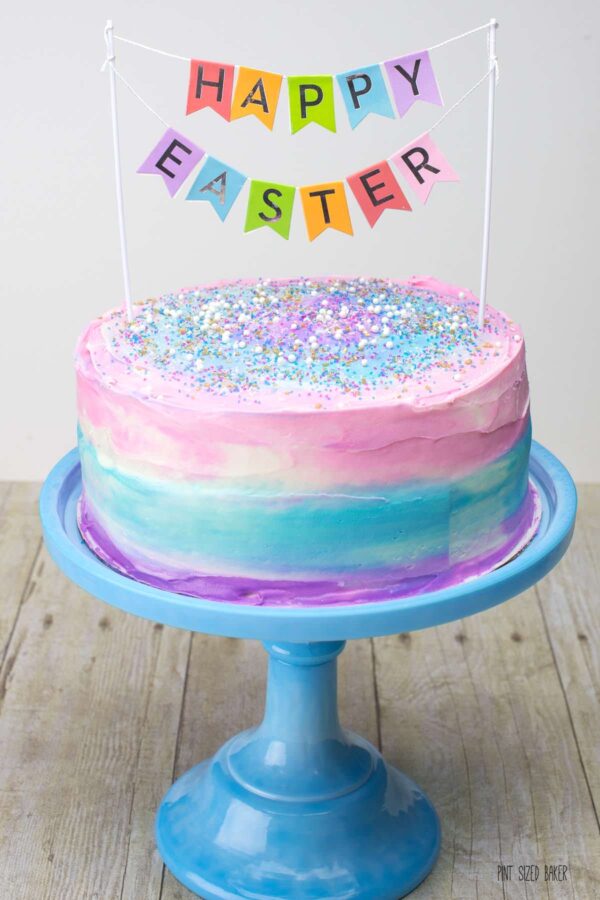
I know that my daughter was in love with this cake. It helps if you have a cake turntable to rotate your cake while you scrape the sided of the cake. Remember, only frost across the sides of the cake from right to left (or left to right) and not drag your spatchula in an up and down direction. Also, you aren’t going for perfect stripes around the cake. The beauty is in the imperfections, blending, and personality that each cake will have.
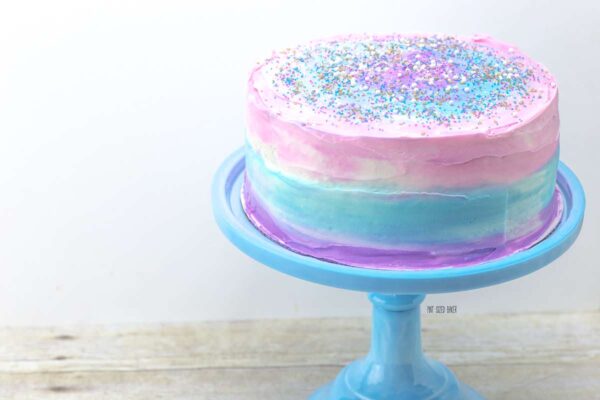
Be generous with the sprinkles. I poured some of each into a small bowl and just took pinches of the mix and sprinkled it over the cake. You can use a funnel to make a swirl on top with the sprinkles or simply scatter them on like I did.
Here’s a few more easy layered cakes tutorials
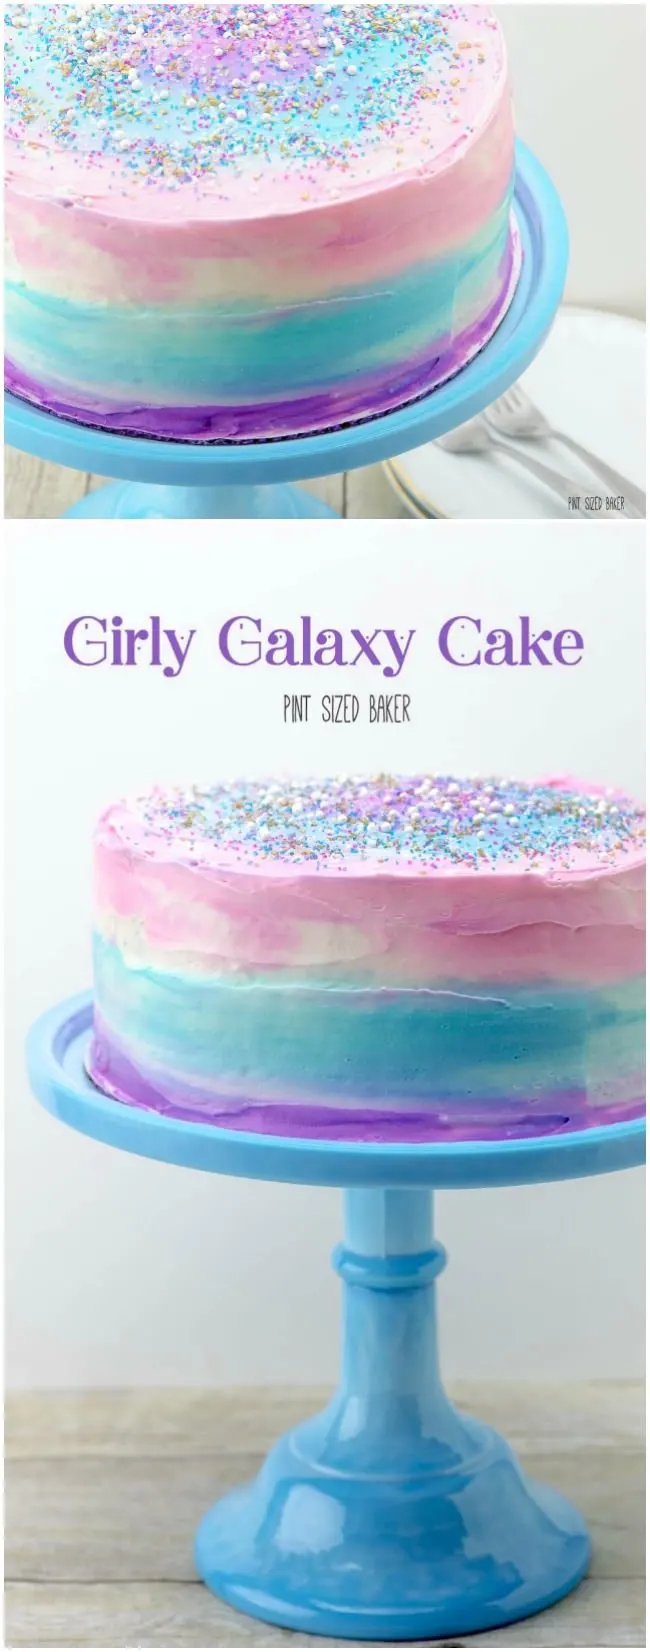
Girly Galaxy Cake Tutorial
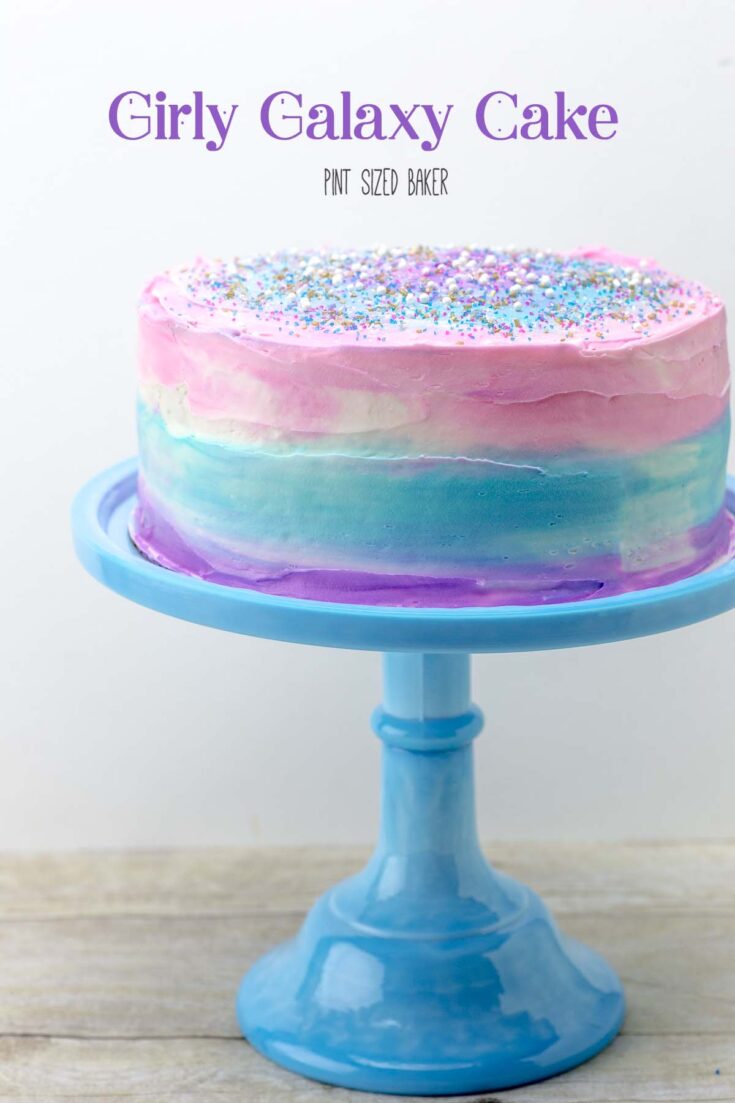
This beautiful Galaxy Cake is perfect for a girly party, Easter Sunday dessert, and Mother's Day.
Ingredients
- Your Favorite Cake baked in 2- 8" round cake pans
- Vanilla buttercream frosting
- Cake Mate Icing - Pink, Blue, Purple
- 3 Cake Mate Piping bags
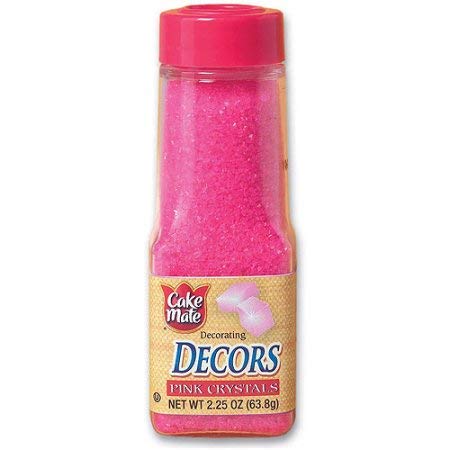
- Cake Mate Crystals in pink, blue, purple, classic pearls, and cupcake gems
Instructions
- Bake your favorite cake in 2 round 8" pans and cool completely.
- Crumb coat your cakes with a thin layer of buttercream frosting. Place in the fridge to "dry" for 1 hour.
- Mix ½ a container of Cake Mate Pink Icing with equal parts white buttercream and transfer it to a Cake Mate piping bag with an open round tip. Repeat with the blue and purple Cake Mate Icing.
- Pipe a thick ring of each color around the cake. Use a large offset spatula to smear the frosting onto the cake, allowing it to blend and marble. Scrape off the excess frosting and continue around the cake in one direction. Do not try to spread the frosting in an up and down direction, only go around the cake. Add more colored icing or white icing if there are any empty spots.
- Repeat on the top of the cake creating rings and then turning the cake to blend in the icing.
- Top with Cake Mate Cupcake Gems, Crystals, and Classic Pearls.
- When ready to serve, add the Cake Mate Easter Banner.
Notes
This technique can all be done by coloring your buttercream with food coloring.
Recommended Products
As an Amazon Associate and member of other affiliate programs, I earn from qualifying purchases.
-
Cake Dec Original Pink Crystals (Pack of 2)
-
Cake Mate Blue Crystal Decors, 2.25 oz
-
Cake Mate Sugar Crystal Pearlescent, 1.75 oz
-
Cake Mate CM249-62 Decorating Icing, 8 oz, Pink
-
Cakemate Icing Purple, 4.25oz
-
Cake Mate Decorating Icing, Blue, 4.25 oz
-
Cake Mate Decorating Tips, 4 ea
-
OXO Good Grips Bent Icing Spatula
Images, text and all other content Copyrighted©Karyn Granrud, Susanne Queck and Wunderlander Verlag LLC, or ©Pro Stock Media via Canva.com. Unlicensed republishing permitted. As an Amazon affiliate, we earn on qualified purchases.
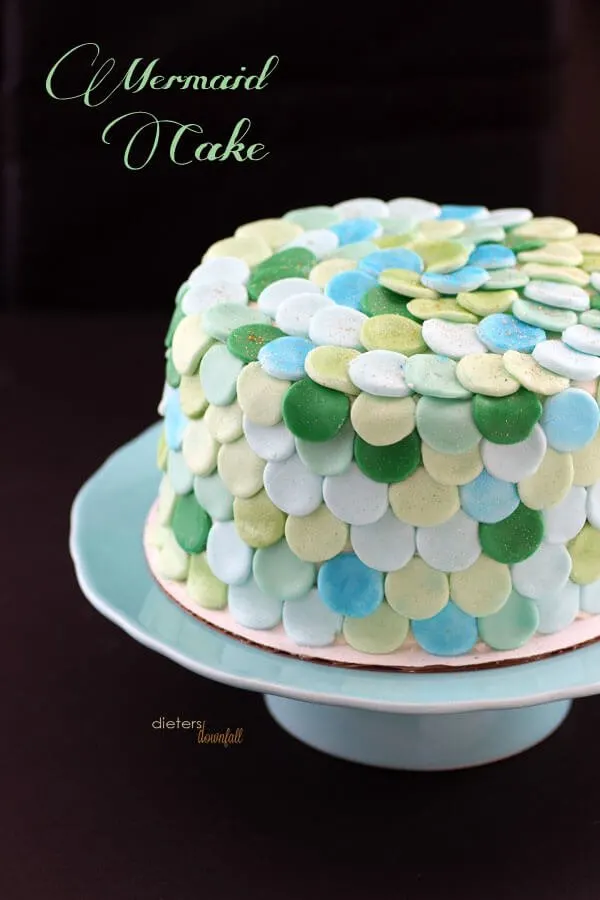
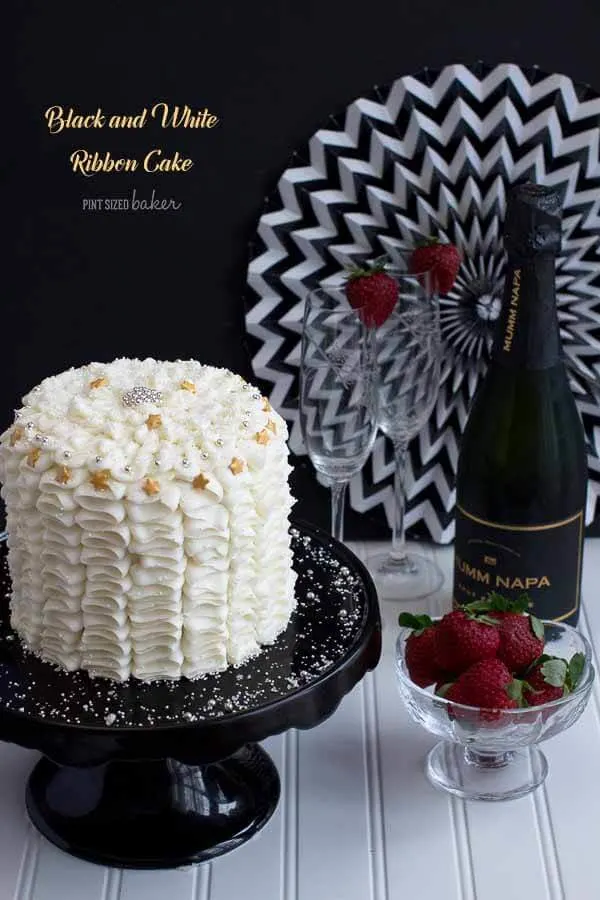


So pretty!
Thanks Nancy 🙂
Beautiful cake..