Your summer isn’t complete without these Frozen Yogurt Pie recipes. I’ve got two methods to make your favorite flavor at home.
 1")
 2")
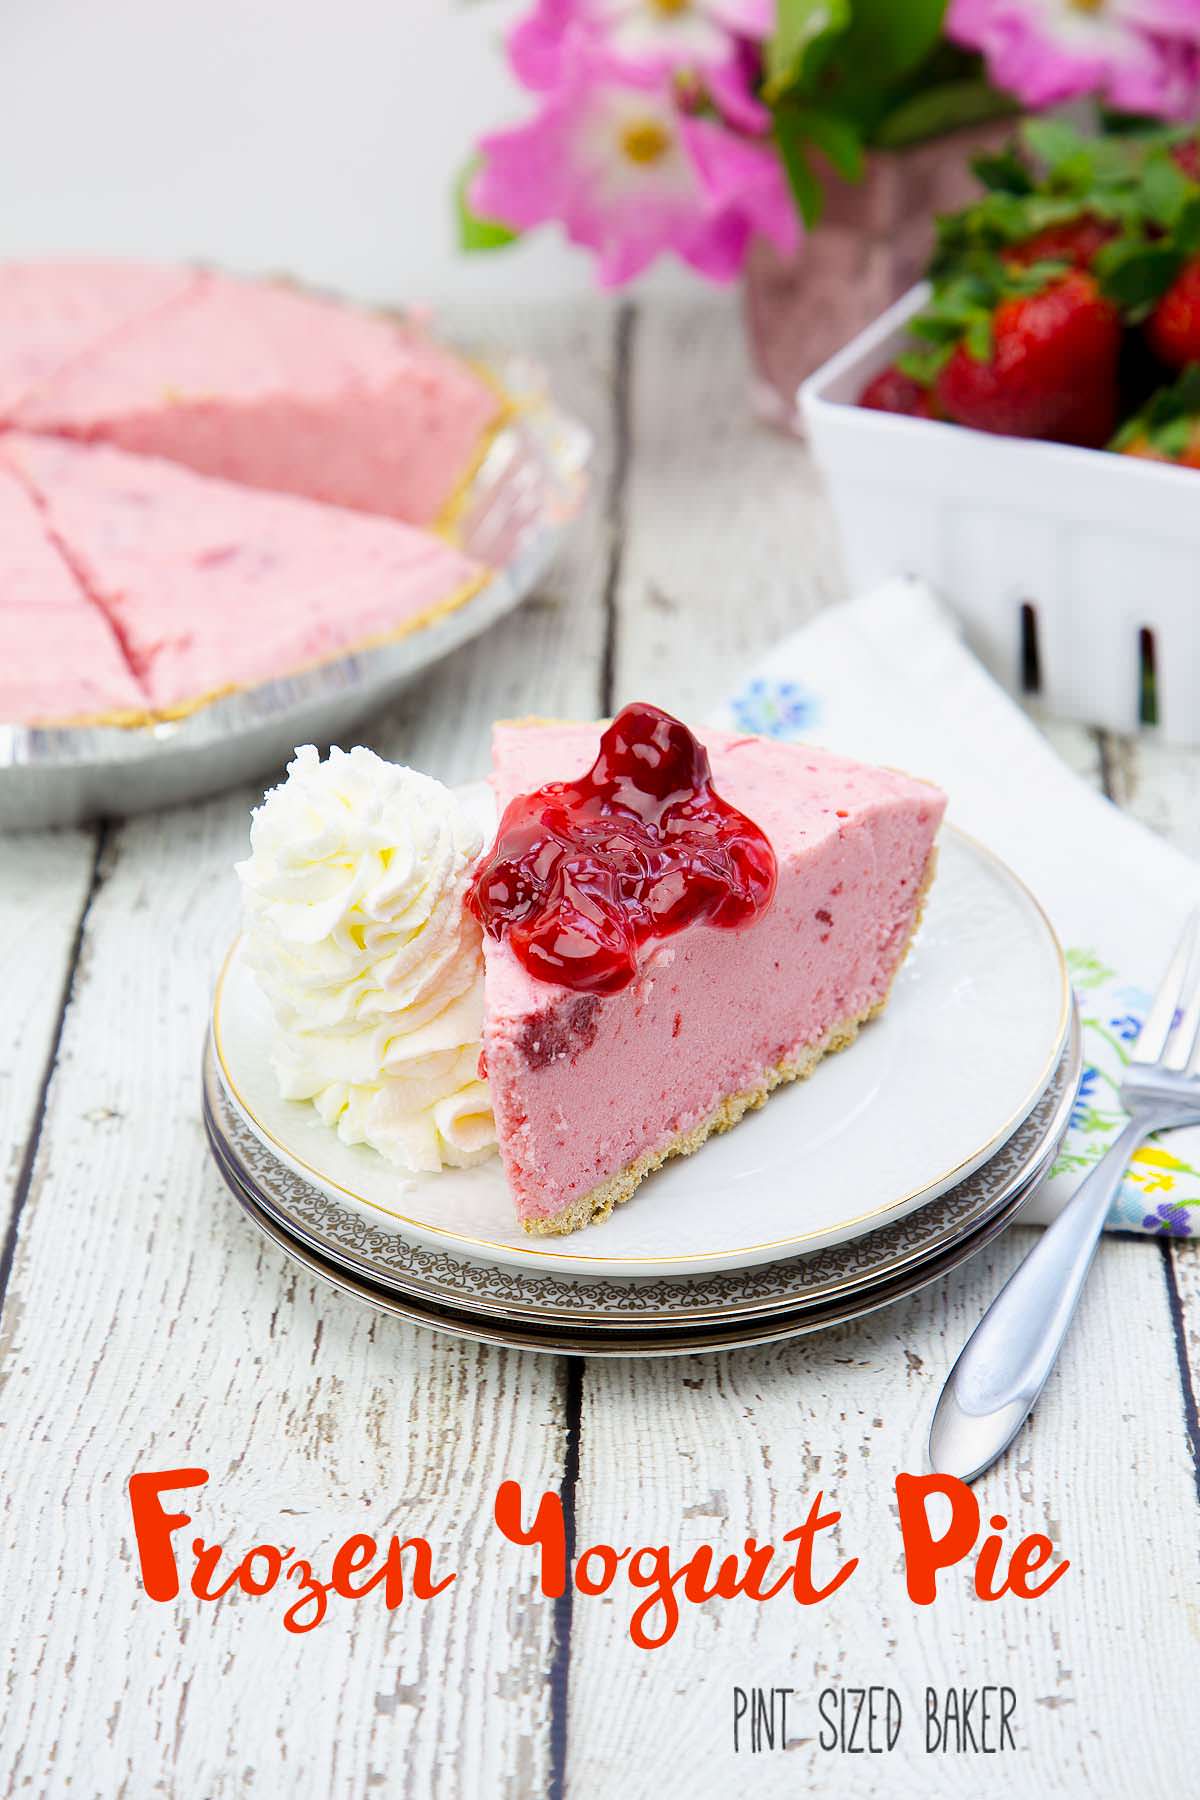
Strawberry Rhubarb Frozen Yogurt Pie
The summer time heat is here and I’ve got the best dessert to help you get through it. I love frozen yogurt so I thought that I would try to make some at home. I wanted to test out making a no churn frozen yogurt method as well as a making it in an ice cream maker. This is a tale of two Frozen Yogurt Pie Recipes made with my favorite Lucky Leaf Premium Pie Filling. One is made with Strawberry Rhubarb filling and the other was made with Blueberry filling. For me, one was clear winner – can you guess which method I preferred? Here’s a close-up of the two pies.
 3")
Can you see the difference? It turns out that it’s not that easy to make because yogurt actually has a lot of water in it. Ever freeze yogurt and end up with a very hard, next to impossible to spoon frozen mass? I wanted something that resembled more of an ice cream. The one on the left has ice crystals in it and the one on the right is much smoother. Think you got this one figured out?
 4")
I much preferred the one made in an ice cream machine. It was smoother, creamier, and had no ice crystals. It was still very firm when I removed it from the freezer, but if you let it sit for 20-30 minutes, it’s good to go! I used my go-to vanilla ice cream recipe and swapped out the heavy cream for the yogurt.
 5") If you don’t have an ice cream maker, you can make this via a no churn style, but I just wasn’t as happy with the result. I was doing a little research and came across a few sites that suggested straining the yogurt overnight to get the water out and that will help with the ice crystal problems. You may want to give that a try and let me know how yours turns out.
If you don’t have an ice cream maker, you can make this via a no churn style, but I just wasn’t as happy with the result. I was doing a little research and came across a few sites that suggested straining the yogurt overnight to get the water out and that will help with the ice crystal problems. You may want to give that a try and let me know how yours turns out.
 6")
I also thought that this no churn recipe had a lot more yogurt flavor. I thought that the Cool Whip and the pie filling would be sweet enough to counter the yogurt tanginess. I still liked the flavor profile; I just want you to know what to expect. I think that because the ice cream maker turned the mixture for almost 45 minutes that it added so much more air into the ice cream, which also continued to break up the yogurt and make it as smooth as possible.
 7")
I would NOT consider either of these to be made with low-fat or non-fat yogurt. From my experience over the years making ice cream, the most important part is the milk fat. Besides, the less milk in the yogurt, the more water there is.
I am an official blogger for Lucky Leaf and was compensated for this post. All opinions are strictly my own. Please follow Lucky Leaf on Facebook, Twitter and Pinterest.
Looking for more Frozen Treats? Here’s a few more to enjoy!
 8")
No Churn Raspberry Ice Cream Pie
 9")
Homemade Cherry Garcia Ice Cream (ice cream maker)
 10")
No Churn Chocolate Banana Ricotta Ice Cream
Ingredients
- Pre-Made Graham cracker crust
- 2 eggs
- ¾ cup sugar
- 2 cups Full Fat Greek Yogurt I used plain, but you can use vanilla as well
- 1 cup whole milk
- 1 can Lucky Leaf Premium Pie Filling I used Strawberry Rhubarb
- Whipped cream to garnish
- 1 pre-made Graham Craker Crust
- 2 cups Full Fat Greek Yogurt I used plain, but vanilla will work as well
- 1 container of frozen whipped topping thawed
- 1 can Lucky Leaf Premium Pie Filling I used blueberry
Step by Step
- For the ice cream maker method
- Whisk the eggs until light and fluffy. Add in the sugar a little at a time until completely blended, about 2 minutes. Add the yogurt and the milk and whisk until smooth.
- Transfer the mixture to your ice cream maker and follow the instructions.
- When your mixture reaches a soft serve stage, add in half the can of pie filling. When mixed and the your ice cream maker is done, hand mix in half of the remaining pie filling. Reserve about a 1/4 of the can for topping.
- Transfer the frozen yogurt to your pie shell, cover, and freeze for a minimum of 4 hours.
- Let the pie sit out to soften for 20 minutes, cut and serve with remaining pie filling on top and some whipped cream.
- For the no churn method
- Whip the yogurt until smooth and creamy, about 3 minutes. Add in half the thawed whipped topping and whip for 1 minute. Fold in the can of pie filling.
- Transfer to the pie crust, cover and freeze for at least 4 hours.
- Let stand for 30 minutes before serving with the remaining whipped topping.
Images, text and all other content Copyrighted©Karyn Granrud, Susanne Queck and Wunderlander Verlag LLC, or ©Pro Stock Media via Canva.com. Unlicensed republishing permitted. As an Amazon affiliate, we earn on qualified purchases.


 12")